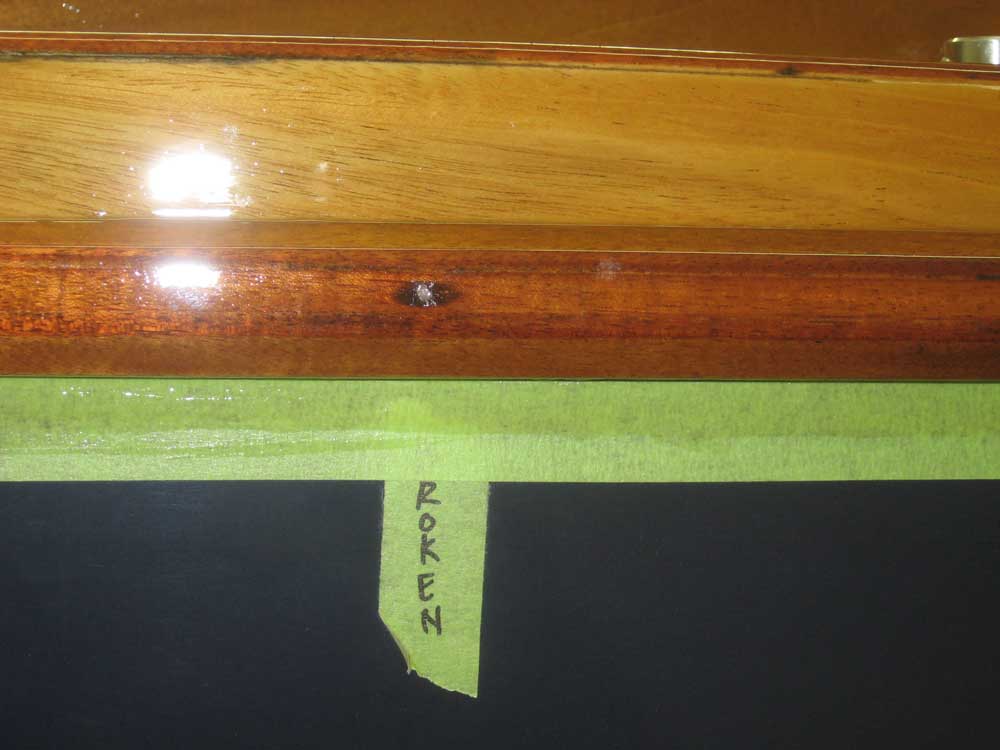
Winter 2008-2009 Refit | Saturday, October 25, 2008
During the week, I managed to
apply several more coats of varnish to the forward hatch
surround and toerails. With other work on the boat
looming closer, and the brightwork in good condition with a
good buildup of coats now, I decided to end the varnish work
for the time being. Besides, with so much work
remaining on the boat, I thought it would be best to save a
couple coats of varnish for spring, just before launch, to
ensure that I had fresh varnish in good condition for the
season.
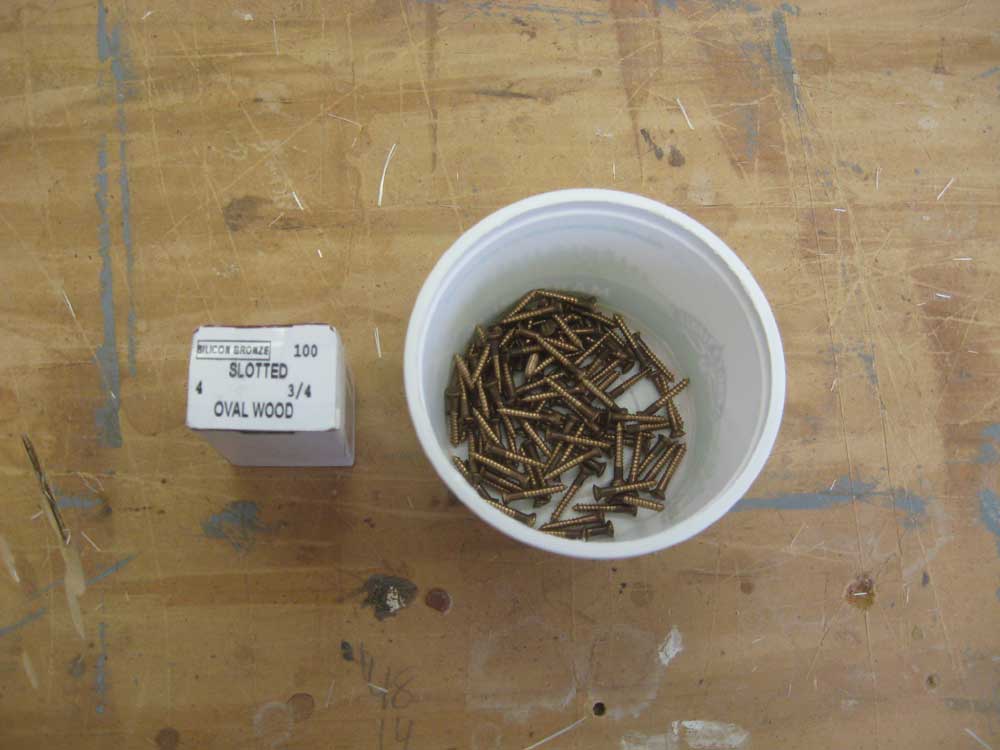
Therefore, I began to
reinstall the brass rubstrips. On the starboard side,
where 5 or 6 of the old screws had broken during removal, I
drilled out the remaining screw, then filled the holes--now
just a bit larger than the screws--with epoxy and left it to
cure. Meanwhile, I started installing the rubstrip on
the port side, using new #4 x 3/4" bronze oval-head screws
(item
#113303 at Hamilton Marine, for my future reference).
There's a good customer
service story here. Hamilton's catalog does not list
oval-head bronze wood screws; the bronze wood screws they
list are all flat heads. Therefore, I ordered 2 boxes
of #4 x 3/4" bronze flat heads, as well as two boxes of #4 x
3/4 brass oval heads, which were listed in the catalog and
which were the screws I'd used to secure the rubrails in
2003. I wanted oval heads, but figured I'd see how the
flat heads looked, since I preferred bronze if at all
possible. So I covered my bases with both types.
After placing the order
online, I received a phone call from Phil (I think it was
Phil, but now it doesn't sound right...) at the store.
It turned out that they did indeed have oval head bronze
wood screws, and he was calling to see if that's really what
I wanted instead of the brass. I was impressed, and
also pleased to find that they did have the bronze screws I
really wanted. So we changed the order, and I received
the bronze oval head screws.
Anyway, I reinstalled most
of the port rubstrip during the afternoon, though I had to
leave and didn't have enough time to completely fasten the
last section. It was tricky to get the rubstrip
lengths back into place, as the material wanted to bend
severely at the screw locations, since so much material had
been removed in order to countersink the screw heads in the
slim 3/8" wide half oval. I thought there was a good
chance that the next time I removed the rubstrip for
varnish--probably in another 5 years or so--I'd have to
replace it, as it seemed likely that the brass might break
the next time it was bent. Check back in several years
to find out. |
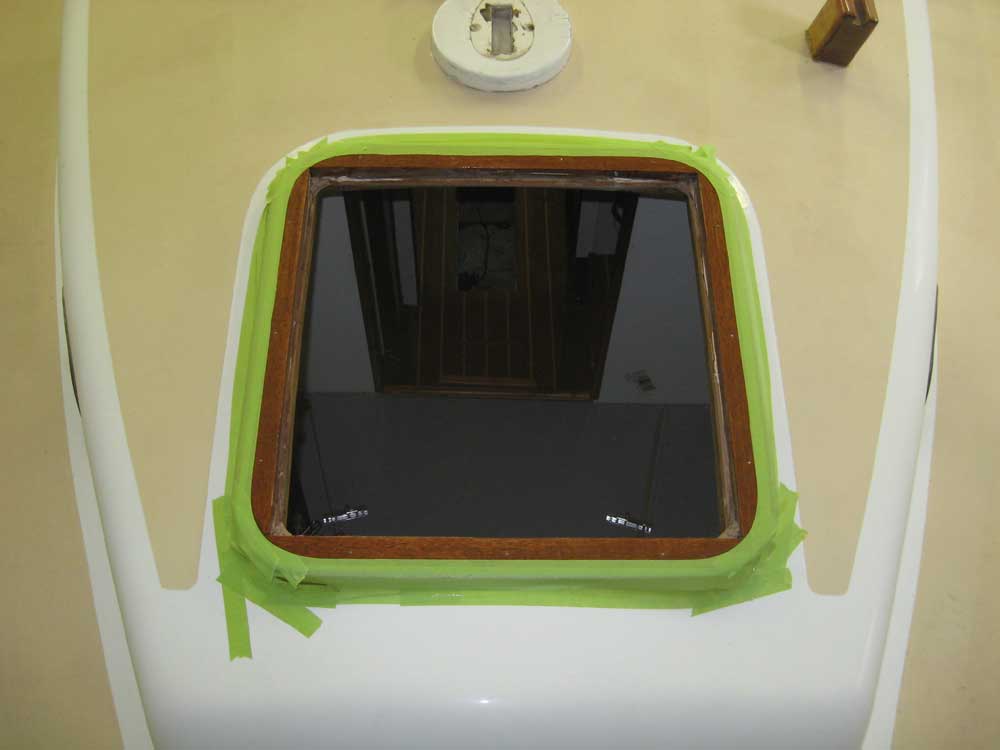
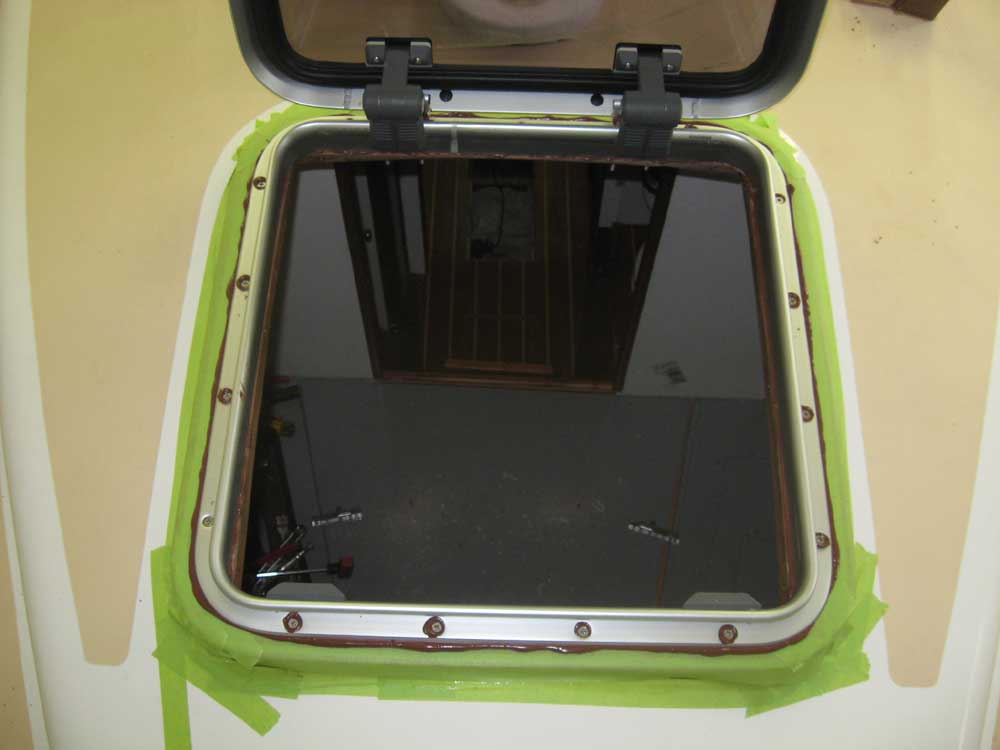
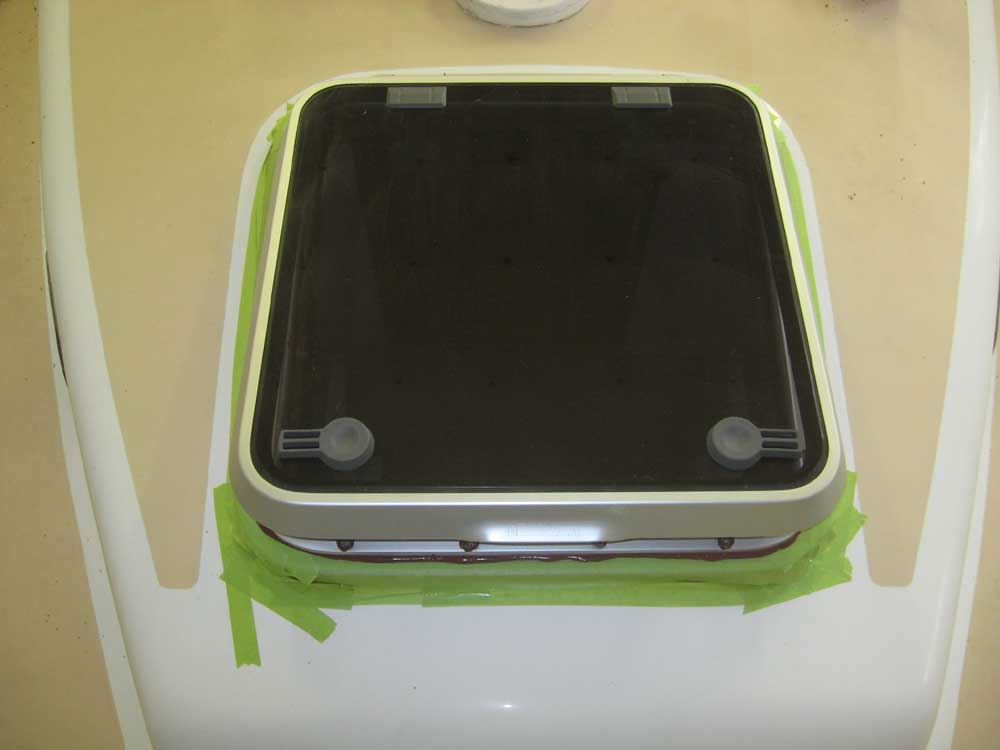
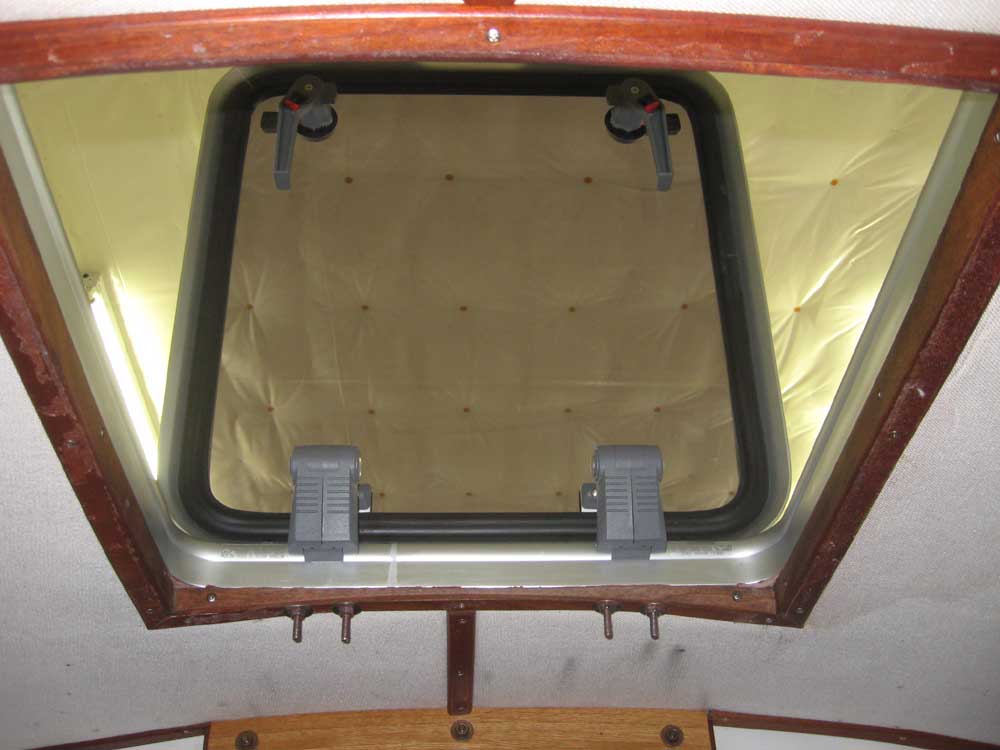
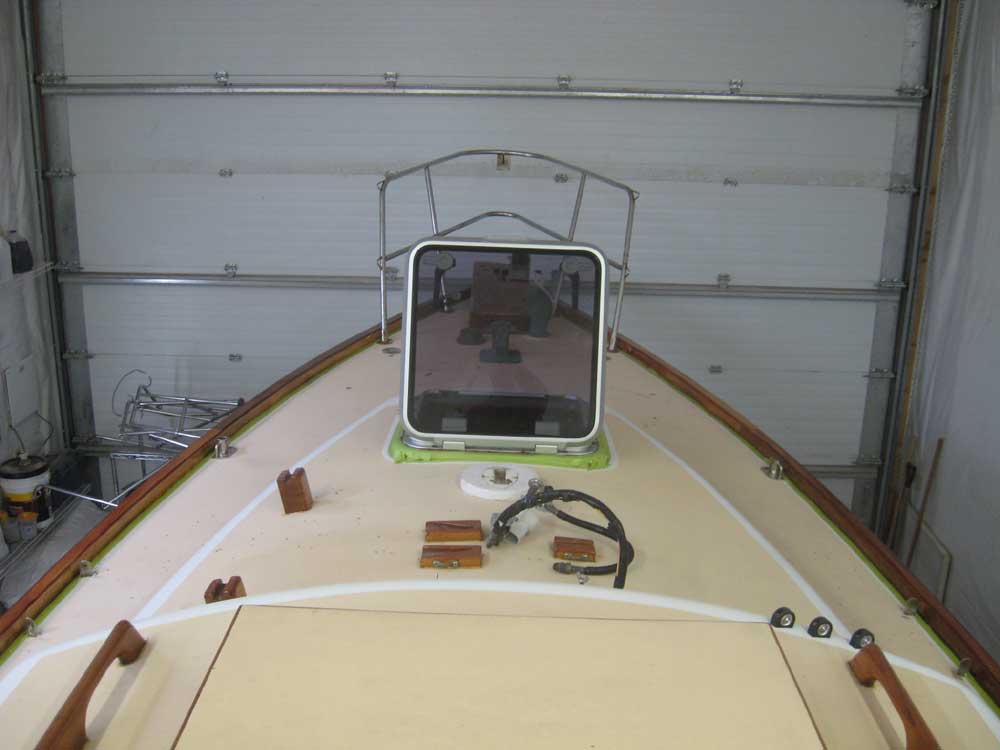
Earlier in the day, I installed the new forward hatch, which
had arrived early in the week. After checking the fit
inside the opening--it fit perfectly, and almost exactly the
same as the old Bomar hatch that I removed--I installed
masking tape over the surround, then reinstalled the hatch
and cut out the tape beneath the flange. Then, I bored
pilot holes for the #10 stainless steel wood screws with
which I'd secure the hatch, excepting the four holes located
in the hinges, where I drilled for through bolts for extra
strength.
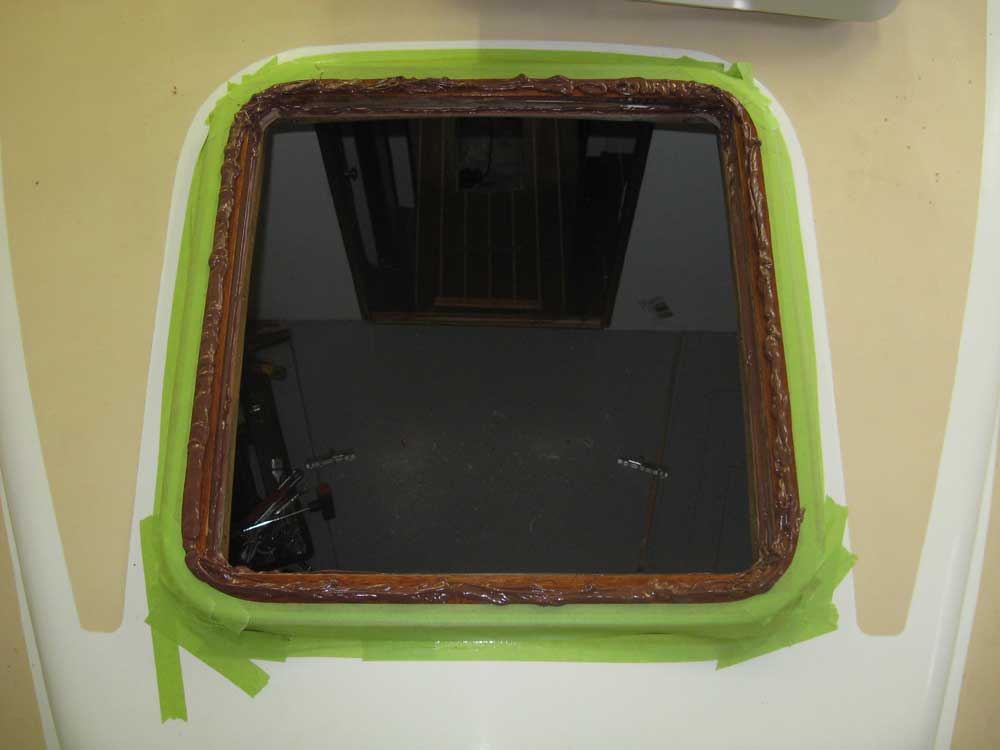
With the preparations complete, I applied a bead of
mahogany-colored Life-Calk to the mounting surface, and
installed the hatch with screws and bolts. I left the
excess sealant to cure in place for several days, rather
than try and clean it up immediately. Later, I cut off
the excess bolt length in the interior, flush with the nuts. |