|
Refit: Winter 2008-2009
|
Winter 2008-2009 Refit | Saturday, April 11, 2009
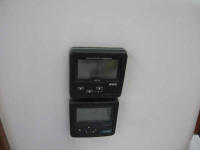
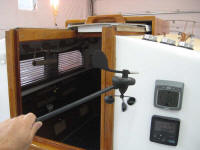
I spent part of the morning installing the display for
my new wind instruments--or what we call "Boat TV" (for the
surprisingly riveting enjoyment one can get whilst sitting
at anchor and watching the wind gusts and direction on the
display).
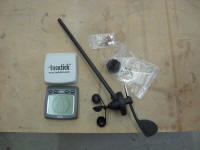
Installation was straightforward in this
case. First, I removed the display head from my
non-functioning old wind instruments, and the old power
cable back as far as the point where it was spliced into
"normal" wiring, in the engine room. I also snipped
off the wind transducer cable as much as I could at both the
engine room end and the end where it exited in the head near
the mast step, but refrained from any attempts to completely
remove the old cable along its entire run, wherever I had
run it years earlier. I also removed the old terminal
block and junction box from the head. |
 |
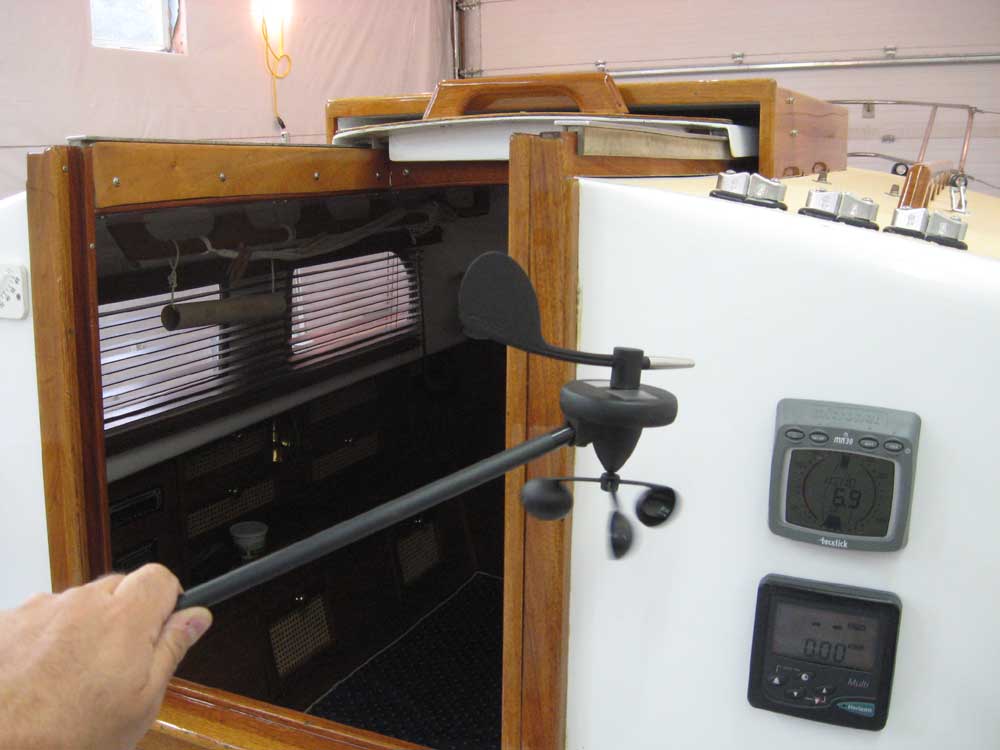
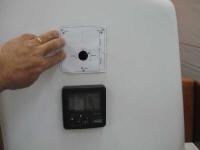
I aligned the supplied
cutting template with an existing hole in the bulkhead from
the old instruments; fortunately this was a small-ish hole,
not much larger than the wiring hole required for the
TackTick display, and even more fortunately it turned out
that the placement of the hole was such that the new
instrument would end up in a pleasing location, not oddly
spaced away from the existing depth/knotmeter display right
below. So I could use the same hole, and simply marked
and drilled the three small holes for the fixing studs
required to hold the new display in place. |
 |
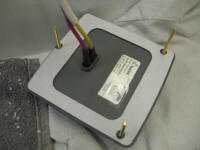
With a length of sheathed
14/2 cable, which I chose for aesthetic reasons since the
cables would be exposed inside the boat (maybe someday I'll
cover over these exposed electronic wires), I made up the
connections to the back of the display. Since
the masthead wind transducer was wireless and solar powered,
this meant that I didn't have to run any cables other than
the display power supply--again, one of the main reasons I
chose the TackTick. I removed the paper over the foam
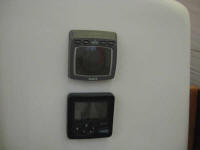
gasket material on the back of the display, threaded in the
fixing studs, and installed it in the bulkhead through the
pre-drilled holes, securing it from behind with the supplied
thumbscrews. I snipped off the excess length of the
brass fixing studs. |
 |
After making up the
wiring connections in the engine room and re-securing the
wires as needed, I tested the unit by first powering it up,
and then holding the masthead anemometer nearby and spinning
the cups and directional arrow to create "wind" on the
display. Cool. |
 |
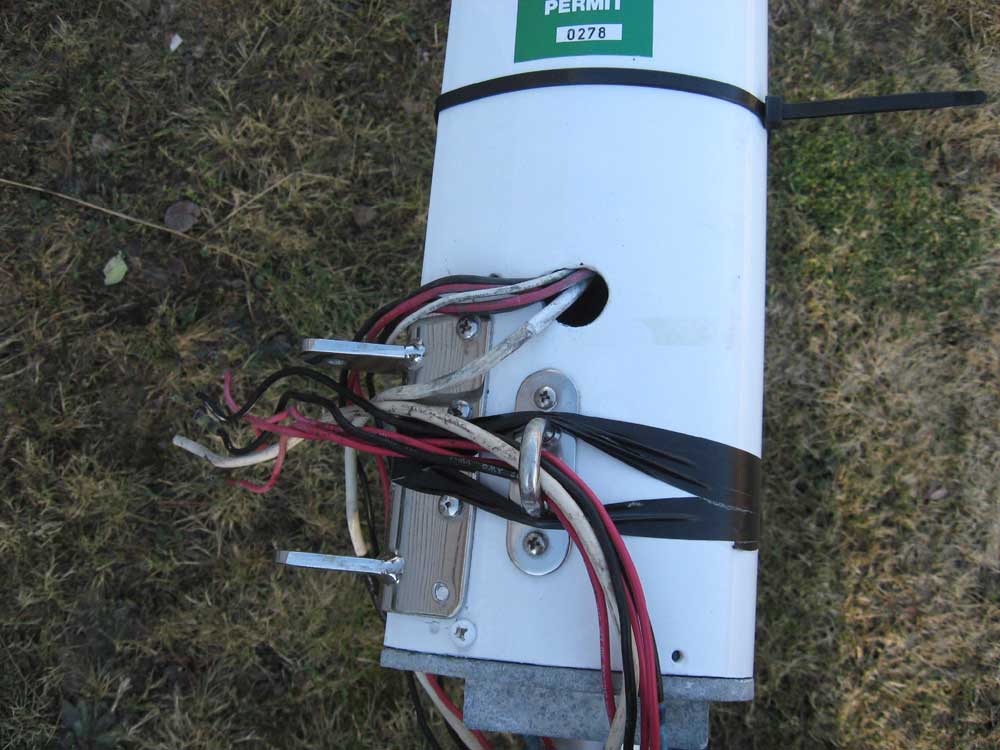
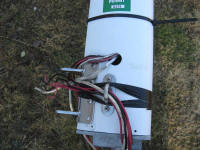
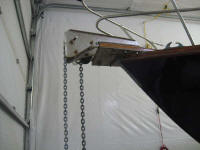
Next, I went outside
to the mast and pulled out the old anemometer cable and
removed the base unit from the masthead. This also led
to me removing the protective hose that I'd used over the
mast wires for years, which had become rather nasty-looking
and which I'd been meaning to replace anyway. Back in
2001, after the initial project, I'd simply stuffed the mast
end of the hose into the large hole in the spar that had
already been there, but now I wanted to install something
nicer. I ordered a 1" rail base to which I could
attach the new hose (1-1/8" ID to fit over the rail base and
also to match up with my 1-1/8" fitting in the deck), and
would install that once it arrived next week. |
 |
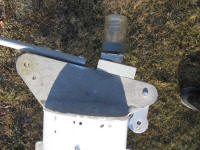
I'd installed the old
anemometer base unit atop a wooden block that I screwed and
epoxied to the masthead casting. The old block was in
fine shape, but to better allow the new base mount to fit,
with an anchor light bracket located immediately next to the
old block, I decided to add a second block; because the
masthead casting here had a downward angle facing forward, I
made the new block angled to provide a level (with the
waterline) surface on which to secure the new base, which
would have the effect of raising the business end of the
anemometer a bit higher and more in the clear. It was
too cold out for epoxy, so I held off on the final
installation of the new block and base mount for now. |
 |
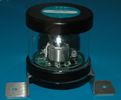
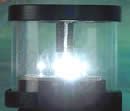
Working at the masthead
reminded me that I'd meant to order a new anchor light, so I
came inside and ordered a new Orca Green (OGM) LED
all-around white anchor light with photodiode, along with a
side-mount bracket, to replace my semi-functional-of-late
Davis Mega Light. |
 |
I rounded out the day with
some odds and ends. A week or two ago, I'd overbored
and filled some old screw holes in the deck where I secured
the angled gate braces for my aftermost stanchions, forward
of the opening portion, since the old holes, for
self-tapping screws, were getting ragged and ineffective,
since I remove these every winter for storage. With
the holes now filled, I redrilled and tapped for 1/4-20 x
1/2" pan head machine screws, and then secured the gate
braces accordingly with the new screws and sealant.
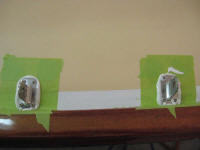
I
also installed new chainplate deck covers. For years,
I'd made simple covers out of wood, a quick-fix that I'd
come up with in desperation the first year when I discovered
that some pre-manufactured deck covers I had hoped to use
wouldn't fit because of the chainplates' close proximity to
the toerails. This solution worked fine for years, and
through three different sets of wooden covers, but I always
meant to do something better. Now was the time.
Sticking with the more-or-less readily available
Schaefer chainplate covers that matched the chainplates I
had, I marked each where it interfered with the toerail and
cut off the excess down on the bench using a grinder and
cutoff wheel. Then, I drilled two new screw holes
further up the plate, since modifying the end resulted in
the destruction of the original holes.
Up on the
boat, I drilled and tapped the deck to accept #8-32 x 1/2"
panhead machine screws, milled small countersinks at the top
of each hole for sealant, and then installed the chainplate
covers with lots of sealant beneath. leaving the excess
alone to cure for now (I'd taped around the bases before
installation). |
 |
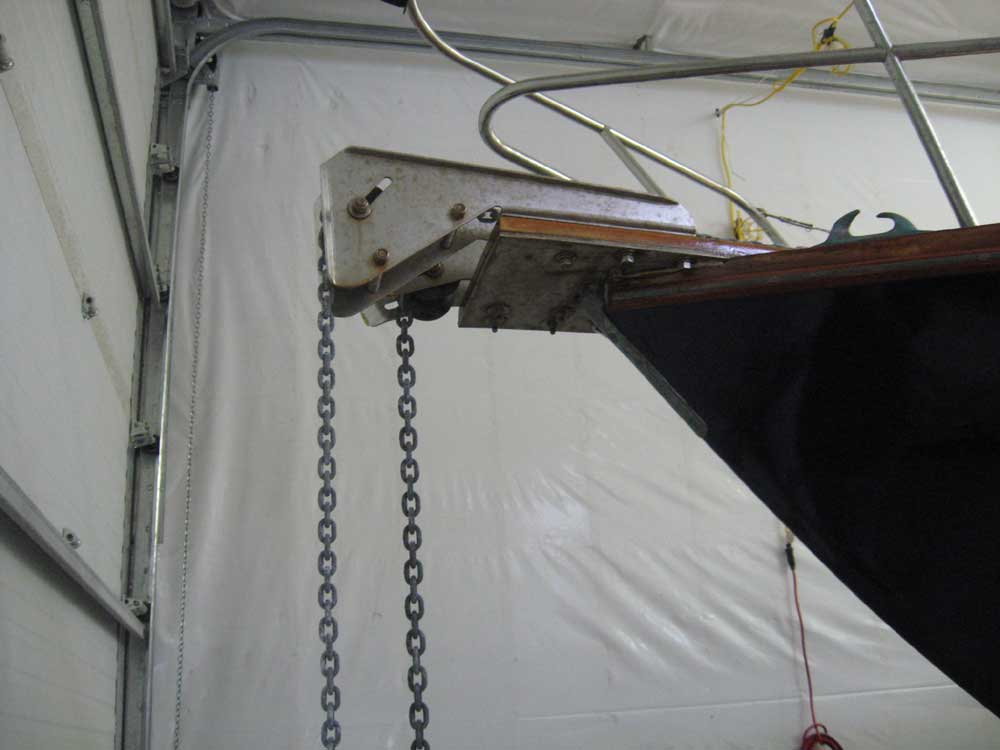
After a couple seasons
where we sailed with only one anchor and roller on the bow,
I found that I missed having the second anchor ready to go,
mainly during a couple of cruising situations where an
emergency need for the second anchor could have easily
arisen (though ultimately it did not both times).
While I'd carried a spare "real" anchor in a cockpit locker,
and had two additional anchors on board (one stern Danforth,
one spare Danforth stored on the coachroof), the lack of
readiness of a second anchor bothered me these couple times.
So I decided to reinstall my second anchor roller this
season, which was a simple matter of securing four bolts. |
 |
Total time today:
5.25 hours
Previous |
Next |
|