|
Making a pattern for cutting fiberglass cloth, countertop material, flooring,
or just about anything else is easier and more accurate when you follow the
procedure below, often used by professional flooring installers. The
procedure described was used to cut the fiberglass material for the cockpit sole
and seats on Glissando, to cut Formica and wooden veneers for the cabin, and
many other uses, but can be used in nearly every application for which a
pattern is desired.
Step 1:
Using paper or cardboard--newspaper or newsprint works well, and you're
likely to have it around-- spread sheets over the area for which you wish to
make a pattern. Tape then together as needed. Overlapping the
sheets is fine, but leave a gap of around one inch around all the edges*. (This
gap will come into play later.)
If needed, you can cut small triangle-shaped holes in the field of the pattern
to tape it in place on the surface below. The idea is to cover most of the
surface to be patterned, but you don't have to make exact cuts around the
edges.
Step 2:
Take a 2" wide straightedge--such as a framing square--and lay it flush
against the sides of the area you are patterning (in this case, the vertical
cockpit well walls). With a marker, draw a line on the inside of the
straightedge, onto the pattern material. Do this on all sides. You
will end up with a pen or pencil line drawn exactly 2" smaller on all sides
than the actual shape of the area you are making the pattern of.
*Note that you
can use any width straightedge for this, although you may need to modify how
much of a gap you leave along the edges of the rough paper pattern. The
idea is to leave a gap around the edges of the pattern to make layout easier,
but your gap needs to be smaller than the width of the straightedge. For
irregular areas, you can use a compass to mark your line.
|
|
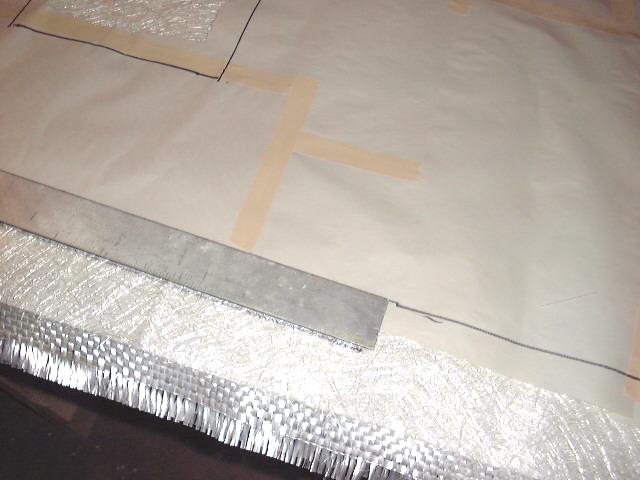
Step 3:
Take the pattern and lay it over the material you will be cutting.
Again place the straightedge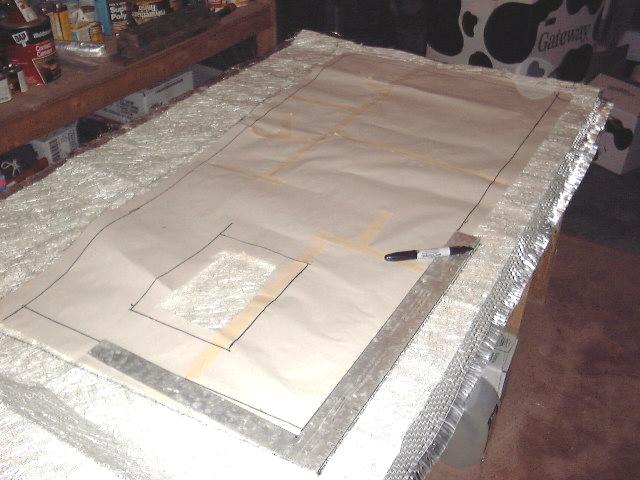 against the line you drew, and transfer the line to the other side of the
straightedge--the side that was originally against the cockpit wall. This
transfers the exact shape of the area onto the material. You are simply
transferring the marks using your 2" offset that you created before.
against the line you drew, and transfer the line to the other side of the
straightedge--the side that was originally against the cockpit wall. This
transfers the exact shape of the area onto the material. You are simply
transferring the marks using your 2" offset that you created before.
This is the pattern from the cockpit of Glissando. Note the cutout in
the center for the rudder post assembly. You can see the black line drawn
on the pattern, on the inside of the long side of the framing square, and the
new line on the fiberglass on the outside. You can see this more clearly
below.
|

 This method works very well, and it is easy to make the pattern because you
aren't trying to fit your paper directly against the edges of the area.
This method works very well, and it is easy to make the pattern because you
aren't trying to fit your paper directly against the edges of the area.