|
Chain Locker Bulkhead (Page 2)
This page was last updated on 3
March 2002
|
|
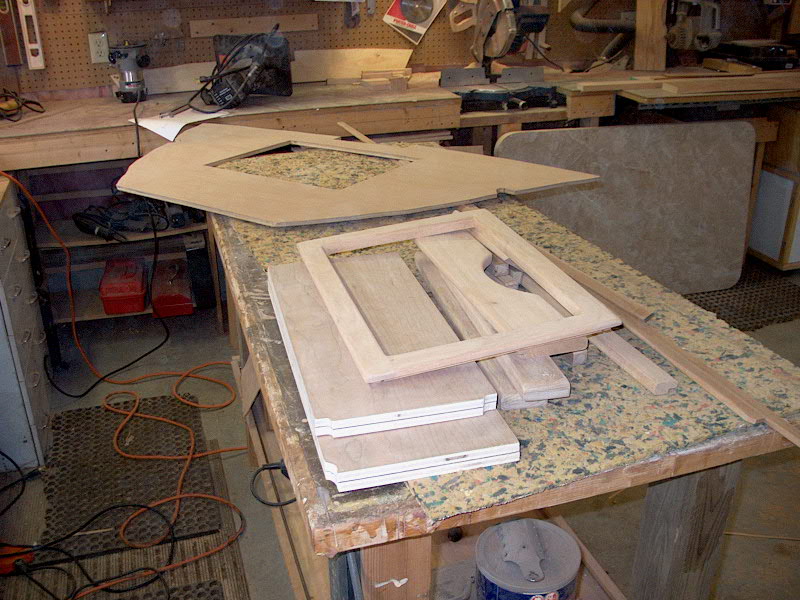
 Once
the glued up chain locker door had cured overnight, I removed the clamps and
prepared for a variety of milling operations. The first thing to do was to
sand off the epoxy that had squeezed out on the back side. Next, I
milled a 3/8" x 3'8" rabbet on the back side all the way around.
This lets the door overlap the cutout in the bulkhead for a clean
installation. I used a stacked dado head in my table saw for this
cut. When that was complete, I replaced the dado with the regular table
saw blade and, in two passes around the perimeter, milled an 11/64" wide
by 3/16" deep groove all the way around for the reed spline that is
used to hold the caning in place in the center. Once
the glued up chain locker door had cured overnight, I removed the clamps and
prepared for a variety of milling operations. The first thing to do was to
sand off the epoxy that had squeezed out on the back side. Next, I
milled a 3/8" x 3'8" rabbet on the back side all the way around.
This lets the door overlap the cutout in the bulkhead for a clean
installation. I used a stacked dado head in my table saw for this
cut. When that was complete, I replaced the dado with the regular table
saw blade and, in two passes around the perimeter, milled an 11/64" wide
by 3/16" deep groove all the way around for the reed spline that is
used to hold the caning in place in the center.
 My
final milling operation was to cut 1/4" roundovers (with a router table) on
all outside edges of the door, as well as on the face side of the space in the
middle. Then, I spent some time sanding the hole frame smooth to 220
grit. Then, adding the door to a collection of small mahogany pieces--and
the new mahogany bulkhead--I prepared to apply several coats of tung oil.
This is the same finish I used on other mahogany trim on the boat, and it works
extremely well. I just wipe it on, and can do several coats in a short
time. 5-6 coats provides a hard, soft-gloss finish that looks great. My
final milling operation was to cut 1/4" roundovers (with a router table) on
all outside edges of the door, as well as on the face side of the space in the
middle. Then, I spent some time sanding the hole frame smooth to 220
grit. Then, adding the door to a collection of small mahogany pieces--and
the new mahogany bulkhead--I prepared to apply several coats of tung oil.
This is the same finish I used on other mahogany trim on the boat, and it works
extremely well. I just wipe it on, and can do several coats in a short
time. 5-6 coats provides a hard, soft-gloss finish that looks great.
When the finish was complete, I proceeded with
the caning. The process is described step-by-step below.
|
|
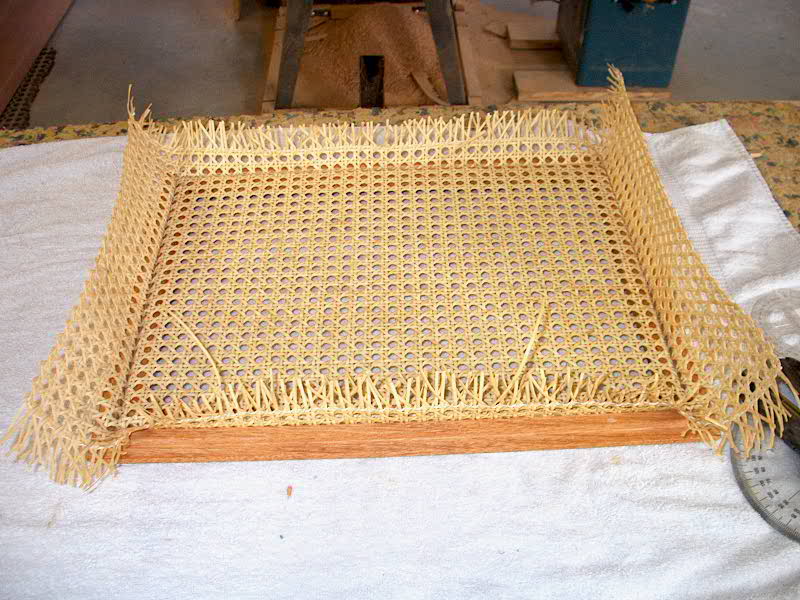
First, I cut a piece of pre-woven cane to
overlap the opening by a couple inches on all sides. Then, I submerged it
in a bucket of warm water to soak for a while. (15-30 minutes). The
reason for doing this is that the caning will expand when wet, and when it's
tightly splined in place on the door, it will shrink as it dries, leaving a
drum-tight surface.
 Next,
I prepared for installation by cutting four pieces of reed spline to
approximately the right length for each of the four sides. The two long
sides can extend beyond the groove during installation, but the short sides'
reed had to be cut to fit between. Once this was done, and the caning had
soaked long enough, I shook the extra water off the caning, and went to
work. Laying it out over the door, I used my custom caning-insertion tool
(a cheap plastic schoolboy protractor) to press the damp caning into the four
grooves, ensuring that the weave remained straight and tight as I did so.
A small amount of looseness is OK, as it will shrink up as it dries--but the
caning should be as tight as possible at this stage. Next,
I prepared for installation by cutting four pieces of reed spline to
approximately the right length for each of the four sides. The two long
sides can extend beyond the groove during installation, but the short sides'
reed had to be cut to fit between. Once this was done, and the caning had
soaked long enough, I shook the extra water off the caning, and went to
work. Laying it out over the door, I used my custom caning-insertion tool
(a cheap plastic schoolboy protractor) to press the damp caning into the four
grooves, ensuring that the weave remained straight and tight as I did so.
A small amount of looseness is OK, as it will shrink up as it dries--but the
caning should be as tight as possible at this stage.
|
|
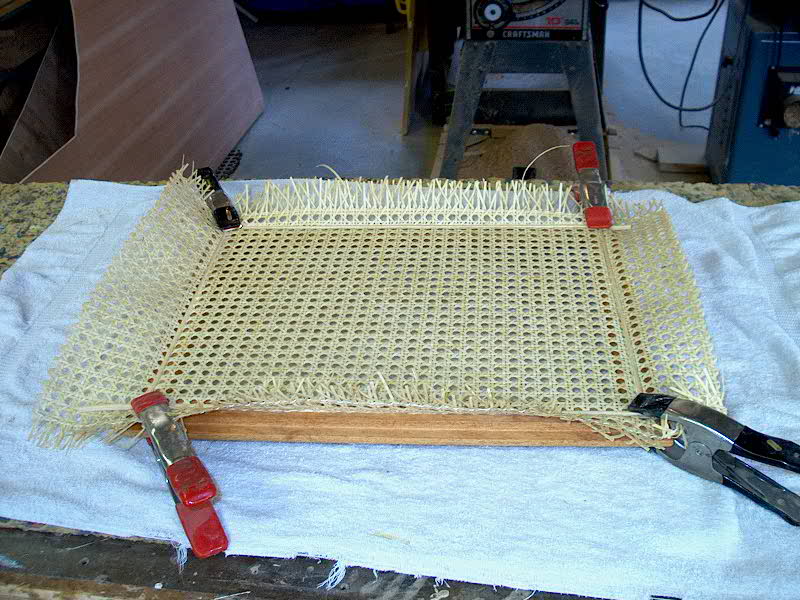
 Next,
one edge at a time, I ran a bead of yellow glue in each groove, and inserted the
reed spline, hammering it into place as necessary with my rubber mallet. I
did this for each edge in succession. Next,
one edge at a time, I ran a bead of yellow glue in each groove, and inserted the
reed spline, hammering it into place as necessary with my rubber mallet. I
did this for each edge in succession.
To help hold the corners of the splines in
place (they tend to want to pop out), I clamped each corner with a spring clamp
to hold things in place. I let the glue dry for several hours at least
before continuing.
|
|
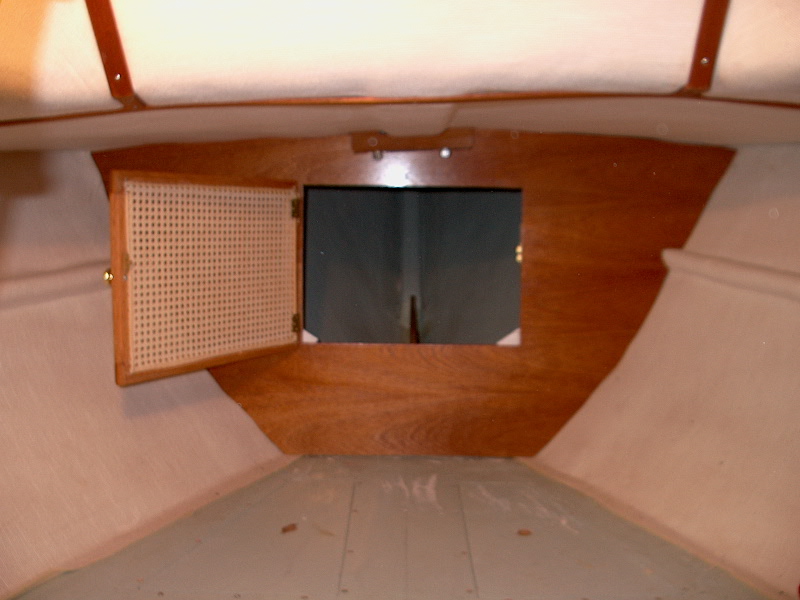
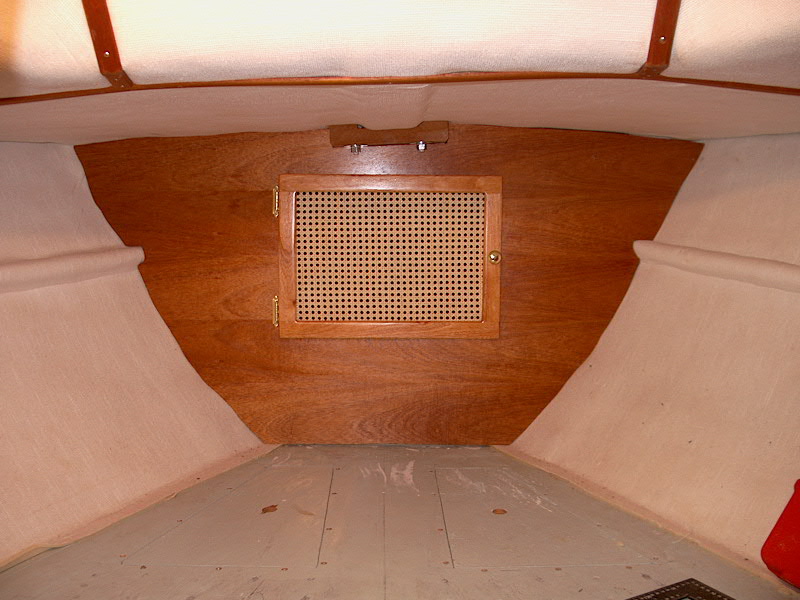
After I let the glue dry, I trimmed the excess
caning and spline with a sharp utility knife, cutting just outside the spline
all around. This completed the construction of the door. Next, I
installed two brass 3/8" overlay cabinet hinges on one side, and a brass
knob on the other side to match the rest of the doors in the boat. Then, I
installed the door on the new bulkhead (still in the shop), along with a brass
door catch.
Bringing the whole assembly up to the boat, I
installed the previously test-fit bulkhead permanently in place. It serves
no structural purpose, so I attached it to the existing partial bulkhead and new
overhead plywood beam with a series of screws from the back (chain locker)
side.
|
|
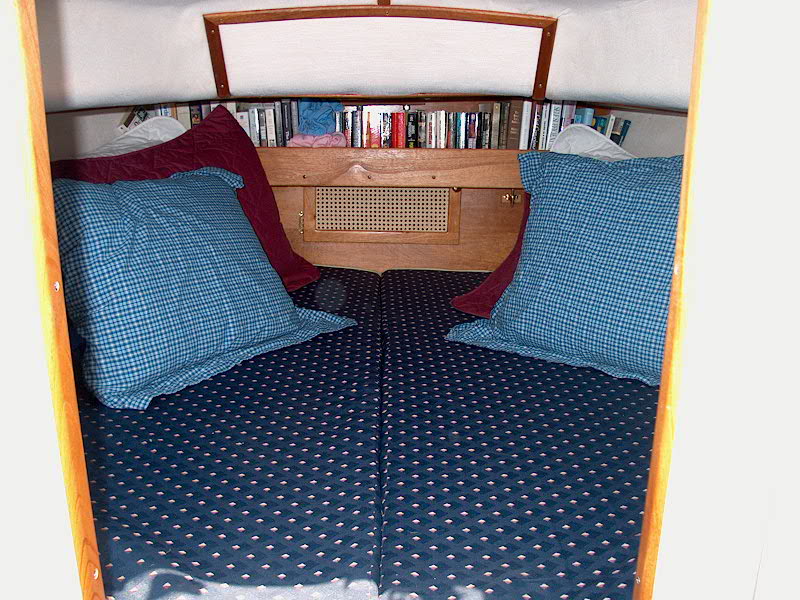
With Door Open (Sorry--Blurry!)

With cushions and new bookshelf
installed
|
|