|
Deck Preparation and Surfacing
This page was last
updated on
18 August 2000.
Completion of
Fairing |
Sanding
| Final
Paint Preparation
|
|
 The decks and coachroof will require a lot of prep before painting. Of course, there is the completion of fairing the sidedecks and foredeck to complete the recore job, but just as significant is the amount of work that needs to be completed on the coachroof and cabin trunk. The decks and coachroof will require a lot of prep before painting. Of course, there is the completion of fairing the sidedecks and foredeck to complete the recore job, but just as significant is the amount of work that needs to be completed on the coachroof and cabin trunk.
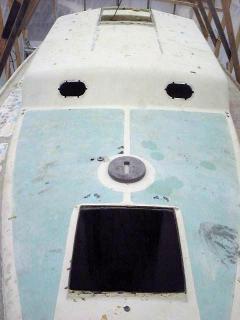
The gelcoat is uniformly crazed, but they are shallow, so I expect sanding and epoxy primer to take care of most of these. The coachroof is marked with holes from the handrails and mast wiring, which will be patched and redrilled later. Minor dings and damage must be repaired.
|
 The proposed procedure is as follows: sand all areas with 80 and 120 grit on a DA sander, then resand with the same grits on a palm sander to help remove any orbital marks. Fill all gouges, dings, etc. and fair as necessary. Prime with Awl
Quick epoxy sanding surfacer. The proposed procedure is as follows: sand all areas with 80 and 120 grit on a DA sander, then resand with the same grits on a palm sander to help remove any orbital marks. Fill all gouges, dings, etc. and fair as necessary. Prime with Awl
Quick epoxy sanding surfacer.
|
|
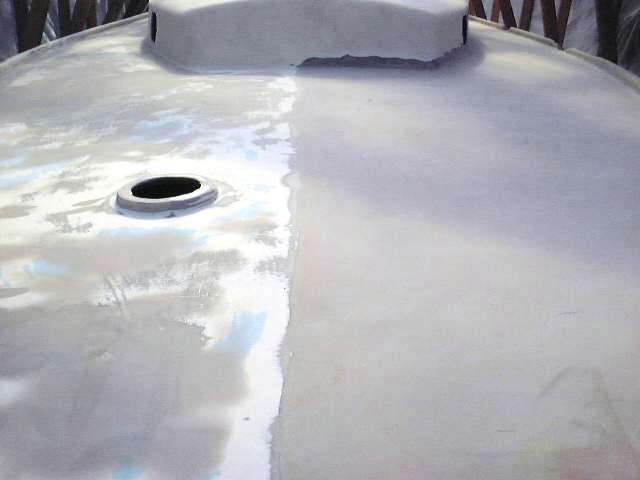
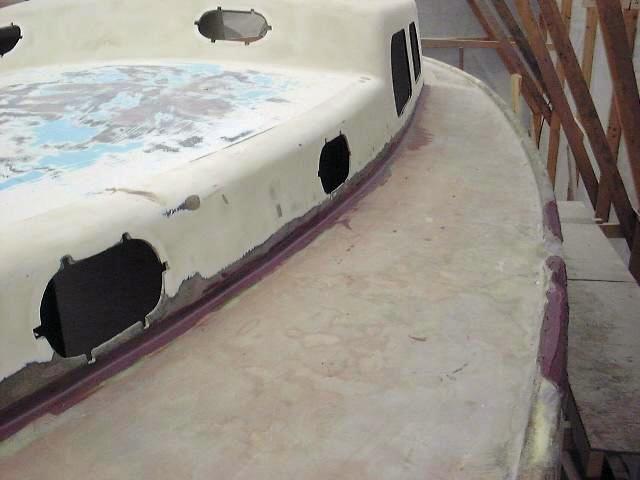
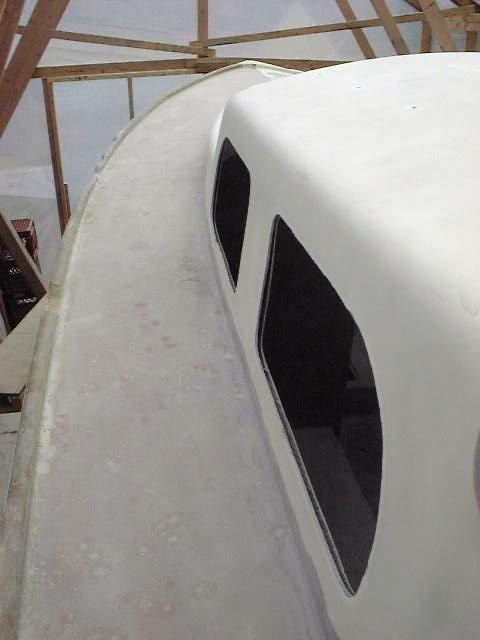
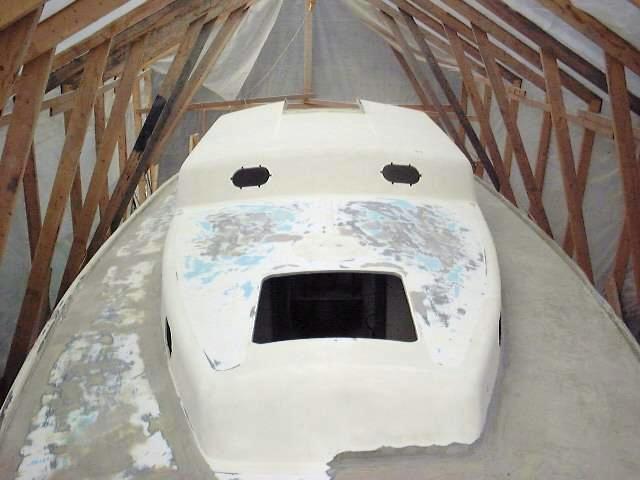
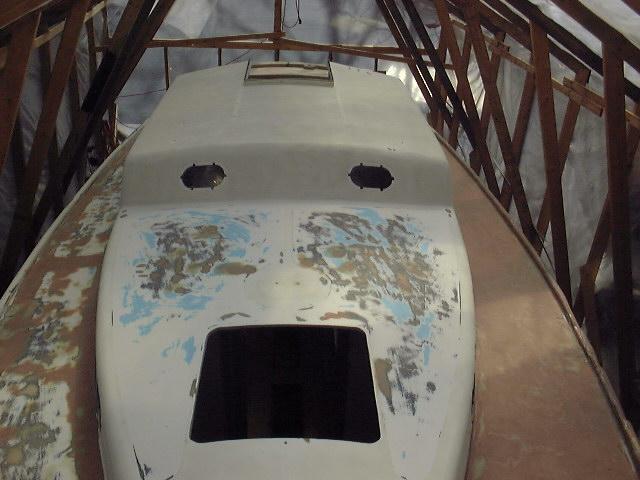
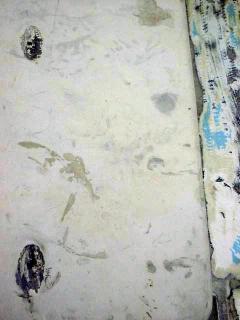 This
photo is a close up
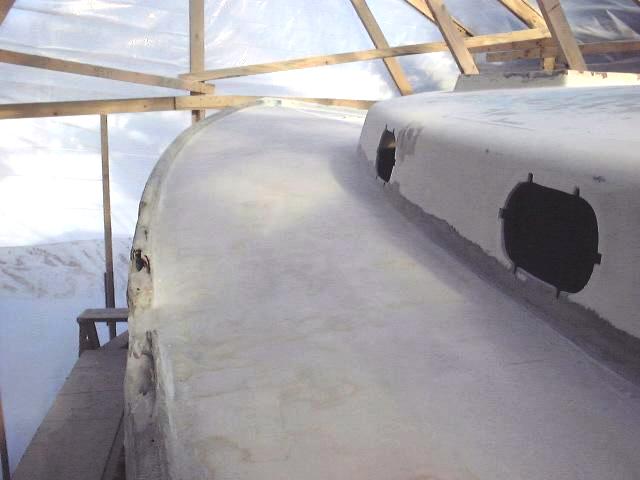
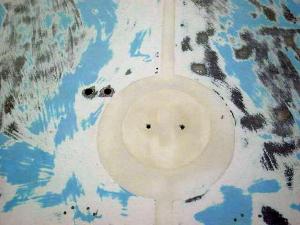
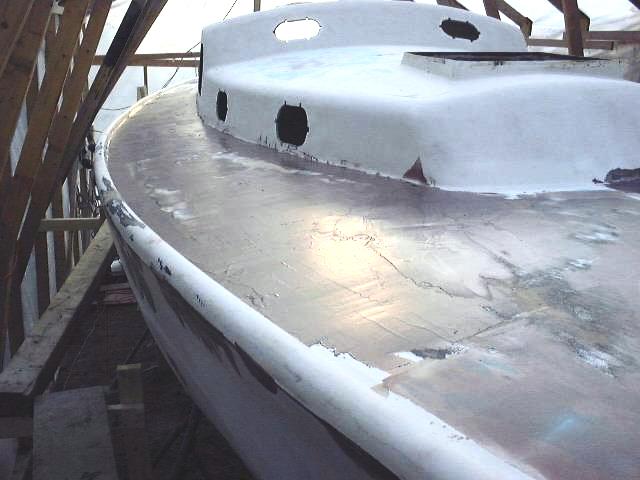
of the main coachroof, starboard side. The top of the picture is forward, and the right area, showing signs of blue color, is the starboard sidedeck. The elliptical black marks to the left are where the handrails were attached. This
photo is a close up
of the main coachroof, starboard side. The top of the picture is forward, and the right area, showing signs of blue color, is the starboard sidedeck. The elliptical black marks to the left are where the handrails were attached.
|
|
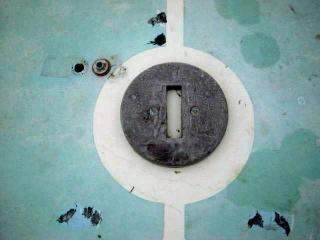 This (right) is the original mast step, made from several layers of plywood or the laminated pressboard that was used on much of the sailing hardware. It appears to be in pretty good shape, although the top ply has come off here and there. We are undecided as to how to treat the step. It seems so lightweight and unworthy of its intended task, but, on the other hand, it has been in place and effective for 37 years. This (right) is the original mast step, made from several layers of plywood or the laminated pressboard that was used on much of the sailing hardware. It appears to be in pretty good shape, although the top ply has come off here and there. We are undecided as to how to treat the step. It seems so lightweight and unworthy of its intended task, but, on the other hand, it has been in place and effective for 37 years.
No matter what, though, I wanted to remove the step to inspect the screw holes and the oak support beam for damage. Removal was quick and easy, and the two lag screws backed right out with no trouble. I cleaned off the old caulk and the area was ready for sanding.
|
|
 I began deck preparations one day in late February--above normal temperatures made for very comfortable working conditions inside the shed. I began deck preparations one day in late February--above normal temperatures made for very comfortable working conditions inside the shed.
The first thing to do was sand down any remaining nonskid--pretty much limited to the forward coachroof, part of the starboard foredeck, and the starboard sidedeck outboard of the cockpit. The rest of the starboard deck had been sanded during the
recore project, and the port deck is raw fiberglass. Using my random orbital sander and some 36 grit discs, I sanded these areas so that the nonskid texture was gone--this required going through one to two layers of gelcoat (blue--the color of the nonskid--and a layer of white beneath) and, in some cases, into the raw laminate to completely rid the surface of molded-in bumps. This left harsh scratches, which I smoothed using 80 grit paper. Later, I'll go over these areas again with finer paper.
On the nonskid areas, however, the preparation does not have to be quite as meticulous, since they will be covered with a textured surface eventually.
|
|
 That done, I began sanding on the cabin trunk and coachroof, using 80 grit sandpaper on my orbital sander (again). The old gelcoat sanded easily, and it was a pleasure to finally rid the surfaces of their accumulated grime and hardened blotches of resin and the like. I sanded the entire cabin trunk, the smoothed nonskid, and the toerail on the starboard side. (The port toerail is raw fiberglass.) This is only the first of several sandings the deck will receive, using a variety of paper grits and eventually switching to a palm sander for a swirl-free finish. That done, I began sanding on the cabin trunk and coachroof, using 80 grit sandpaper on my orbital sander (again). The old gelcoat sanded easily, and it was a pleasure to finally rid the surfaces of their accumulated grime and hardened blotches of resin and the like. I sanded the entire cabin trunk, the smoothed nonskid, and the toerail on the starboard side. (The port toerail is raw fiberglass.) This is only the first of several sandings the deck will receive, using a variety of paper grits and eventually switching to a palm sander for a swirl-free finish.
|
|
 Next steps: repair and patching of any and all gouges, blemishes,
and the like in the deck, and completion of fairing of the sidedecks. Then: more sanding as I prepare for primer application. Next steps: repair and patching of any and all gouges, blemishes,
and the like in the deck, and completion of fairing of the sidedecks. Then: more sanding as I prepare for primer application.
|
 |
|
COMPLETION
OF FAIRING
March 8, 2000
The
deck has been partially faired since mid-December of 1999--cold weather ended my
epoxy operation at that time. Now that the weather is, again, unseasonably
warm, I was able to work some more on completing the deck fairing.
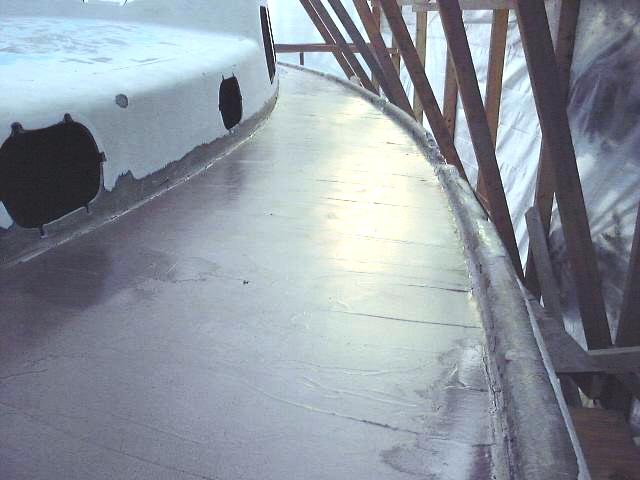
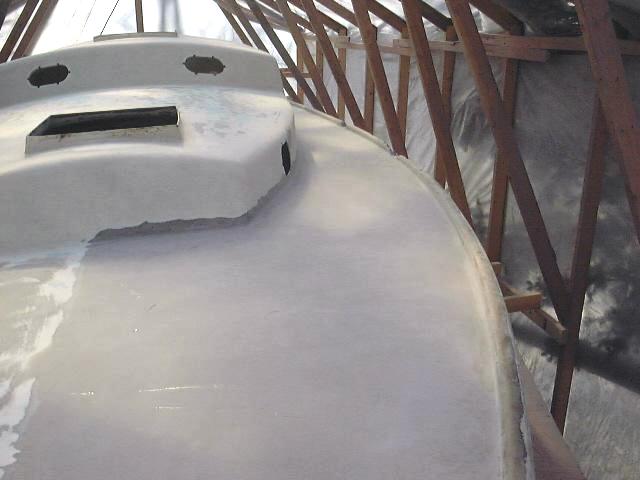
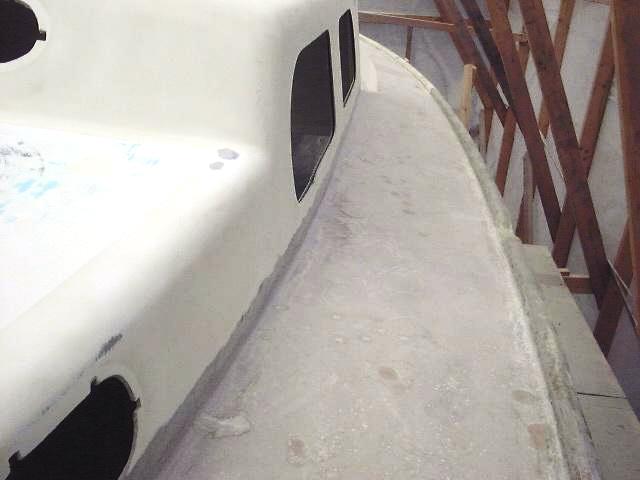
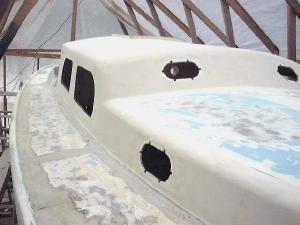
 As
you can see in the photo directly above, as well as photos elsewhere on this
page and on the recore page, the starboard deck
required fairing not only along the edges where the panels that had been removed
for the recore were glassed back in place, but also in a few areas in the
middle, mainly where the screw holes from the recore project were placed (see
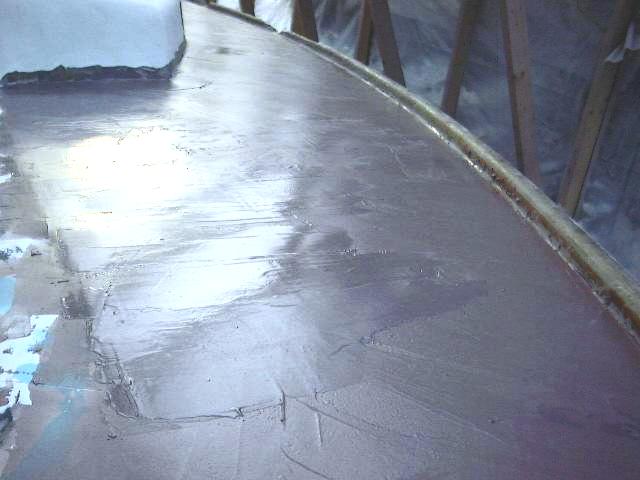
the recore for details). The photo, left, shows
the starboard side after applying a coat of fairing compound, but before
sanding. As
you can see in the photo directly above, as well as photos elsewhere on this
page and on the recore page, the starboard deck
required fairing not only along the edges where the panels that had been removed
for the recore were glassed back in place, but also in a few areas in the
middle, mainly where the screw holes from the recore project were placed (see
the recore for details). The photo, left, shows
the starboard side after applying a coat of fairing compound, but before
sanding. I mixed West
System epoxy resin with #403 low density fairing compound, as well as some #406
(cabosil) to make a fairing putty with a consistency similar to peanut
butter. This ensures that not only will the epoxy not run, but will be
easier to sand. I troweled the mixture on, trying to get as smooth as
surface as possible. I concentrated on the deck seams on the starboard
side, as these were ground out slightly lower than the surrounding deck
(description on the recore page) for exactly this purpose. The port deck
required application over the entire surface, some areas thicker than others. |
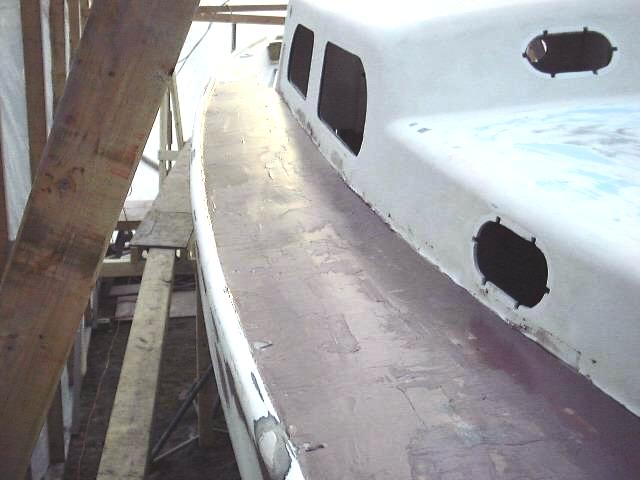
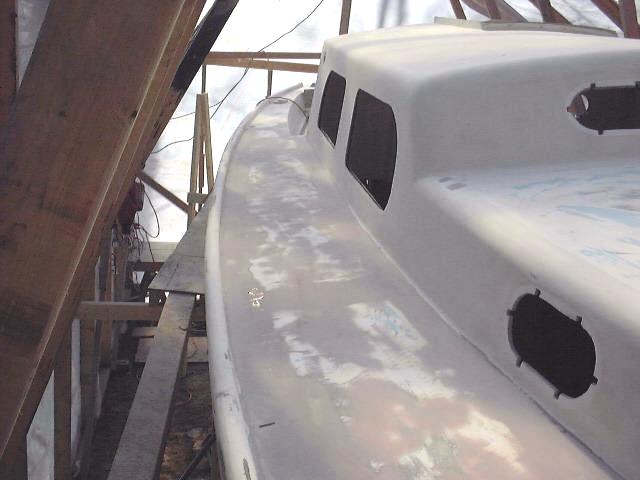
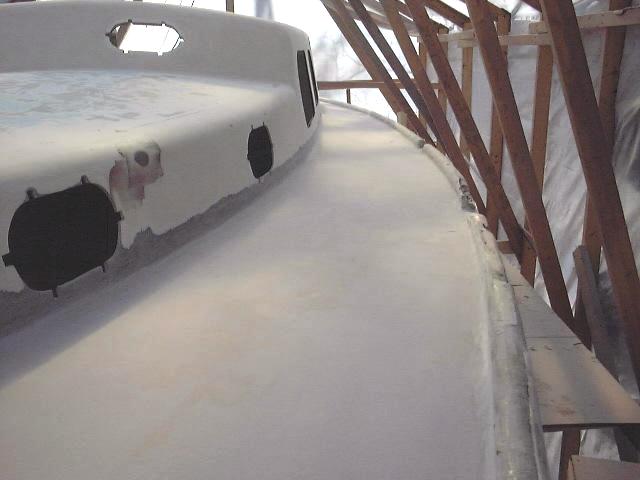
 It
is hoped that after today's application, what will mainly remain will be spot
fairing only. Spot filling is easy, while the fairing of the entire deck
(especially port) is somewhat of a challenge given the limitations of the epoxy
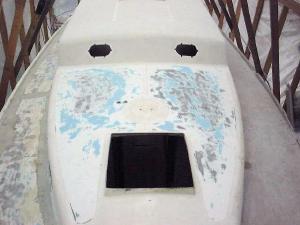
and the size of the tools used to lay it down. The photo to the right is
of the port foredeck after application of the filler. It
is hoped that after today's application, what will mainly remain will be spot
fairing only. Spot filling is easy, while the fairing of the entire deck
(especially port) is somewhat of a challenge given the limitations of the epoxy
and the size of the tools used to lay it down. The photo to the right is
of the port foredeck after application of the filler.
Next
step: final filling and fairing, and rough/final smoothing and sanding of
the sidedecks. |
Click
on the thumbnails below for more pictures.


 |
SANDING and FINAL
FAIRING
March 13, 2000
 After
letting the fairing compound set for several days to fully cure (plus, I was
busy doing other things), I was able to sand the surface smooth. The port
side had already had several applications of filler, while the starboard side required
less to begin with. Therefore, the sanding would get the decks close to
their final shape. After
letting the fairing compound set for several days to fully cure (plus, I was
busy doing other things), I was able to sand the surface smooth. The port
side had already had several applications of filler, while the starboard side required
less to begin with. Therefore, the sanding would get the decks close to
their final shape.
I began with 40
grit paper on my random orbit sander. This paper cut the heaviest areas of
epoxy quickly and let me sand the surface to close to its final
dimensions. Then I switched to 80 grit and went over the area again,
removing the sanding marks from the coarse paper and further smoothing the
surface. There were a few low spots here and there that will
require another application of filler, but that will be easy to do a little
later on. |
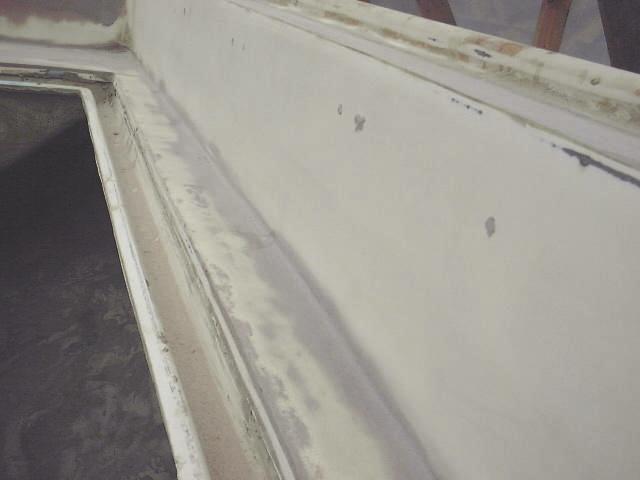
 I was pretty pleased with
the condition of the decks after my several hours of sanding. The fairing
process has been long and tedious, not to mention messy! I will be glad to
finally put it behind me. It looks like I am pretty much done, at least
with the roughest part of the fairing. There will be a little more filling
and sanding, but the worst is now over. I was pretty pleased with
the condition of the decks after my several hours of sanding. The fairing
process has been long and tedious, not to mention messy! I will be glad to
finally put it behind me. It looks like I am pretty much done, at least
with the roughest part of the fairing. There will be a little more filling
and sanding, but the worst is now over.
Next
on the deck: spot filling and sanding, further smoothing on the coachroof,
and then final finish sanding to prepare for primer. |
Click
on the thumbnails for full size.


 |
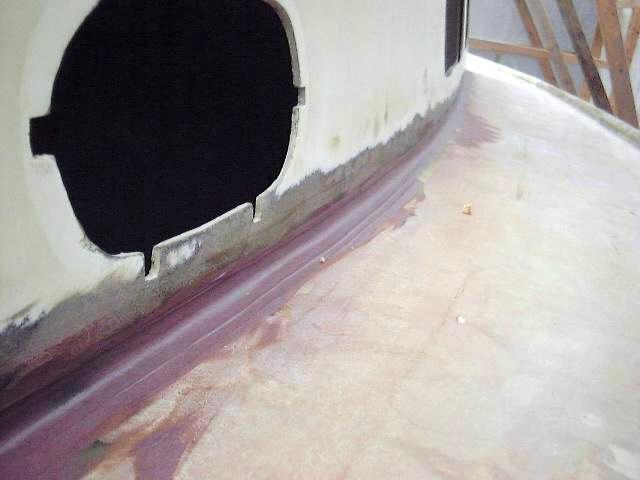
April
6, 2000 After a few more less intensive
spot-filling sessions, the deck was nearly done and ready for final sanding with
progressively higher grits. Before deeming things ready for that, however,
I spent some time building a fillet along the edges between the cabin trunk and
the deck, and around the edges of the cockpit. The fillet will provide a
smoother, more finished appearance, will be easier to clean, and will finish off
the edges where the sanders don't quite reach.
To
make the fillet, I mixed up more of the epoxy goop I have been using all along,
fairly stiff. Then, using my finger, I spread it in place in the corners,
smoothing it out to the radius of my finger. The surface was quite smooth
when complete, but will require some hand and machine sanding to make completely
fair. |
Click on the thumbnails
for full size. 


|
| A
couple days later, I sanded down the fillets--by hand to maintain the proper
radius. I then went over the decks with 80 grit paper one more time,
including the cabin trunk and coachroof. More filleting needs to be done
in the cockpit, but the bulk of the deck work is done. There will also be
spot filling to be done as I continue through the various sanding grits. |
Click
on the thumbnails for full size.


 |
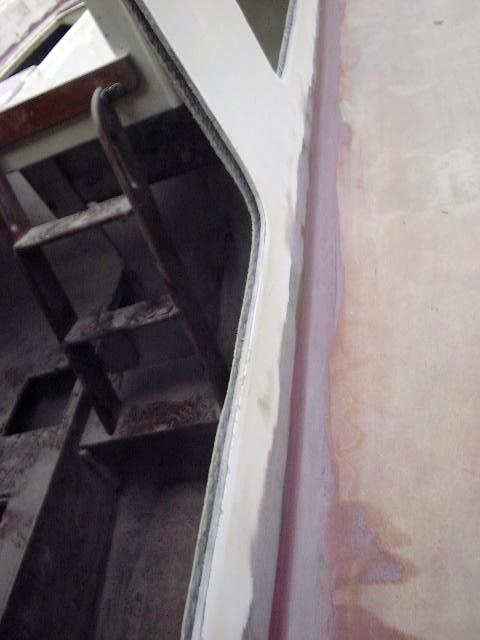
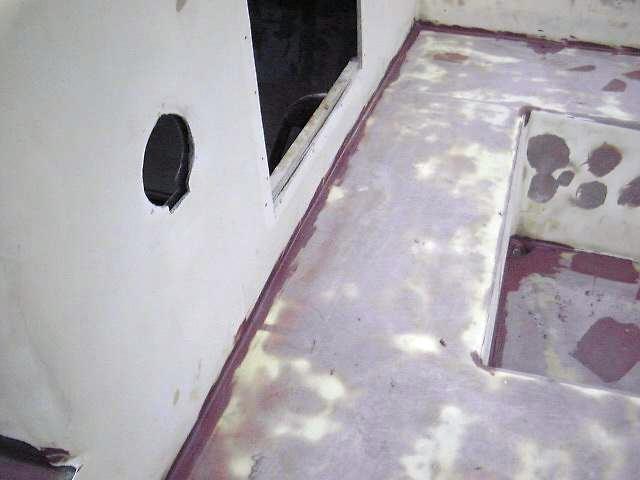
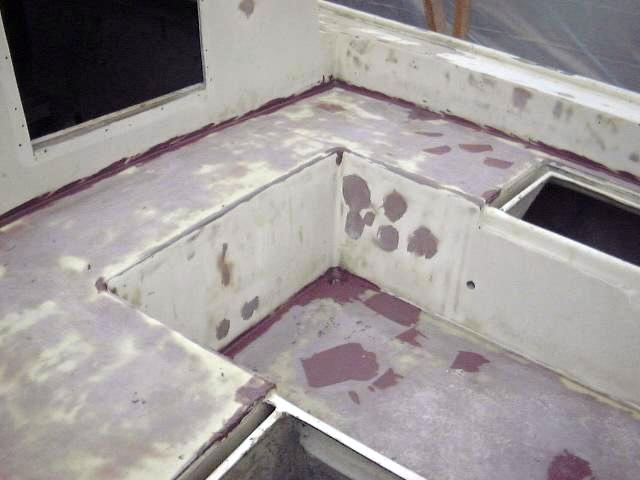
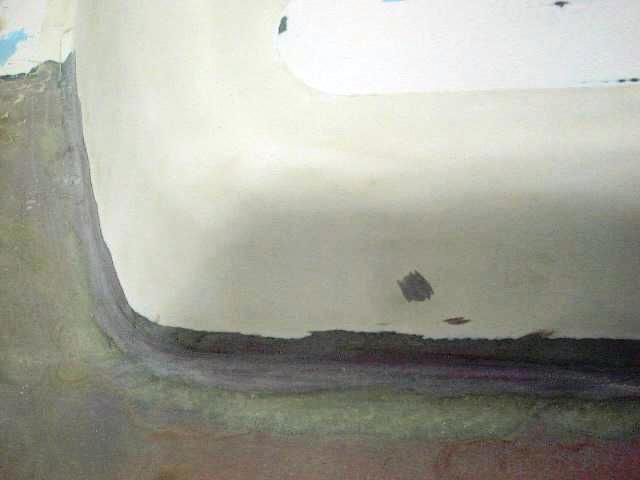
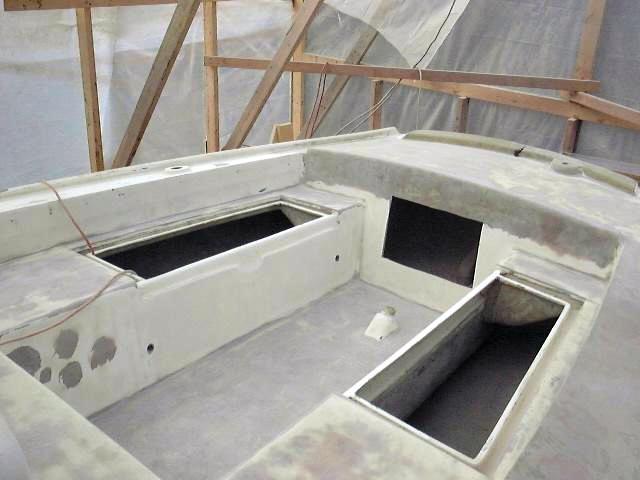
April
6-18, 2000 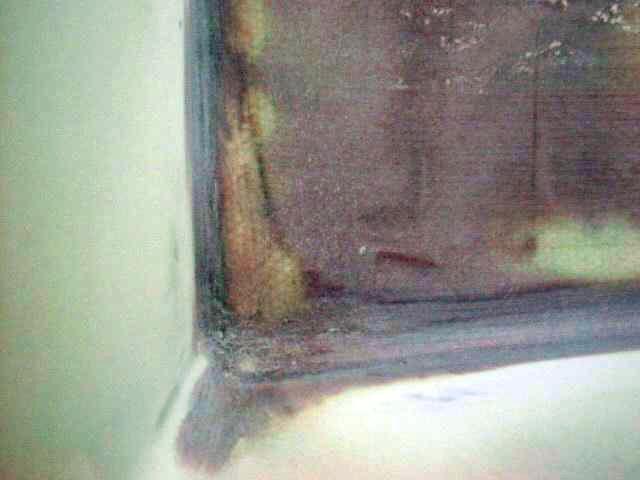 Several
days have been spent working on the final details on the deck, especially the
cockpit. This included reworking the scuppers
and getting a final surface on the fillets. I also spent a bit of time
working on the corners in the cockpit, which required filling and hand sanding.
(Forward corner of the seat shown at left.) This took several
applications, spot filling as necessary. I have gone over the deck pretty
closely, and have filled all the voids, cracks, gouges, chips, etc. that I can
find. I'm sure others will appear, but I'll take care of that minor,
detail stuff a little later when I do the FINAL, FINAL sanding and prep before
priming. At some point, you have to look at the work you've done and say
it looks good enough. Otherwise, I could keep nitpicking for months.
Enough is enough, and the deck and cockpit look very good (well, as good as they
can in their multi-colored, patched and faired state!). Several
days have been spent working on the final details on the deck, especially the
cockpit. This included reworking the scuppers
and getting a final surface on the fillets. I also spent a bit of time
working on the corners in the cockpit, which required filling and hand sanding.
(Forward corner of the seat shown at left.) This took several
applications, spot filling as necessary. I have gone over the deck pretty
closely, and have filled all the voids, cracks, gouges, chips, etc. that I can
find. I'm sure others will appear, but I'll take care of that minor,
detail stuff a little later when I do the FINAL, FINAL sanding and prep before
priming. At some point, you have to look at the work you've done and say
it looks good enough. Otherwise, I could keep nitpicking for months.
Enough is enough, and the deck and cockpit look very good (well, as good as they
can in their multi-colored, patched and faired state!).
I
sanded the entire deck and cockpit with 80 grit paper one more time, then went
over it again with 120 grit--all on my random orbit sander. The remaining
sandings will be done with my palm sander, which leaves a smoother surface,
starting again with 80 grit, then 120, then 220, just before priming. |
Click
on these thumbnails for full size pictures of the deck and cockpit at the
completion of fairing and sanding.


 |
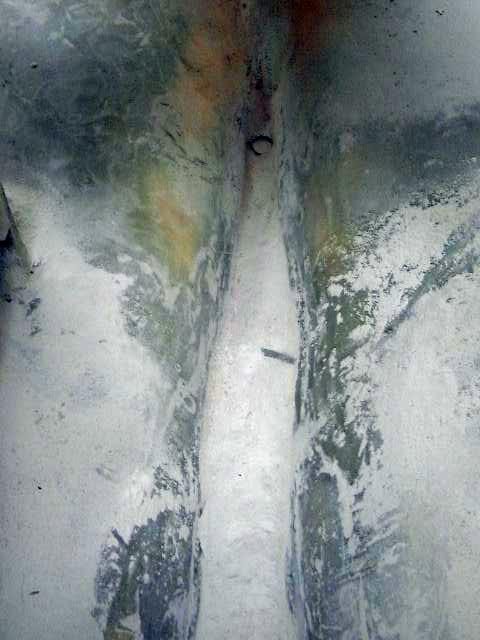 The
good news is that by the end of next week I expect to have thoroughly cleaned up
the boat and shed! It will be great to get rid of the mountains of dust
created during the project so far. The photo to the left shows the bilge
in the engine room--that's the stern tube at the top middle of the photo, and
all that white stuff is dust, to the tune of about 5" deep! (I often
sweep the decks off, and push the dust through the cockpit openings into the
bilge.) Reminds me of that song by Kansas..."Dust in the bilge...all
we have is dust in the biiilge...!" OK, so I've been doing this stuff
for too long, I admit! Please forgive me. The
good news is that by the end of next week I expect to have thoroughly cleaned up
the boat and shed! It will be great to get rid of the mountains of dust
created during the project so far. The photo to the left shows the bilge
in the engine room--that's the stern tube at the top middle of the photo, and
all that white stuff is dust, to the tune of about 5" deep! (I often
sweep the decks off, and push the dust through the cockpit openings into the
bilge.) Reminds me of that song by Kansas..."Dust in the bilge...all
we have is dust in the biiilge...!" OK, so I've been doing this stuff
for too long, I admit! Please forgive me.
With
the major work done, on the hull, interior as well as the deck, the boat was
swept and vacuumed down, then the entire shed was rinsed down with water to
remove the accumulated dust, and the boat--inside and out--was rinsed and washed
down with a Simple Green solution and lots of water. This is probably the
cleanest this boat has been in 20 years. All this for the purpose of
readying the boat for paint and further work on the interior.
In
late August, I began filling any pinholes or other imperfections in the
deck with Interlux epoxy surfacing compound, a smooth filler designed for the
purpose. When the filler was cured, I sanded the deck one last time with
120 grit on my palm sander, then washed the decks down with water and detergent. |
|
|
|
|
Please click here to go on to priming
and painting. |
|