|
Refit: Winter 2008-2009
|
Winter 2008-2009 Refit | Saturday, October 11, 2008
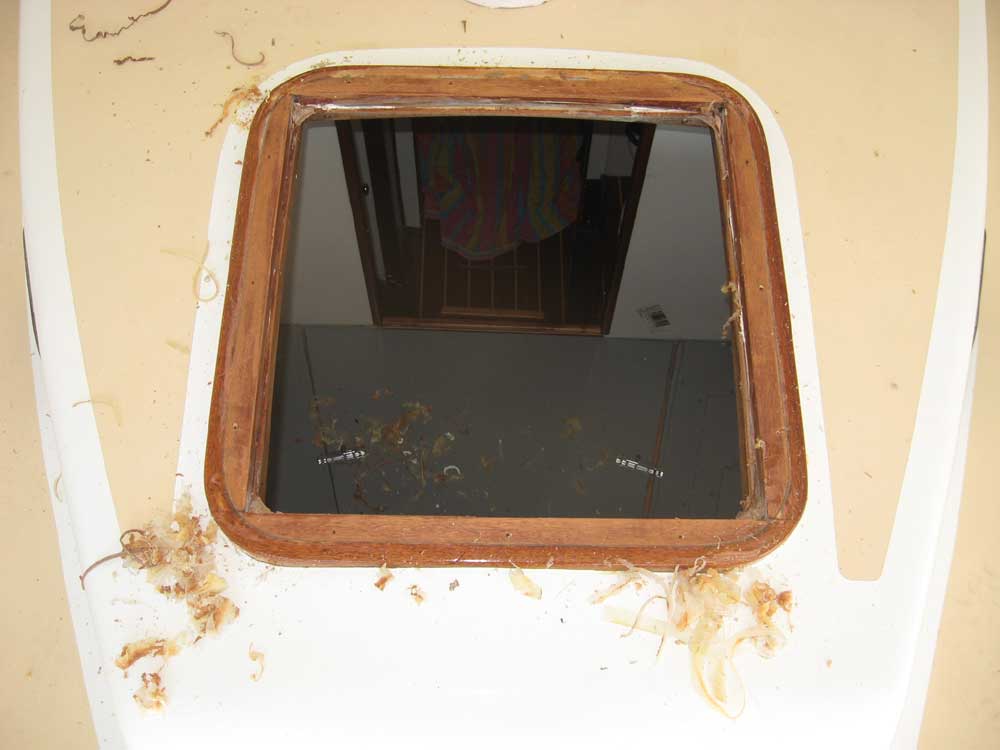
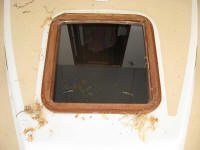
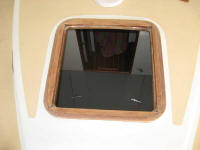
I accomplished a few small
jobs today. I began with the forward hatch surround,
and scraped away the old silicone sealant. Afterwards,
I sanded the top of the wooden surround with 80 grit, then
sanded the entire varnished piece with 120 and 220 grits to
prepare for additional varnish. |
|
|
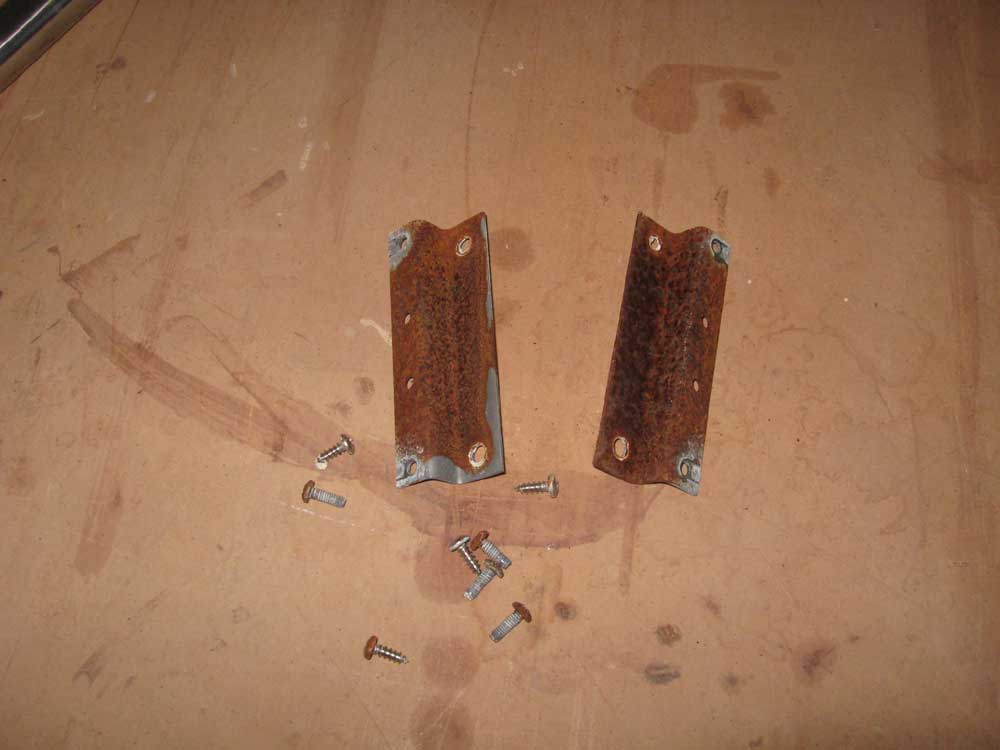
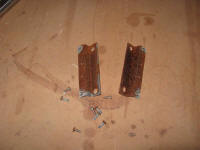
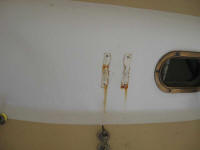
For a few years, the bracket securing the propane regulator
to the boat (located, in my case, on the leading edge of the
doghouse, adjacent to the propane tank storage) had been
rusting, and had become extraordinary ugly. So today I
removed it, and removed the bracket from the regulator
itself so that I could clean it up and paint it before
reinstallation. I'd also have to remove the ugly rust
stains from the doghouse.
(The first photo dates to
April 2008, but shows the rusted bracket in place.) |
|
|
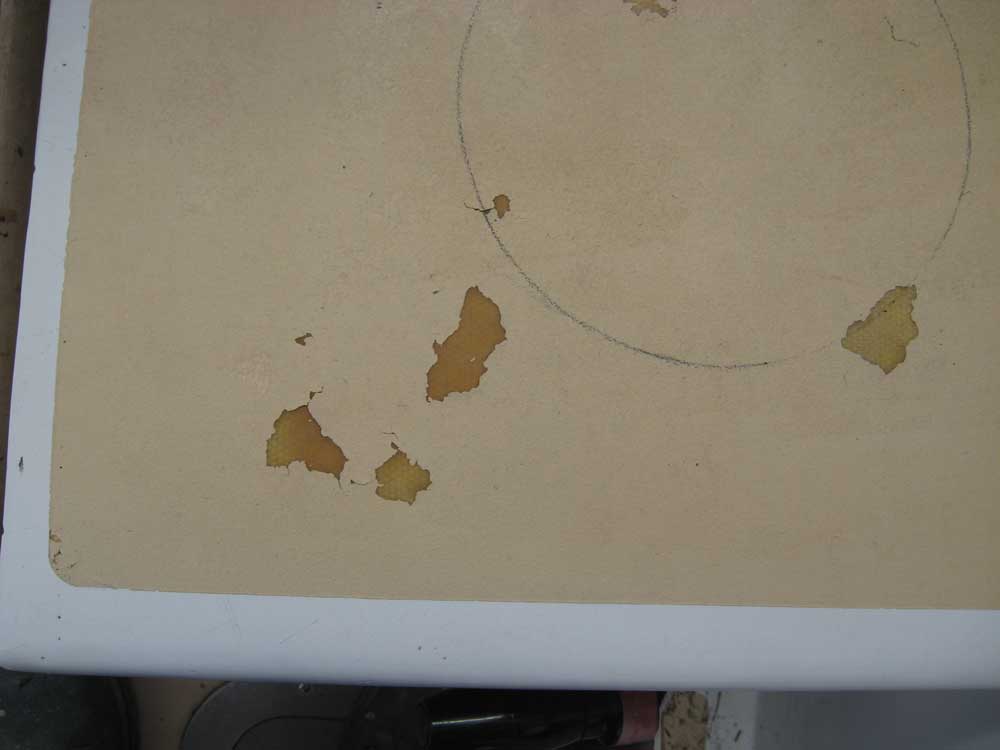
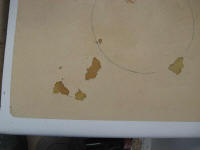
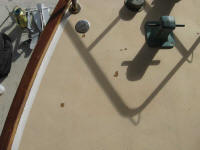
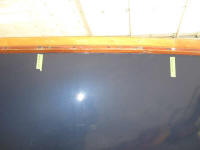
One of the projects slated for this refit was to repaint the
nonskid. While in general the coating was in good
shape--I renewed it in 2003 after completing some deck
repairs--there were a few areas where the adhesion had
failed, most notably on the cockpit seats (where we leave
cockpit cushions in place all summer long) and on the
foredeck. For future reference, I thought I'd
highlight these areas so you can see the condition that led
me to the decision to repaint this year. |
|
|
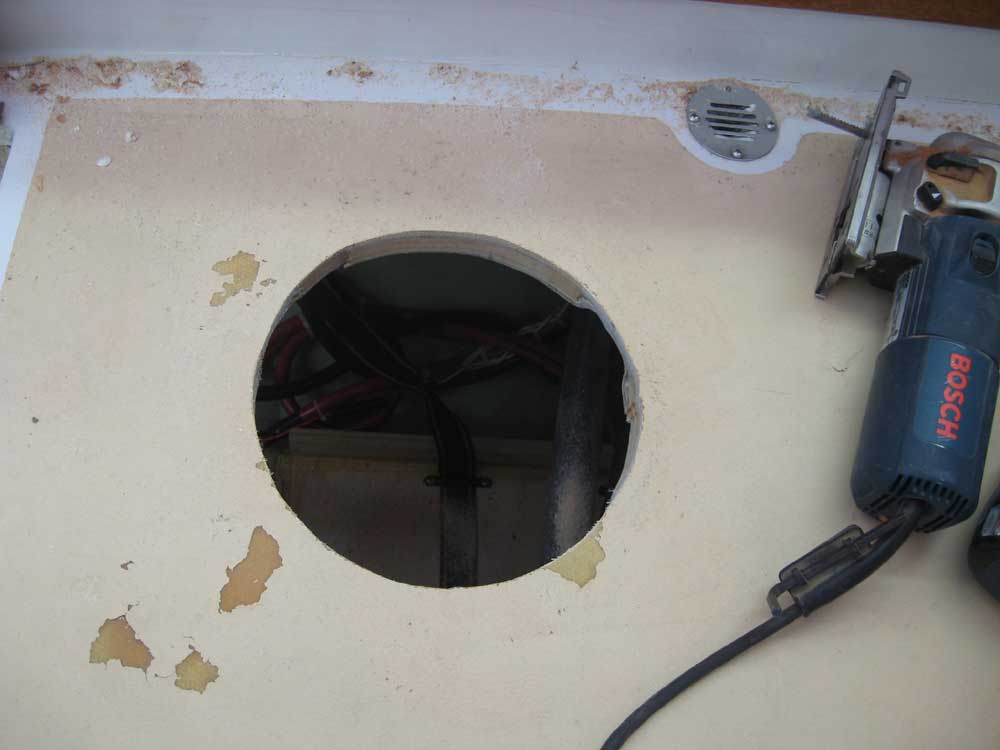
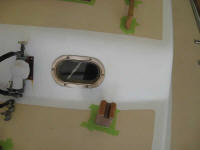
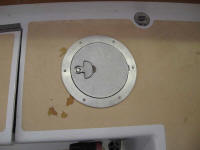
A few years ago, in a move borne of frustration, I installed
a
round aluminum deck plate above my house battery bank in
the starboard cockpit locker. This hatch allowed me
access to an otherwise very tight space (owing largely to
the over-deep molded gutters on the cockpit locker lids) and
made installing and connecting these batteries much easier.
At the time, I didn't deem it
necessary to install a similar hatch on the port side, above
the engine battery bank. But a couple more seasons'
worth of hookup frustration came to a head at the beginning
of the 2008 season, when for whatever reason I just couldn't
get the top of the battery box in place and properly
strapped down. The battery wasn't going anywhere, so I
lived with this for the season, but enough was enough:
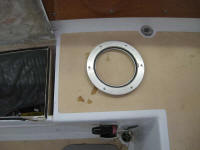
I wanted a hatch here as well. I hate those deep
gutters.
To that end, today I took a
somewhat smaller version of the starboard deck plate and
marked out the location for the cutout on the port side.
I cut the opening with a jigsaw, and then drilled the holes
for the mounting screws, using a VIX bit to self-center the
holes in the flange openings. I wouldn't permanently
install the new deck plate till after I repainted the
nonskid, but I did seal the exposed plywood stiffeners
inside the opening with epoxy. |
|

|
I removed the lifelines and stanchions for storage, and then
turned to the toerail varnish process. For the first
time since I installed my rubrail and brass rubstrip back in
2003, I decided it was time to varnish the entire
rubrail, not just the top edge. It was starting to get
ratty, and this was the perfect opportunity. So, I
spent an hour or so removing the brass rubstrip, a delicate
operation since the slim strip was quite susceptible to
bending at the screw countersinks and had to be handled
carefully.The little
brass screws I'd used to secure the rail weren't in great
shape, so it was probably good that I decided to remove the
rail anyway. On the starboard side, for whatever
reason, 5 or 6 of the screws broke off as I removed
them--the material was just wasted. This didn't happen
on the port side, however--but then the starboard side seems
to always have more wear on things than port, probably
because the prevailing wind direction leaves that side
exposed to the stronger UV rays of the sun during the season
(south and west). Or something.
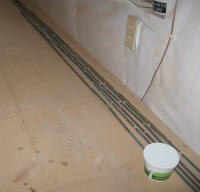
In the event, I
successfully removed the rubstrip, marking the locations
with broken screw studs with some masking tape for future
reference so I could drill them out. Since I installed
it originally, I'd located a source for bronze, rather than
brass, screws of appropriate size, so I planned to use
bronze screws for the re-installation. |
|
|
| Total time today:
3.25 hours
Previous |
Next |
|