|
Refit: Winter 2008-2009
|
Winter 2008-2009 Refit | Sunday, October 9, 2008 |
For the third time since
originally launching the boat in 2001, I removed the
propeller, shaft, and couplings for inspection and
maintenance. I elected to maintain a bi-annual
schedule for this chore, and even though the last time I did
it was in 2005 (technically three years ago), the boat
didn't go in the water in 2006, so only two seasons' use had
transpired. |
Notes for Future Reference
-Prop nuts 1-1/16"
-Coupling bolts 17mm
-Setscrew heads 3/8" |
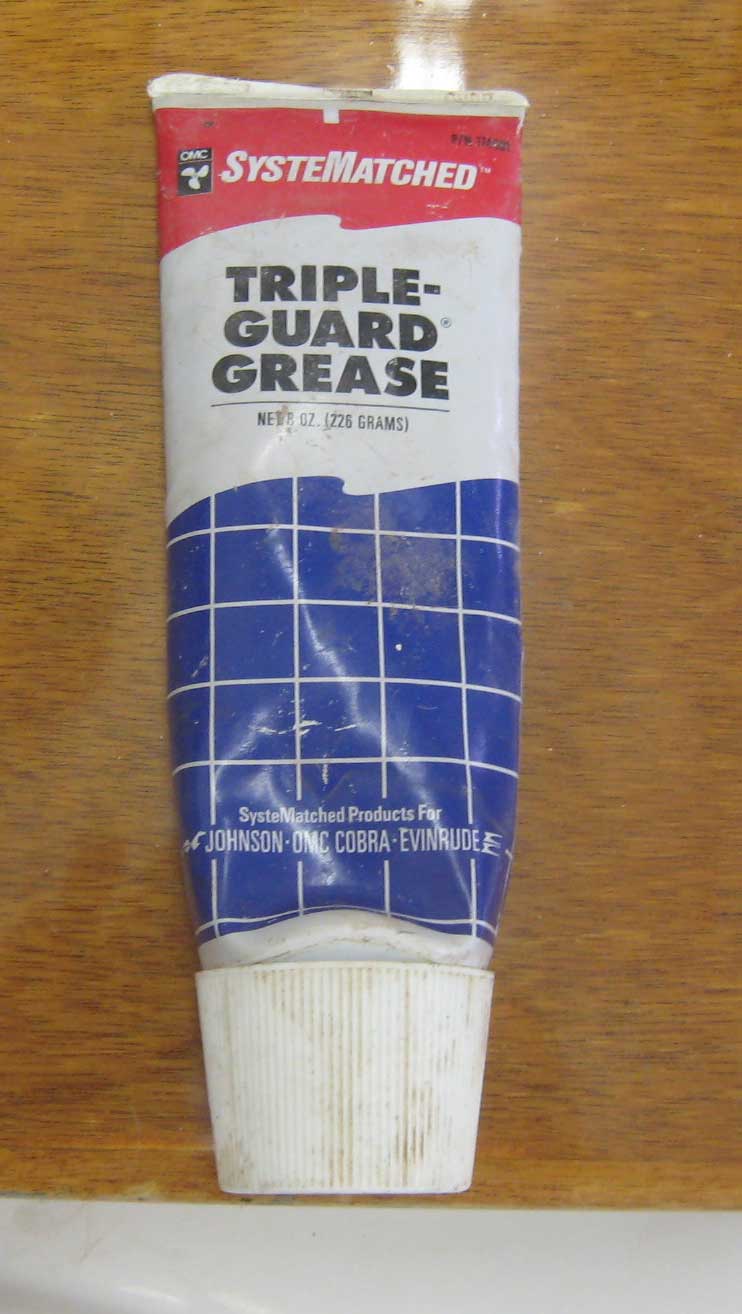
 Back
then, when I reassembled the coupling, I'd once again used
this great waterproof grease (an old tube of OMC
Systematched waterproof grease that I treasure) on all the
threads and inside the coupling and prop taper. Past
experience had proved its effectiveness in preventing these
parts from becoming rusted together, as they normally tend
to do. Still, as Heidi would quote (using some of that
"accounting humor" that I enjoy making fun of), "past
performance is not a guarantee of future results". Back
then, when I reassembled the coupling, I'd once again used
this great waterproof grease (an old tube of OMC
Systematched waterproof grease that I treasure) on all the
threads and inside the coupling and prop taper. Past
experience had proved its effectiveness in preventing these
parts from becoming rusted together, as they normally tend
to do. Still, as Heidi would quote (using some of that
"accounting humor" that I enjoy making fun of), "past
performance is not a guarantee of future results".
Therefore, this morning I
approached the task of removing the running gear components
reluctantly. And because I tend to look back at my own
writings to see how things went the last time, or for other
tips borne of past experience, you'll note that I have added
some specific notes for myself here, which I'm sure will
come in handy in 2010 when I do this job again.
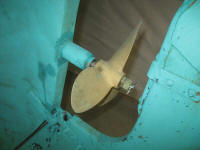
Beginning beneath the boat,
I removed the cotter pin and prop nuts. Then, I used
my puller to remove the propeller. The puller I have
works well, but the bolt (used to tighten the back of the
puller against the leading edge of the hub, while opposing
the force against the end of the shaft itself) is not long
enough to work properly on this boat. This was an
ongoing issue about which I was fully aware, and in the past
I'd used a number of spacers to make the puller work better.
This year, I chose a small
scrap of 1/2" prefab fiberglass to place between the bolt
and the end of the shaft. This actually worked very
well, and in a very short time the propeller came right off. |
|
|
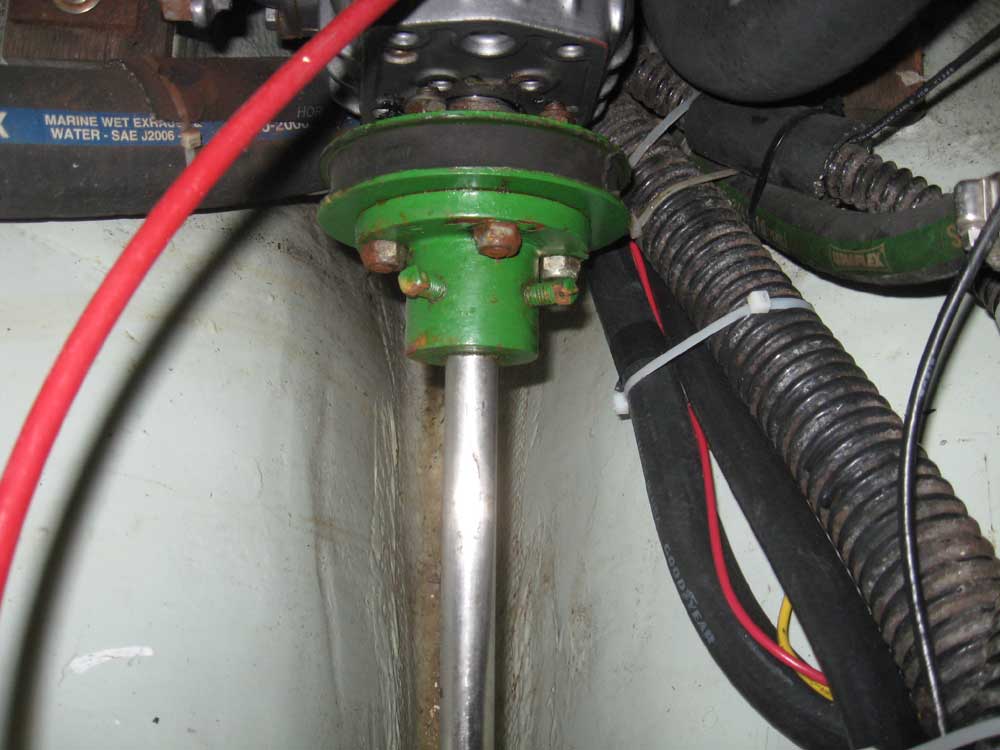
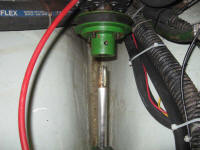
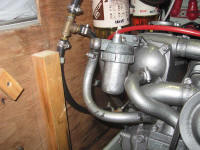
Next, I went up to the cockpit and, through the cockpit
hatch, cut the mousing wire securing the coupling set
screws, and removed the screws easily--again, largely
because of the waterproof grease I'd put on the threads
before. Then, I unbolted the four nuts securing
the shaft coupling to the flexible coupling. Though
the amount of swing possible with a wrench on these nuts is
limited by the coupling and other factors, the water proof
grease allowed them to unthread easily.
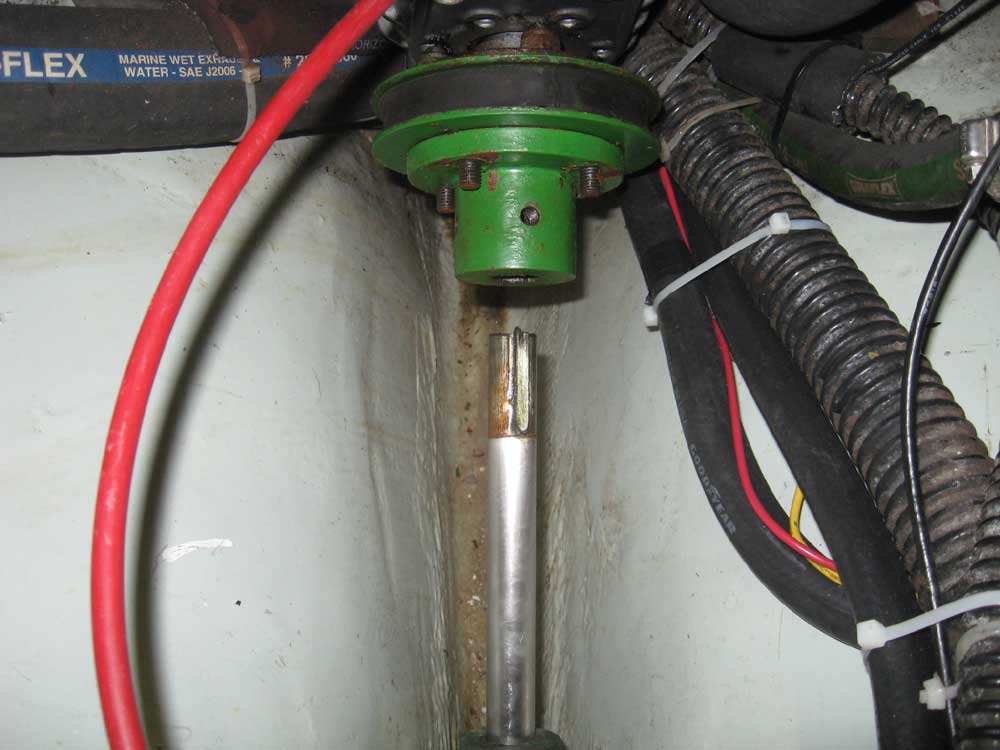
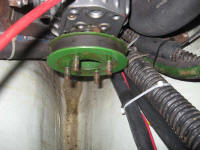
the worse part of removing
(and, often, installing) shaft couplings tends to be getting
the shaft out of the coupling (or into it). The last
time I did this, in 2005, I was pleased to find that a
couple short taps with a rubber mallet loosened the coupling
and allowed me to pull it right off. I didn't know
what to expect this time, though there were some hints of
rust where the shaft entered the coupling. The
coupling was still attached to the flex coupling with the
four studs, and was a bit of a tight fit over the studs.
So I grabbed the shaft just aft of the coupling to give me
some leverage to pull the coupling off the studs.
Imagine my surprise when the shaft pulled right out of the
coupling. Very nice indeed.
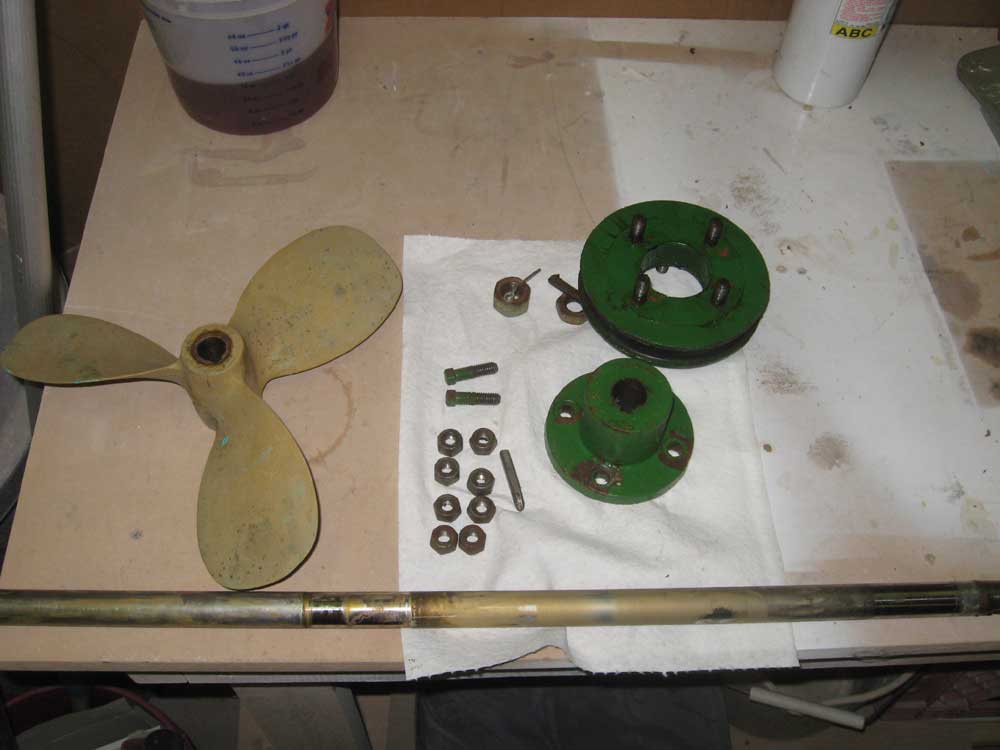
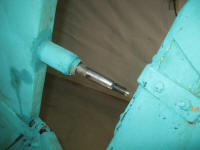
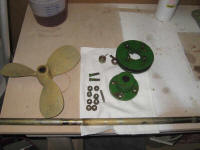
With the shaft out, I
easily removed the coupling, and the remaining four nuts
that secured the flex coupling to the transmission coupling.
I brought all the parts down to the bench for inspection,
cleanup, and repainting. I inspected the Cutless
bearing and determined that it looked excellent. |
|

 |
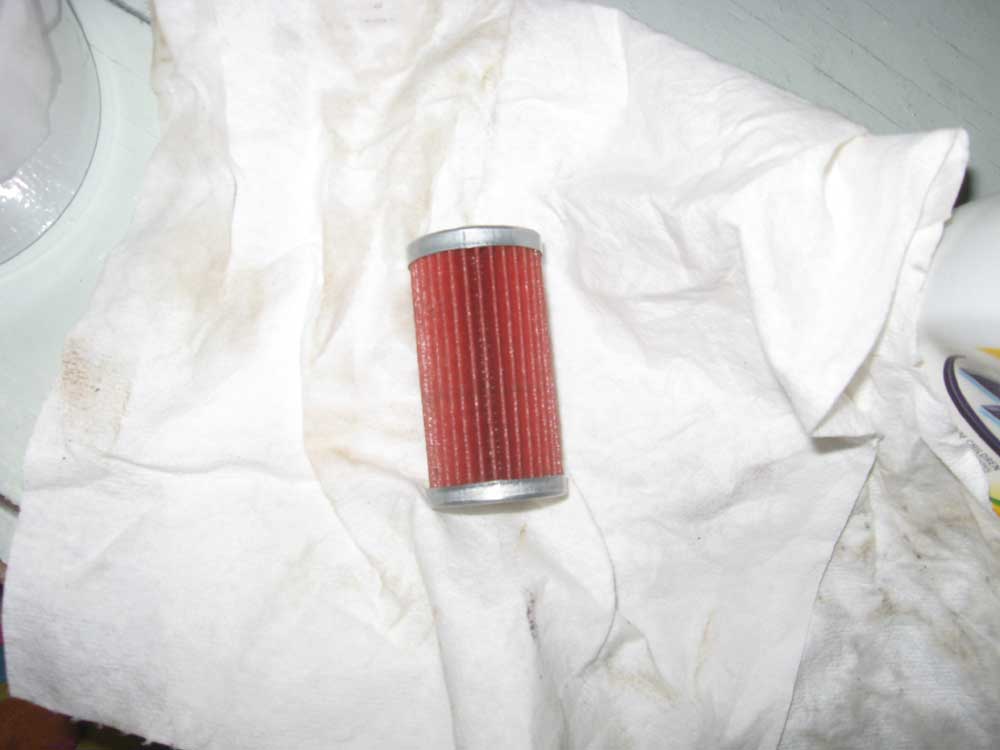
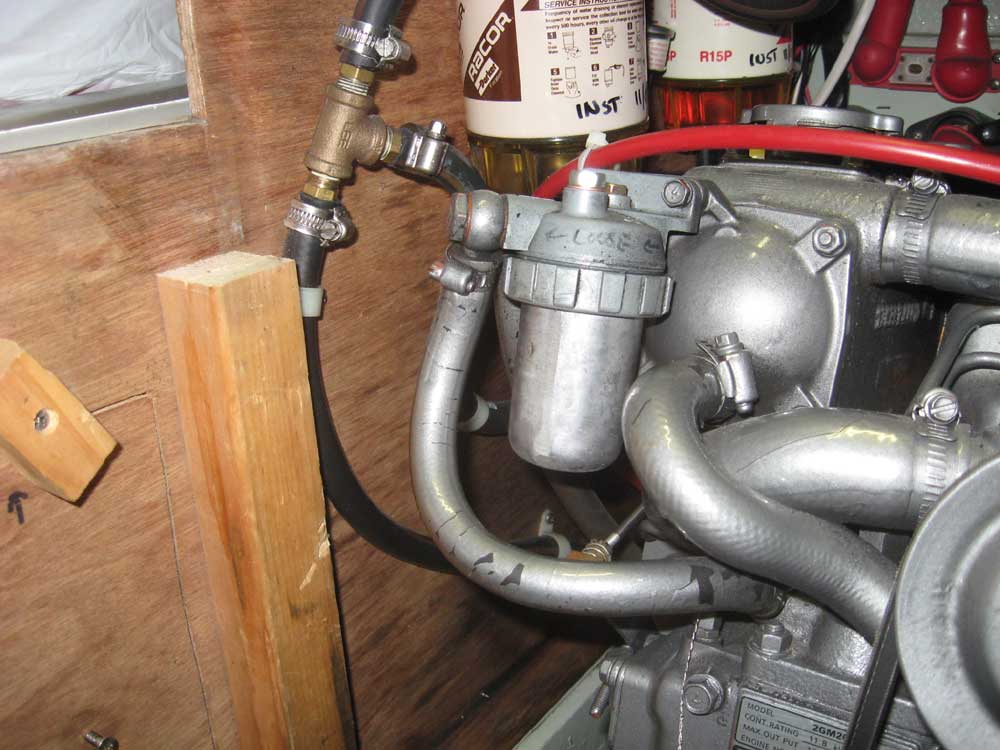
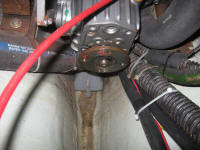
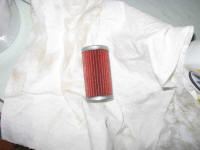
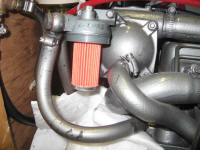
While I was up there, I decided to quickly change the
engine-mounted secondary fuel filter, which initially I'd
thought of leaving be. However, I decided that
prudence should rule the day, and since I had several spares
on hand I decided to change it. I'm not sure I had
done it since 2005 anyway. Removing this filter
requires removing one of the engine box supports, which
didn't take long; afterwards I changed out the filter in a
couple minutes. The old filter looked basically
pristine, but an ounce of prevention is worth a pound of
cure. |
|
|
|
Total time today:
1 hour
Previous | Next |
|