|
Refit: Winter 2008-2009
|
Winter 2008-2009 Refit | Saturday, December 6, 2008
It was time to start the
preparations for repainting the hull. With the boat
now installed in the "real" shop bay, I hoped to complete
the job in short order.
One might wonder why I felt
the need to repaint the hull. The existing
paint--Awlgrip which I applied in September 2000--was still
in good shape with plenty of life remaining. It didn't
look new, but it still had depth and shine and cleaned up
pretty well each spring.
However, the paint no
longer "popped" the way I wanted it to, and I thought the
boat deserved to look her best. There were some
factors from the original paint job upon which I knew I
could improve now. Also, I had never been thrilled
with the repair I made to the starboard bow in 2002, after
the boat was damaged at her mooring when the CQR anchor (and
entire anchor platform, for that matter) broke free during a
spring storm. The patch I effected hid the damage well
from any distance, and I lived with it for 6 years, but it
was time to make things right again.
In the end, I decided to
redo the hull just because I wanted to, and because it would
make the boat look better. It wasn't a desperate need,
but since I did this work for a living, I was frankly
jealous of the fresh, sparkling boats leaving my shop, and
it was time for Glissando to sparkle once more. |
|
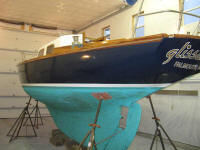
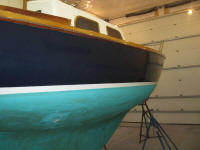
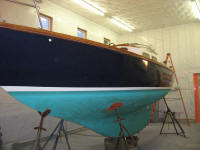
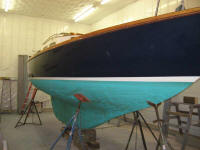
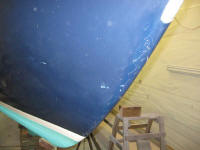 |
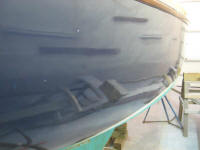
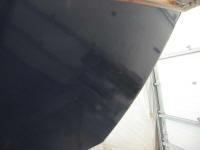
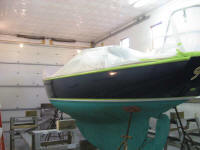
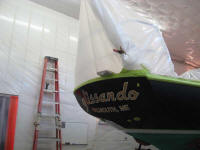
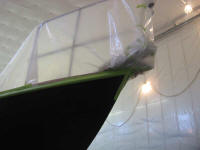
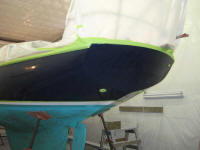
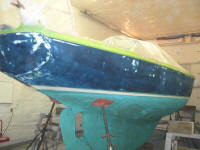
I began by taping off the rubrail along its bottom edge, and
then covering the decks with plastic to protect from dust
and overspray during the process. I heavily taped the
plastic in place, hopefully ensuring that all folds and gaps
were properly sealed.
I also taped the top of the
boottop, since I didn't want to sand away the line, which I
was happy with, and since the boottop was sound and in good
condition, I planned to repaint that in a separate operation
once the hull was done. The tape would prevent me from
oversanding the boundary and losing the line.
Finally, I removed the name
and hailing port, using a heat gun on a low setting to peel
the vinyl away. It felt rather odd to do this, as if I
were depersonalizing the boat, but I knew it was temporary. |
|
 |
The Awlgrip was sound, well adhered, and in good condition.
Therefore, I didn't need to remove it all, as the new
primers and paint could be applied directly over
properly-prepared Awlgrip in good condition. To help
resurface the hull and make up for some of the minor
preparation errors from my original job, I planned to apply
high-build primer over the old paint, followed by finish
primer and eventually topcoat.
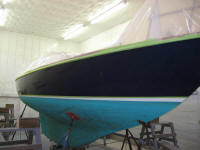
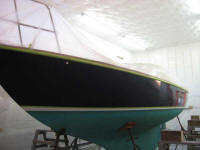
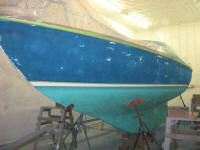
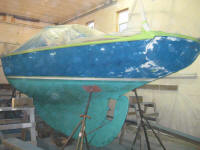
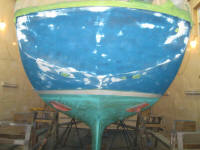
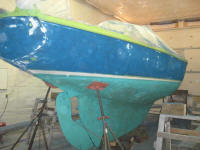
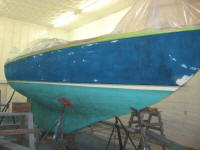
To that end, I sanded the hull
with a vibrating palm sander equipped with 80 grit paper,
followed by a pass with 120 grit. The 80 grit broke
the paint's hard surface (Awlgrip is extremely tough) and
began the smoothing process, while the 120 grit relieved the
sanding scratches from the 80 and further smoothed the
surface. Since the hull was basically fair--as fair as
it was ever going to be--I made no attempts to "correct" the
surface; the thickness of the existing paint and primer
coats beneath it provided more than enough substance to
subtly make the surface just a little better.
The high-build primer would improve upon it even further. |
|
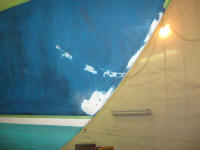 |
At the starboard bow, it took just a bit more sanding to
smooth the paint over the repaired area. Later, I
figured there might be a need for some minor fairing here,
but I left that analysis for a little later, once I'd
completed the sanding.
In all, it took about 1.5
hours to sand the hull with 80 and 120 grits. 120 grit
was the recommended grit over which to apply the high-build
primer, so there was no need to sand beyond this point.
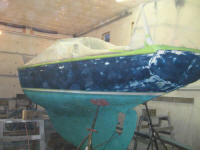
Afterwards, I wiped down
the hull with solvent to remove the dust so that I could
look for, and repair, any minor inconsistencies in the
surface. I hadn't noticed much that would require
attention as I sanded--the hull was in good shape--but I'd
look at it with a fresh eye a little later on. |
|
|
Total time today: 5 hours
Previous |
Next |
|