2005 Maintenance Log
|
|
I will use this page to cover
some of the general maintenance and small projects I do on the boat that are too
small to justify their own pages on the site. Most of these items
are either small upgrades or routine maintenance. Where a project
requires more description and detail, you'll find a link leading to that project
page.
To read the log sequentially,
click here to go to the bottom. To read archived logs, choose one of these links: |
2003
|
2004
|
|
|
Date |
Maintenance/Projects
Underway (and, sometimes, general musings) |
5/29/05 |
On a pleasant, calm morning, I spent a few
hours setting up my new lazy jacks. I made a few adjustments to
the lower line length (which I had expected), shortening the lines
somewhat, but for now I bundled up the extra line and left it in place,
in case I needed to make any more adjustments in the near future.
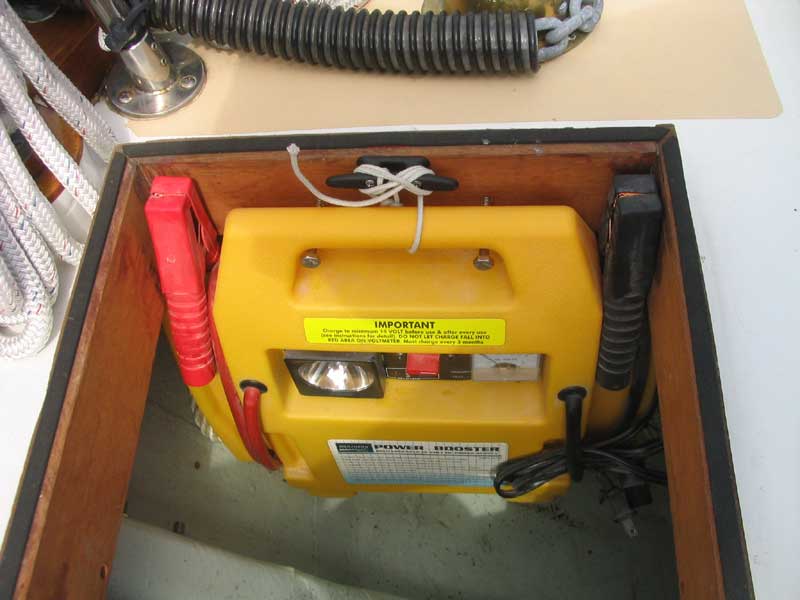
 I
like to carry a portable battery booster pack on board when cruising,
just in case something weird happens and the starting battery runs down.
Since the booster has to be stored upright, I was having trouble finding
a good spot where it truly fit. Since I was trying, once again, to
optimize onboard storage, I eventually realized that I could hang the
booster from the lazarette curbing, over to one side. I installed
two lag screws from which I could hang the booster, and then installed a
small cleat for a simple line to secure it. The location had the
added benefit of forming a sort of partition between the side of the
lazarette used for storage, and the port side, which contains the stern
anchor rode. I
like to carry a portable battery booster pack on board when cruising,
just in case something weird happens and the starting battery runs down.
Since the booster has to be stored upright, I was having trouble finding
a good spot where it truly fit. Since I was trying, once again, to
optimize onboard storage, I eventually realized that I could hang the
booster from the lazarette curbing, over to one side. I installed
two lag screws from which I could hang the booster, and then installed a
small cleat for a simple line to secure it. The location had the
added benefit of forming a sort of partition between the side of the
lazarette used for storage, and the port side, which contains the stern
anchor rode. |
5/21/05 |
With the new boom, I needed to make some changes to my outhaul
arrangement. The new extrusion featured provisions for an
internal line, and I had thought it was to be delivered with an
internal outhaul tackle; none was fitted, and I never got around to
working anything out.
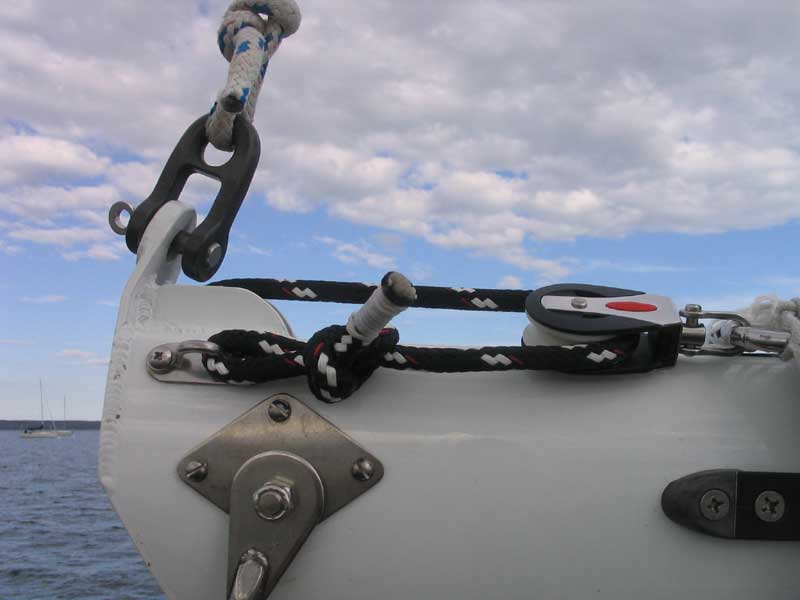
 After
launching, I set to work on the new outhaul. I had some blocks
left over from my old arrangement, but I couldn't use them in the
same place or same way, since there wasn't room enough forward of
the outhaul exit on the boom. I ended up installing a cheek
block on the base of the mast, with a movable block with becket
above, secured to the bitter end of the new outhaul line. With
the remaining line, I rove the outhaul through the new tackle and
then aft to the cockpit, as before. This arrangement seemed to
work quite well, actually. After
launching, I set to work on the new outhaul. I had some blocks
left over from my old arrangement, but I couldn't use them in the
same place or same way, since there wasn't room enough forward of
the outhaul exit on the boom. I ended up installing a cheek
block on the base of the mast, with a movable block with becket
above, secured to the bitter end of the new outhaul line. With
the remaining line, I rove the outhaul through the new tackle and
then aft to the cockpit, as before. This arrangement seemed to
work quite well, actually. |
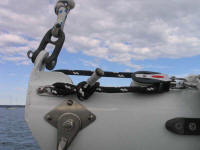 I
also installed a block on the mainsail clew, so that I could run the
outhaul through the block and back to an eye strap on the boom,
adding additional purchase to the system. I
also installed a block on the mainsail clew, so that I could run the
outhaul through the block and back to an eye strap on the boom,
adding additional purchase to the system. |
|
4/30/05 |
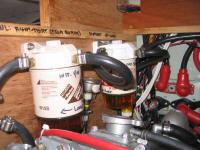 It
was time for an engine spa day, as happens every year around this
time. Today, I worked on recommissioning the engine, including
changing all three fuel filters and giving the whole engine a good
inspection to make sure all was well. It
was time for an engine spa day, as happens every year around this
time. Today, I worked on recommissioning the engine, including
changing all three fuel filters and giving the whole engine a good
inspection to make sure all was well. |
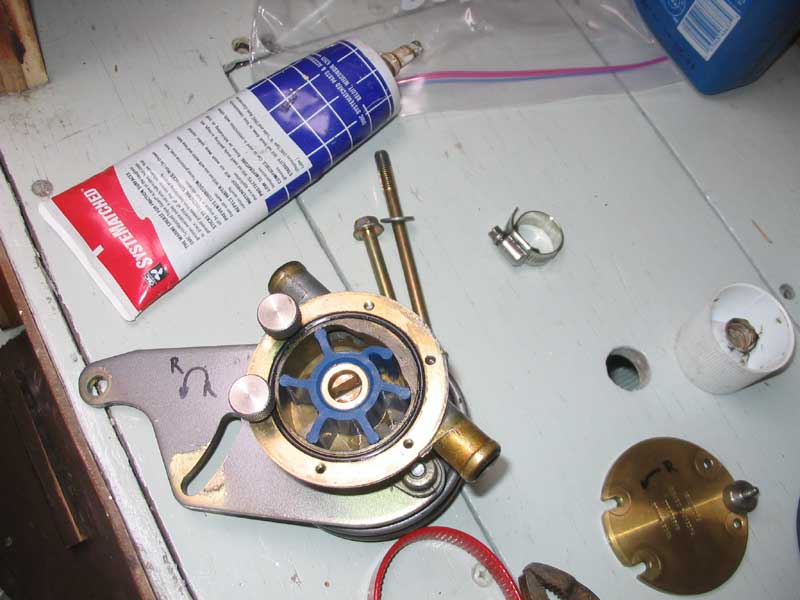
 I
decided to treat the raw water pump to a brand new impeller,
relegating the 3 season-old impeller to the spare parts box.
Even though the old impeller was generally sound, it was starting to
show its age. The new impeller is identical--a Globe blue
nitrile impeller. Once I had the new impeller installed, I
reinstalled the raw water pump. I
decided to treat the raw water pump to a brand new impeller,
relegating the 3 season-old impeller to the spare parts box.
Even though the old impeller was generally sound, it was starting to
show its age. The new impeller is identical--a Globe blue
nitrile impeller. Once I had the new impeller installed, I
reinstalled the raw water pump. |
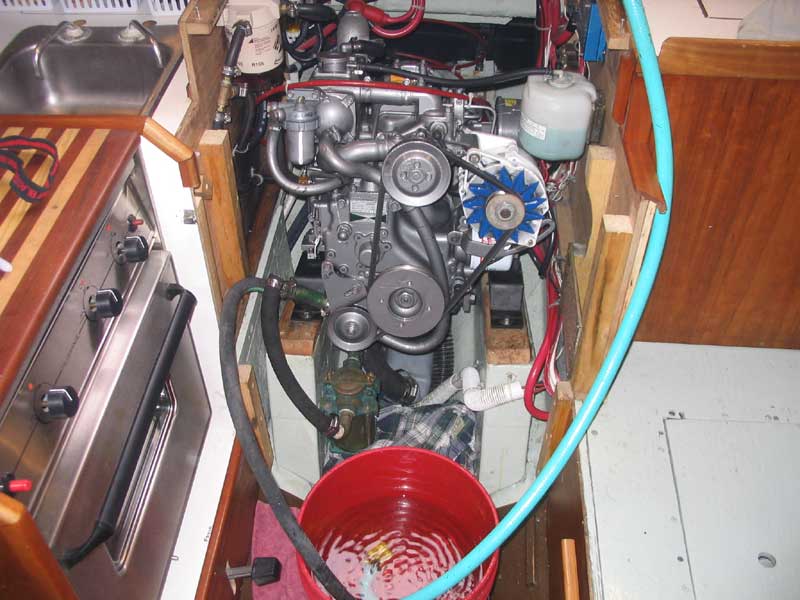
 With
the new filters installed and the system bled, and the water pump
reinstalled, I set up my bucket for an engine test run. As
usual, the faithful Yanmar cranked over immediately with no fuss and
no muss. I love this engine. I ran the engine for 10 or
15 minutes to check all the systems and allow it to warm to
operating temperature, then shut down. Interestingly, the
camera froze the belts and alternator vanes in this photo, but you
can tell the engine is running because of the circular vibrations
visible in the water bucket. With
the new filters installed and the system bled, and the water pump
reinstalled, I set up my bucket for an engine test run. As
usual, the faithful Yanmar cranked over immediately with no fuss and
no muss. I love this engine. I ran the engine for 10 or
15 minutes to check all the systems and allow it to warm to
operating temperature, then shut down. Interestingly, the
camera froze the belts and alternator vanes in this photo, but you
can tell the engine is running because of the circular vibrations
visible in the water bucket. |
I discovered, to my annoyance, that the
el-cheapo (in construction, not cost) Attwood sump pump for my
galley sink had decided to give up over the winter; of course I
discovered this only after I poured the remains of the water from my
engine-running bucket into the sink to test the sump. I added
pump replacement to my short list. |
|
4/26/05 |
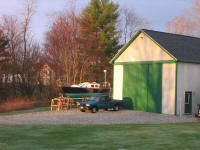 Just
a nice picture in the early morning light, with the first sun after
several days of heavy rain. Just
a nice picture in the early morning light, with the first sun after
several days of heavy rain. |
4/20/05 |
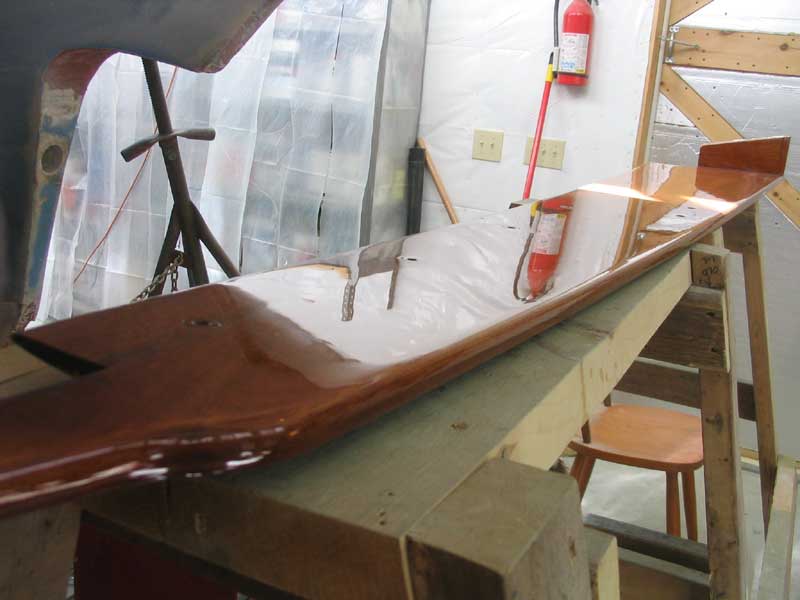
 Varnishing
is underway! I sanded and revarnished the coamings (in the
shop), and then, to get them out of the way, installed them on a
warm, sunny afternoon. I was really pleased with the way the
coamings came out this year. Varnishing
is underway! I sanded and revarnished the coamings (in the
shop), and then, to get them out of the way, installed them on a
warm, sunny afternoon. I was really pleased with the way the
coamings came out this year.I
also varnished some other smaller pieces, like the tiller, boathook,
and lazarette hatch, while they were off the boat and in the shop. |
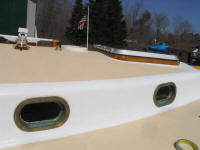
 All
of the non-removable mahogany on the boat requires varnishing as
well. For now, I concentrated on the toerails, which have to
be done with the boat out of the water. There were a few
places where the old varnish had lifted (this happens every winter
when the boat is outside), so I scraped off the old stuff and sanded
it clean in these areas. Next time the boat is indoors, I plan
a full-scale toerail redux, but for now, and every year, this works
fine. All
of the non-removable mahogany on the boat requires varnishing as
well. For now, I concentrated on the toerails, which have to
be done with the boat out of the water. There were a few
places where the old varnish had lifted (this happens every winter
when the boat is outside), so I scraped off the old stuff and sanded
it clean in these areas. Next time the boat is indoors, I plan
a full-scale toerail redux, but for now, and every year, this works
fine.
When the scraping was done, I sanded
the toerails and rubrails with 220. It was late in the
day--too late to varnish--but I applied a thin coat of sealer
varnish to the bare areas to prepare for subsequent work. |
|
4/17/05 |
 I
painted the bottom; I always like to get this done early, so that there's
nothing standing in the way of launch if we get weeks of rainy weather.
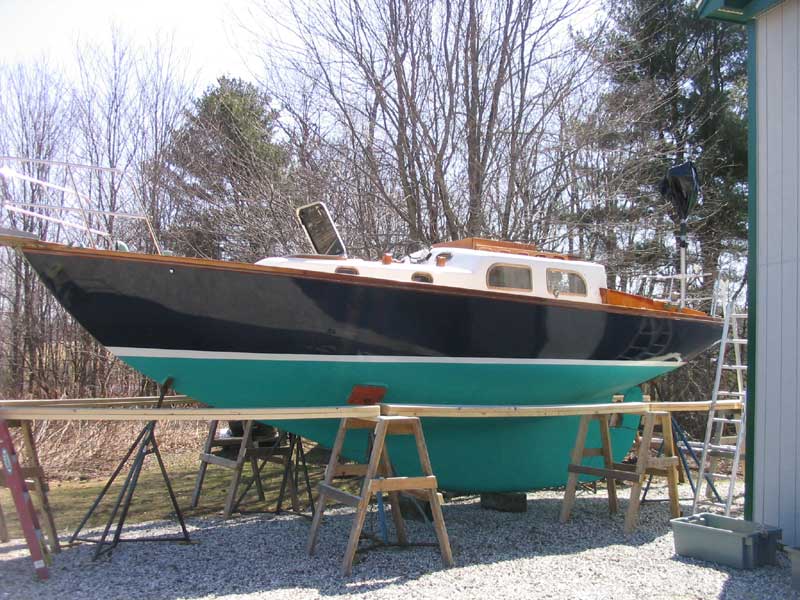
This year, I decided to try a new product: Vivid green from Pettit.
I have never minded the old green, but I thought a brighter color--as
Vivid colors are touted to be--would be nice. Vivid is an ablative
paint, like the Micron CSC I used in the past. I
painted the bottom; I always like to get this done early, so that there's
nothing standing in the way of launch if we get weeks of rainy weather.
This year, I decided to try a new product: Vivid green from Pettit.
I have never minded the old green, but I thought a brighter color--as
Vivid colors are touted to be--would be nice. Vivid is an ablative
paint, like the Micron CSC I used in the past.
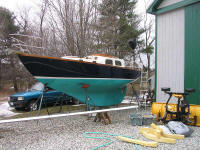
I rolled on a coat of the new green and was
pleased with the initial color--very bright and cheery, and an excellent
offset to the blue hull. Time will tell how the color survives in
the water (they all tend to change color when submerged), and how
effective the paint is. |
4/10/05 |
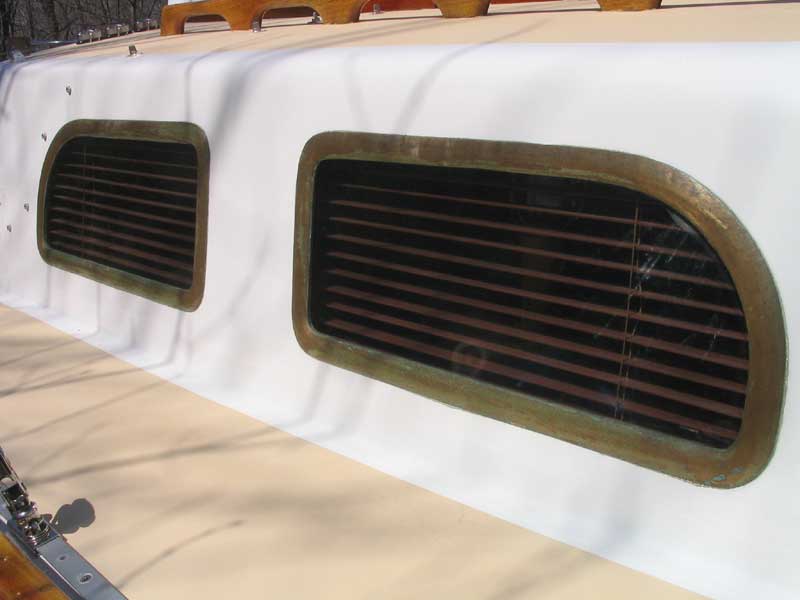
 One
of the first things I try to do each spring is deal with the bronze
ports. In a perhaps-uninspired decision years ago, I decided
to coat the cleaned-up antique bronze in clear lacquer to help
retain the pleasing appearance. The lacquer works well over
the course of a sailing season, but the cold weather during the
winter always caused the lacquer to fail and flake off--perhaps
because of contraction of the metal in the cold. Who knows. One
of the first things I try to do each spring is deal with the bronze
ports. In a perhaps-uninspired decision years ago, I decided
to coat the cleaned-up antique bronze in clear lacquer to help
retain the pleasing appearance. The lacquer works well over
the course of a sailing season, but the cold weather during the
winter always caused the lacquer to fail and flake off--perhaps
because of contraction of the metal in the cold. Who knows. |
 IN
any event, this means that each spring I need to clean up and
relacquer the ports. No, I won't let them go natural: I
like the lacqured appearance, despite its annoyances. The day
I chose to do the job this year was warm and beautiful, and I didn't
even mind the process at all. IN
any event, this means that each spring I need to clean up and
relacquer the ports. No, I won't let them go natural: I
like the lacqured appearance, despite its annoyances. The day
I chose to do the job this year was warm and beautiful, and I didn't
even mind the process at all. |
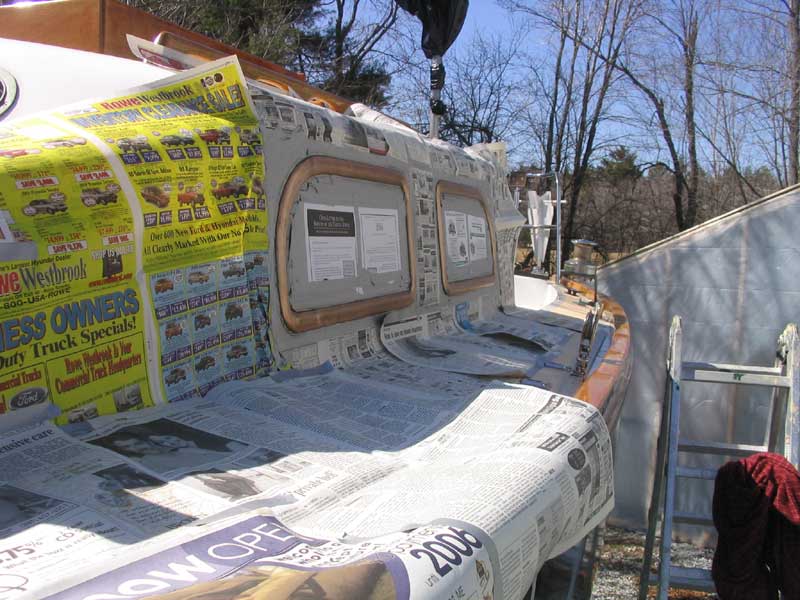
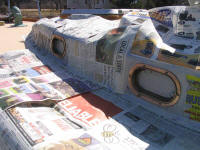 Refinishing
is quite a simple process, but takes a long time because of the
amazing amount of masking and protection required so that I can
spray the lacquer. For each port, I must tape both inside and
outside, and then apply paper around the outside edges to allow me
to spray without any overspray concerns. It's the taping that
makes the project extend into several hours. Refinishing
is quite a simple process, but takes a long time because of the
amazing amount of masking and protection required so that I can
spray the lacquer. For each port, I must tape both inside and
outside, and then apply paper around the outside edges to allow me
to spray without any overspray concerns. It's the taping that
makes the project extend into several hours. |
 After
taping, but before papering, I sanded each port frame as needed with
100 grit paper, then 220 grit to remove the coarser scratches.
This removed any loose material, as well as older, still-adhered
lacquer. After vacuuming up the dust and cleaning with paint
thinner, I applied the newspaper a round the ports. Then, in
about 2 seconds, I spray-applied 4 or 5 coats of clear spray lacquer
to each port, waiting 10-15 minutes (or less) between coats After
taping, but before papering, I sanded each port frame as needed with
100 grit paper, then 220 grit to remove the coarser scratches.
This removed any loose material, as well as older, still-adhered
lacquer. After vacuuming up the dust and cleaning with paint
thinner, I applied the newspaper a round the ports. Then, in
about 2 seconds, I spray-applied 4 or 5 coats of clear spray lacquer
to each port, waiting 10-15 minutes (or less) between coats |
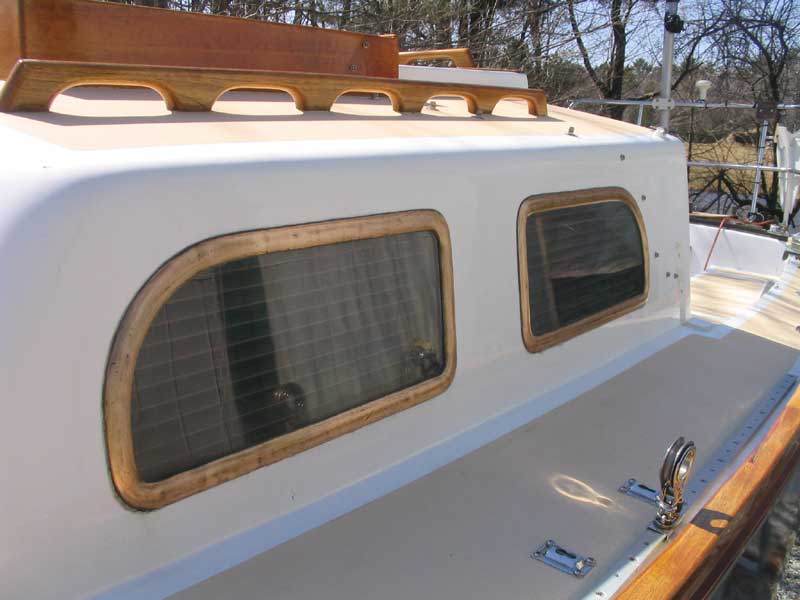
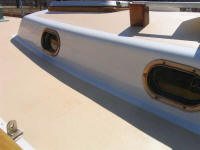
 I
think they look good, and this 2-3 hour process each year really
isn't that bad...at least not when it's all behind me! I
think they look good, and this 2-3 hour process each year really
isn't that bad...at least not when it's all behind me! |
 |
|
4/7/05 |
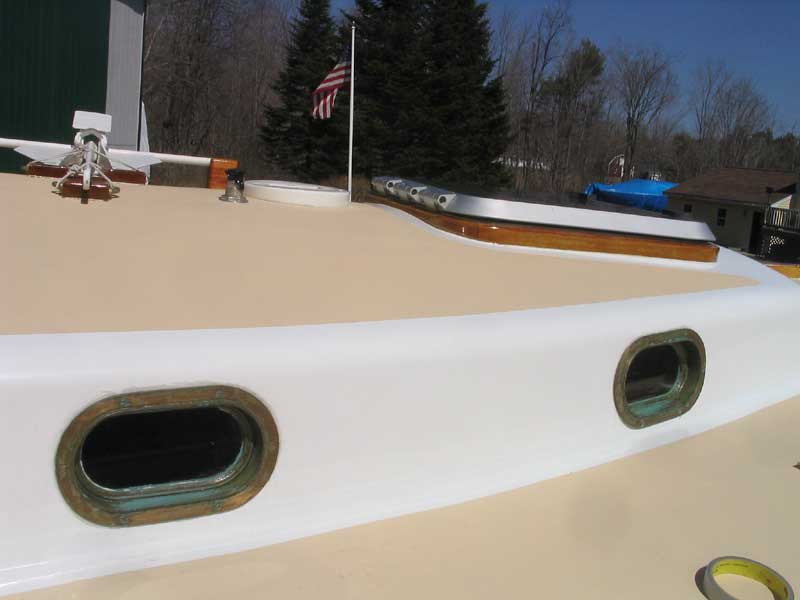
 Uncovered!
With nice weather forecast for the weekend, and a free afternoon, I
happily removed the winter cover, revealing the boat for the first time
since October 5. I hoped to knock off a number of the small
pre-season projects over the weekend. Uncovered!
With nice weather forecast for the weekend, and a free afternoon, I
happily removed the winter cover, revealing the boat for the first time
since October 5. I hoped to knock off a number of the small
pre-season projects over the weekend.
She looked pretty good despite a long winter.
First on the list: re-lacquer the ports and get to work on the
varnish. |
4/6/05 |
Launching Date Set: Wednesday, May 18
|
3/6/05 |
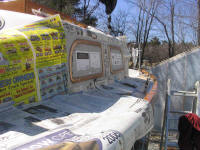
 ANTICIPATED
SPRING 2005 PROJECT LIST ANTICIPATED
SPRING 2005 PROJECT LIST
- Finish/repair the Awlgrip paint job on
the mast begun in the fall
- Transfer reefing and other hardware to
the new boom
- Install Strong mainsail track system on
the mast
- Install new Harken Hexratchet mainsheet
system
- Maintenance: Revarnish exterior
wood trim
- Maintenance: Relacquer bronze port
frames
- Maintenance: Paint bottom
- Reload boat gear, commission engine,
etc.
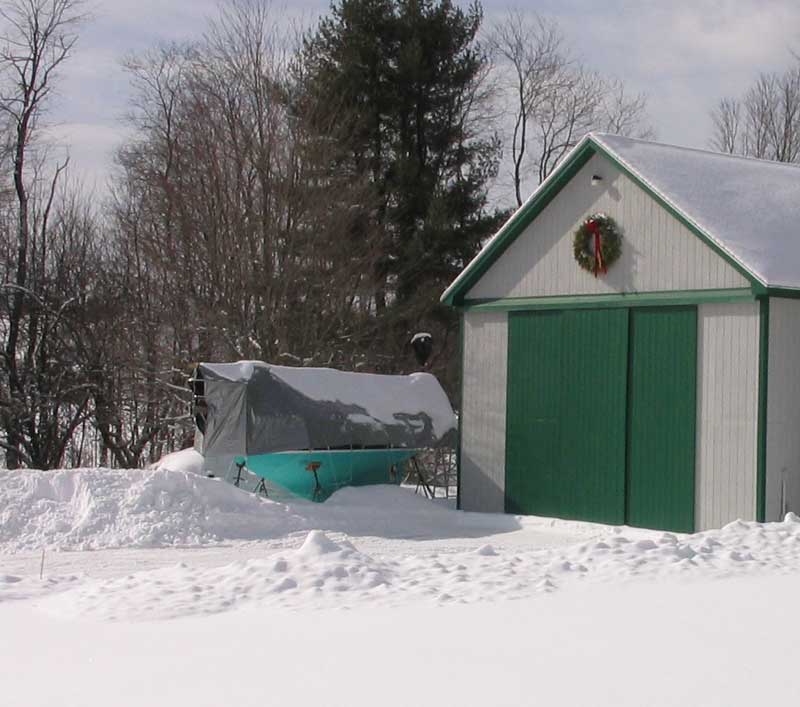
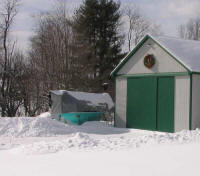
All in all, this is a very minor project
list, though taking care of the mast painting in a timely manner will be a
challenge. Since Awlgrip requires 3 weeks at "ideal" temperatures
(mid-70s) to fully cure, I anticipate needing 4 weeks of time after
application of the paint to ensure a hard, fully-cured finish.
Therefore, I must paint by the middle of April. The mast is buried
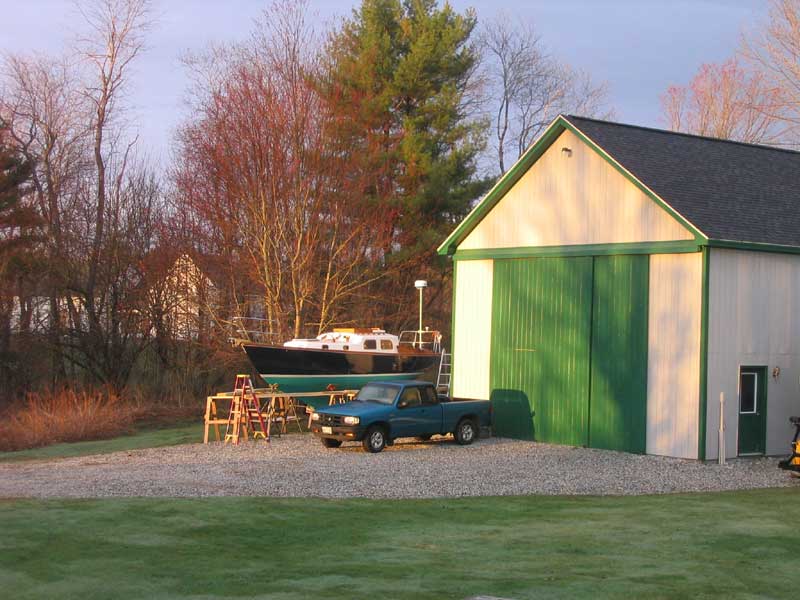
now under snow, and access to its storage area is virtually nil thanks to
the huge snowpiles you can see in the photo above.
I'll get it done. But it won't be for
a little while yet.
I anticipate launch date to be on or around
May 15. I expect to book the date this week.
With the
Daysailor project
coming to a head, and since I feel under the gun to complete the boat for
a launching sometime in early summer, it will be more difficult than usual
to ensure that I complete all of Glissando's needed maintenance in
time. The time frame is further compressed since we have travel
plans in the beginning of May.
With two feet or so of snowpack on the
ground, and temperatures that remain in January range, spring and
launching seem a long way off. But it's only just over two months.
With luck, the weather will turn more springlike sooner than later, but
with a real Maine winter on our hands, finally, it seems more likely that
March will remain a snowy, wintery month...and who knows what April might
bring.
|
|