|
Winterizing: 2003
This page was last updated
on 18 October 2003.
Winterizing he boat is
old hat by this point, both for me and for you, dear reader. However,
this year, a new twist has come about: how do you run an engine
inside an enclosed permanent structure? What do you do with the
exhaust and water discharge? The answers to these questions are
what makes this more interesting this year.
Strictly speaking,
winterizing was probably not necessary, as I expected the barn to be
heated well above freezing at all times. Still, this is not a
chance I would willingly take, and besides, there's the
corrosion-protection component of running fresh water and antifreeze
through the engine passages. Therefore, winterization for
long-term storage was important no matter what.
I couldn't simply run the
engine as usual, because the exhaust discharge would have made an
incredible mess of everything in the shop. Not possible. So
I had to come up with a plan to collect and discharge this exhaust
outside the shop--without, obviously, moving the boat. To make
matters more difficult, the boat was located on the far side of
the building from the side opening, and stern in from the front door, so
the exhaust outlet was about as far away from an opening as it could be.
I decided I needed a
bucket with piping attached that would drain the contents outside the
barn. As far as the exhaust smoke and fumes, I planned to simply
open every door and window and let nature take its course--there was
little else I could do.
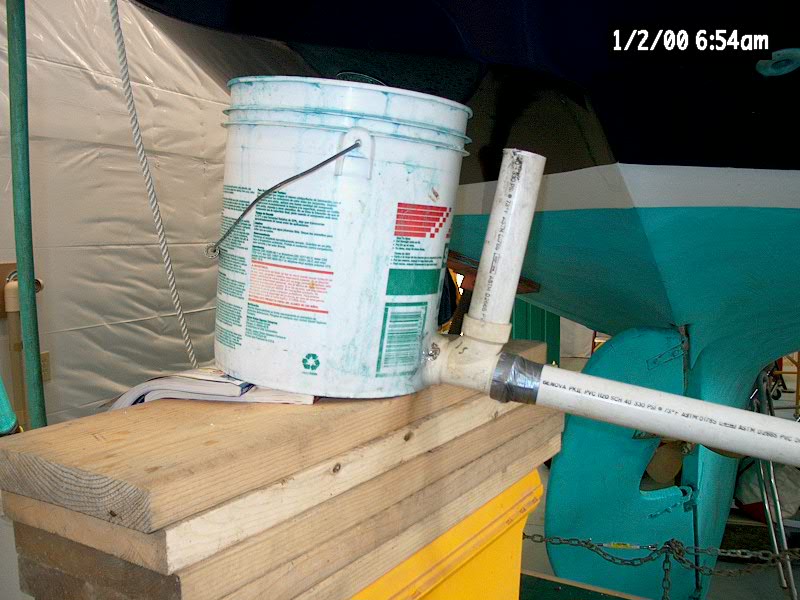
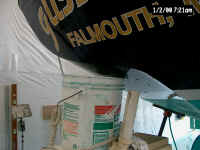
 I
rigged up a 5 gallon bucket with a PVC drain fitting. You'll see
in the photos that there is a vertical piece of pipe running up outside
the bucket. This has no function whatsoever. It
exists only because I used old sections of PVC that I had lying around,
and this particular "T" fitting fit the bill as far as
installing in the bucket (it had a short length of pipe on one side of
the "T" that, coupled with the fitting itself, formed a good
flange-type seal on the bucket). Because I couldn't remove the
vertical pipe, and because I had no other pieces suitable for this use,
I used it as is, simply cutting the vertical piece off just below the
top of the bucket. Call it a vent, if you must, but it really has
no function. I
rigged up a 5 gallon bucket with a PVC drain fitting. You'll see
in the photos that there is a vertical piece of pipe running up outside
the bucket. This has no function whatsoever. It
exists only because I used old sections of PVC that I had lying around,
and this particular "T" fitting fit the bill as far as
installing in the bucket (it had a short length of pipe on one side of
the "T" that, coupled with the fitting itself, formed a good
flange-type seal on the bucket). Because I couldn't remove the
vertical pipe, and because I had no other pieces suitable for this use,
I used it as is, simply cutting the vertical piece off just below the
top of the bucket. Call it a vent, if you must, but it really has
no function.
|
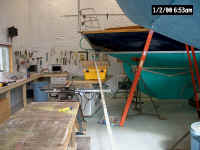
 I
secured the drain fitting to the bucket with gobs of silicone for a
watertight fit, and let it cure overnight. The morning I
winterized the boat, I set the bucket up beneath the exhaust, propped up
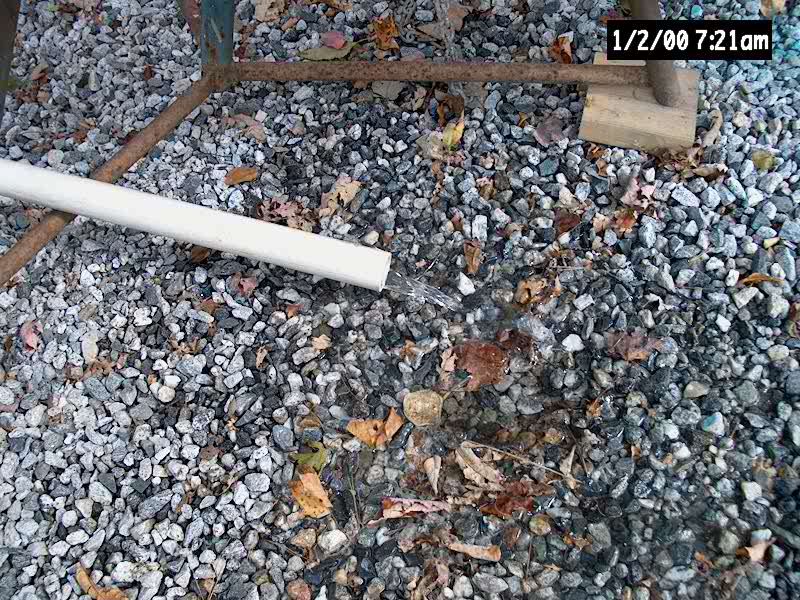
on toolboxes and boards as needed, and ran several sections of pipe
straight outside the barn through the side door, securing the couplings
with duct tape as needed. Even if these joints leaked a little, it
wouldn't matter. In hindsight, I realize I probably could have run
straight out the back window of the barn, but I think I prefer going out
the side even though it is longer. I
secured the drain fitting to the bucket with gobs of silicone for a
watertight fit, and let it cure overnight. The morning I
winterized the boat, I set the bucket up beneath the exhaust, propped up
on toolboxes and boards as needed, and ran several sections of pipe
straight outside the barn through the side door, securing the couplings
with duct tape as needed. Even if these joints leaked a little, it
wouldn't matter. In hindsight, I realize I probably could have run
straight out the back window of the barn, but I think I prefer going out
the side even though it is longer. |
 With
the bucket and drain fully set up, I tested the watertight integrity
with a hose; the drain in the bucket worked well, and no leaks. So
I continued with my winterizing plan and, after checking the stands and
such, started the engine and ran it for several minutes with fresh
water. Some of the exhaust discharge dribbled down outside the
bucket, but the bulk was nicely contained in the bucket and drained
immediately outdoors. With all doors and windows open, the fumes
weren't too bad, but I set up a box fan to help circulate the air. With
the bucket and drain fully set up, I tested the watertight integrity
with a hose; the drain in the bucket worked well, and no leaks. So
I continued with my winterizing plan and, after checking the stands and
such, started the engine and ran it for several minutes with fresh
water. Some of the exhaust discharge dribbled down outside the
bucket, but the bulk was nicely contained in the bucket and drained
immediately outdoors. With all doors and windows open, the fumes
weren't too bad, but I set up a box fan to help circulate the air. |
 Later,
I moved the bucket slightly to the other side of the stern, beneath the
bilge and sink discharge fittings, and took care of emptying the water
tank (into the bilge--then overboard into the bucket) and running some
antifreeze through the galley sink drain and sump. Later,
I moved the bucket slightly to the other side of the stern, beneath the
bilge and sink discharge fittings, and took care of emptying the water
tank (into the bilge--then overboard into the bucket) and running some
antifreeze through the galley sink drain and sump.
The system worked very well. My
only trauma occurred when I dismantled the setup later. There was
still some antifreeze in the drain bucket, and I ended up slopping it
all over the place when I tried removing the bucket. Sigh. |