|
Sails and Canvas
Genoa
(11/30/01)
 I have ordered a
new roller furling genoa from one of my local lofts, Hallett
Canvas and Sails. This is a significant expense, but a necessary one,
since the old genoa that came with the boat--the one that had lived in the
rafters of a bird-infested barn while rolled up on the headstay--was
rotten. To me, good sails are a requirement anyway; as a former and
still-occasional racer, I can never get the need for good sail shape out of my
head. I have ordered a
new roller furling genoa from one of my local lofts, Hallett
Canvas and Sails. This is a significant expense, but a necessary one,
since the old genoa that came with the boat--the one that had lived in the
rafters of a bird-infested barn while rolled up on the headstay--was
rotten. To me, good sails are a requirement anyway; as a former and
still-occasional racer, I can never get the need for good sail shape out of my
head.
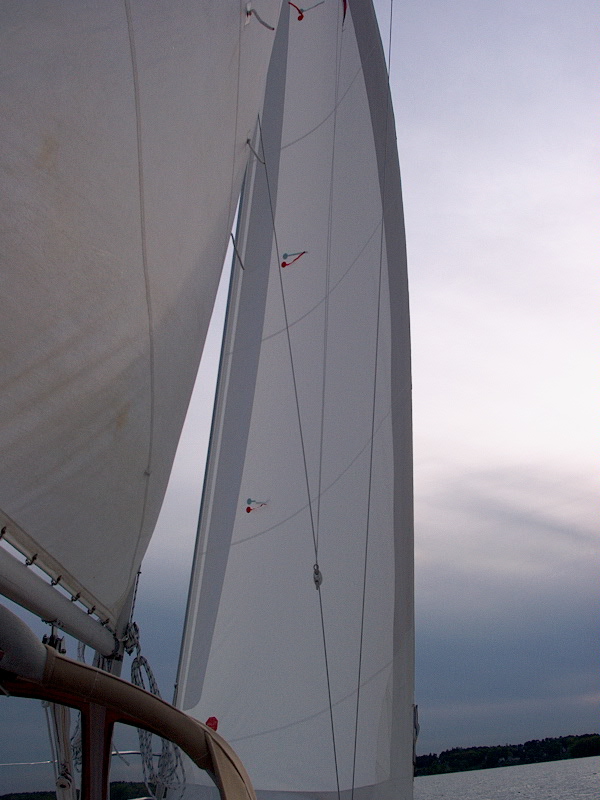
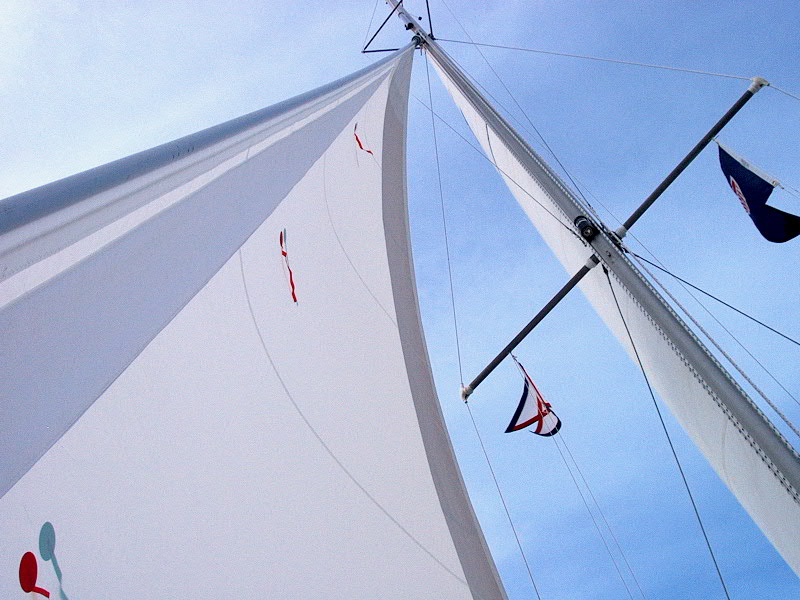
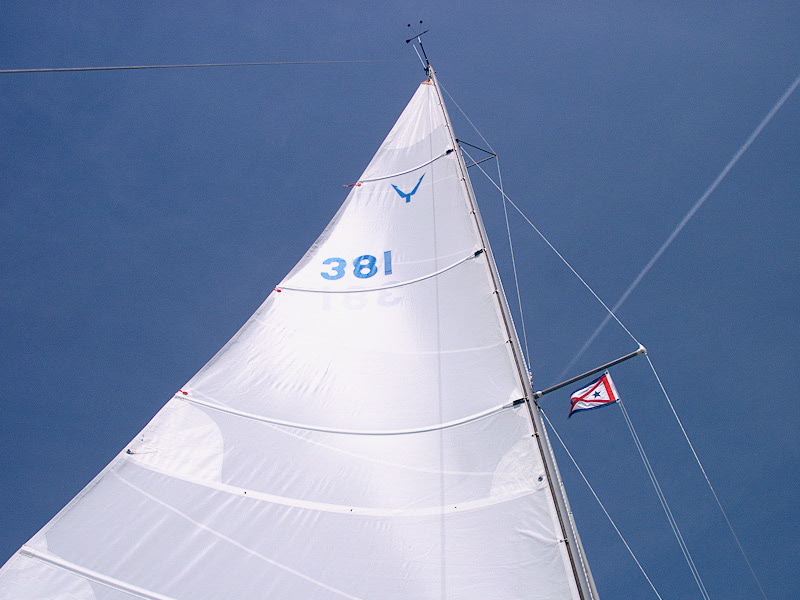
 The new sail is
complete, and installed. It looks great! It's 130% LP, for those of
you interested. The new sail is
complete, and installed. It looks great! It's 130% LP, for those of
you interested.
|
|
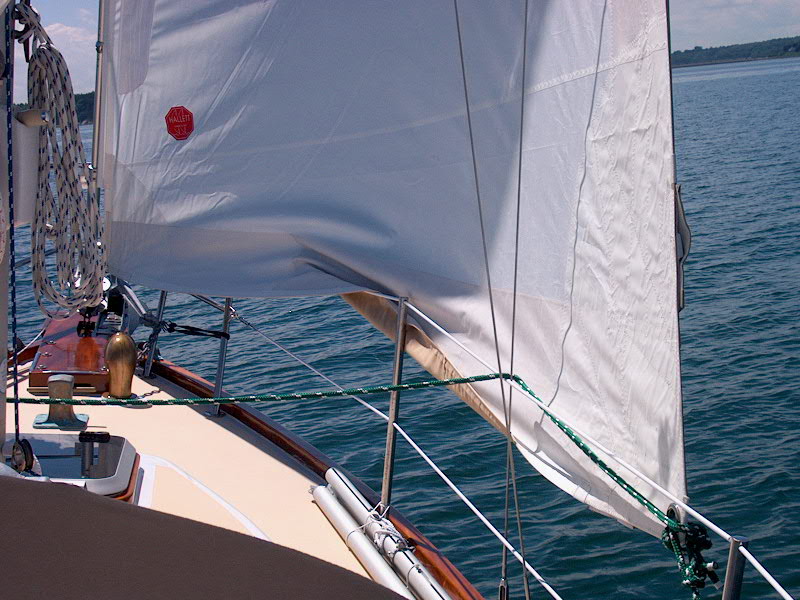
 After
a season of use, the genoa still looked great and performed well. I spoke
with the sailmaker about recutting the bottom of the sail so that it might
better clear the lifelines forward. I didn't want to lower the lifelines
to deck level like many people do, although this remains an option, so the sail
is forced over the lifeline when sheeted in. I wish I'd installed the
furler with the extra long link plate at the bottom to raise the drum--this
would have allowed the genoa to clear better. Modifying this now would be
difficult. Anyway, the sailmaker seemed to think that changing the sail
was possible, so we'll see what happens next season. After
a season of use, the genoa still looked great and performed well. I spoke
with the sailmaker about recutting the bottom of the sail so that it might
better clear the lifelines forward. I didn't want to lower the lifelines
to deck level like many people do, although this remains an option, so the sail
is forced over the lifeline when sheeted in. I wish I'd installed the
furler with the extra long link plate at the bottom to raise the drum--this
would have allowed the genoa to clear better. Modifying this now would be
difficult. Anyway, the sailmaker seemed to think that changing the sail
was possible, so we'll see what happens next season.
|
|
Mainsail
 The main that
came with the boat seemed to be in good condition, and got the OK from the
sailmakers when they inspected it for me. I had them redo the Triton logo
and sail number, and I plan to use the sail for at least the coming season. The main that
came with the boat seemed to be in good condition, and got the OK from the
sailmakers when they inspected it for me. I had them redo the Triton logo
and sail number, and I plan to use the sail for at least the coming season.
WRONG!
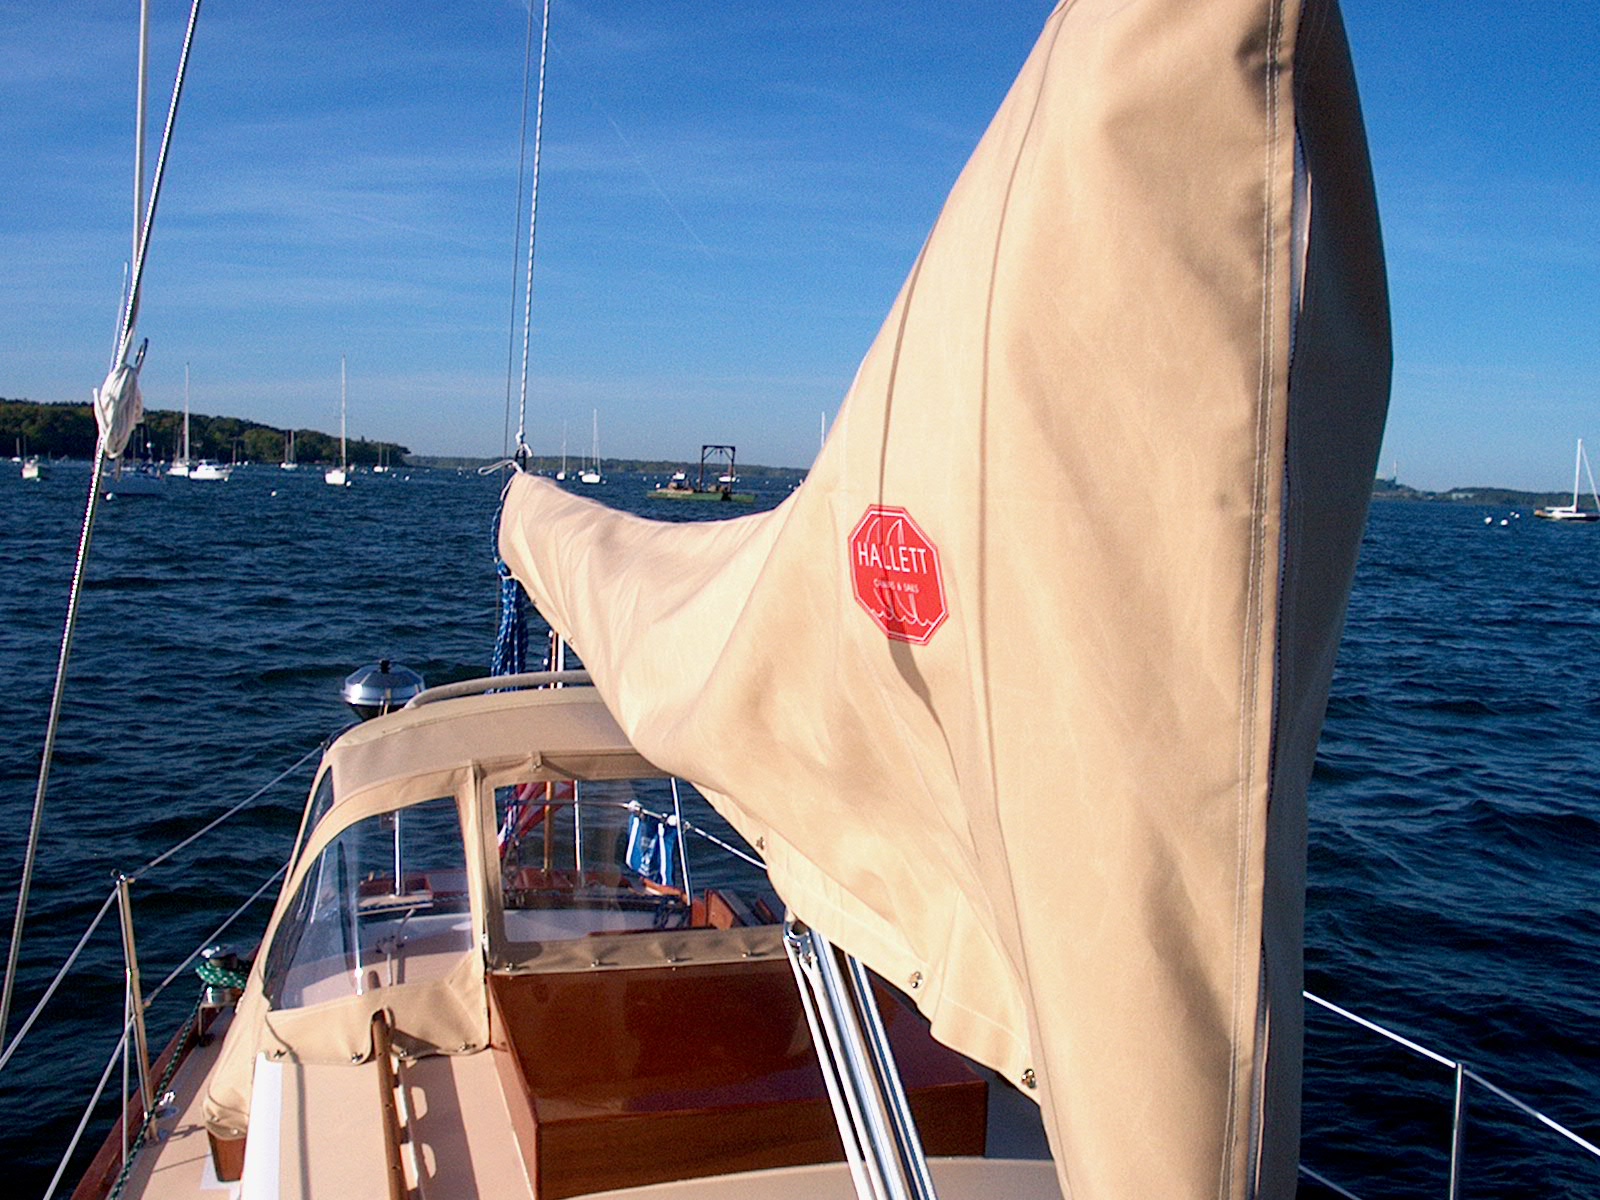
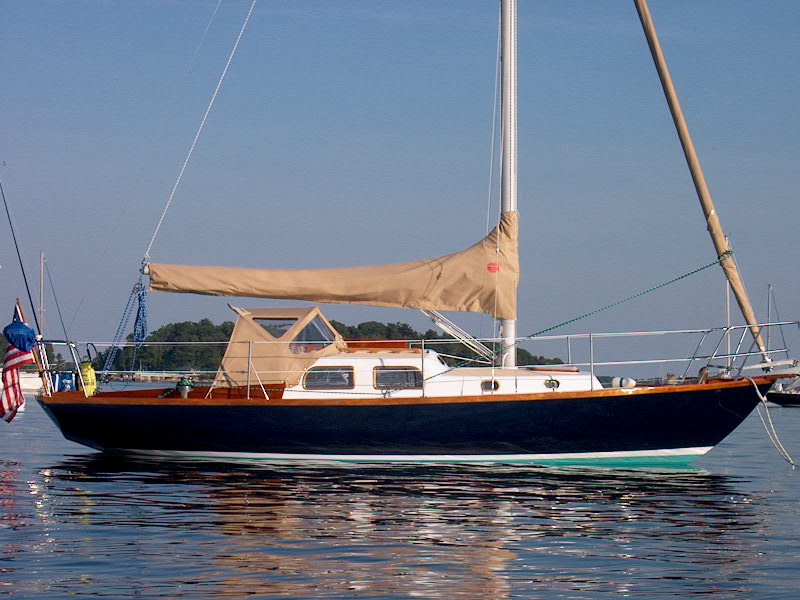
We're getting a new main, too. The old one will get us by for a month or
so, but forget it--what a rag. Totally unacceptable. This (left) is
a picture of the old main--I know, not that terrible--it's usable, but that's
about it.
The new main is
larger--higher in hoist, longer in the foot--and features a larger roach and
full battens. It was complete on June 14, and I installed it on the boat
with great enthusiasm.
|
|
 However, when I
went to raise, it, the sail slides caught on something a little above the
spreaders, preventing me from raising it further. This seemed strange,
since the old main had had no problem. When I looked up the mast with
binoculars, though, I could easily see a small section of the track that had
somehow been deformed. What an annoyance! However, when I
went to raise, it, the sail slides caught on something a little above the
spreaders, preventing me from raising it further. This seemed strange,
since the old main had had no problem. When I looked up the mast with
binoculars, though, I could easily see a small section of the track that had
somehow been deformed. What an annoyance!
The repair was in
two steps: first, I raised a friend of mine up the mast in a Bosun's chair
(he's lighter than me) so that he could hopefully bent the track back into
shape. After a time, he was done, and I lowered him down. Attaching
the main halyard once again to the sail, I tried raising it, but still to no
avail. Apparently, the sail slides are as much a culprit. I spent a
little time prying the slides slightly farther open, and eventually got everything
to slide by the spot on the mast without too much trouble. Lubricating the
mast track is next--it was very dry.
The new sail
looks great, but will require a minor thing or two--first, it needs a cringle
for a cunningham at the tack, since I have fixed the gooseneck to allow for the
solid boom vang. I need the cunningham to tension the luff after the sail
is fully hoisted. Please click here
for details on the new cunningham and reefing system.
|
|
Mainsail
Cover: (5/25/01)
 The new mainsail cover is
complete. The initial fit was too long, so I took it back to the loft for
a shorteningdectomy, where about 5" of material was removed from the aft
end. The fit is now perfect. The new mainsail cover is
complete. The initial fit was too long, so I took it back to the loft for
a shorteningdectomy, where about 5" of material was removed from the aft
end. The fit is now perfect.

|
|
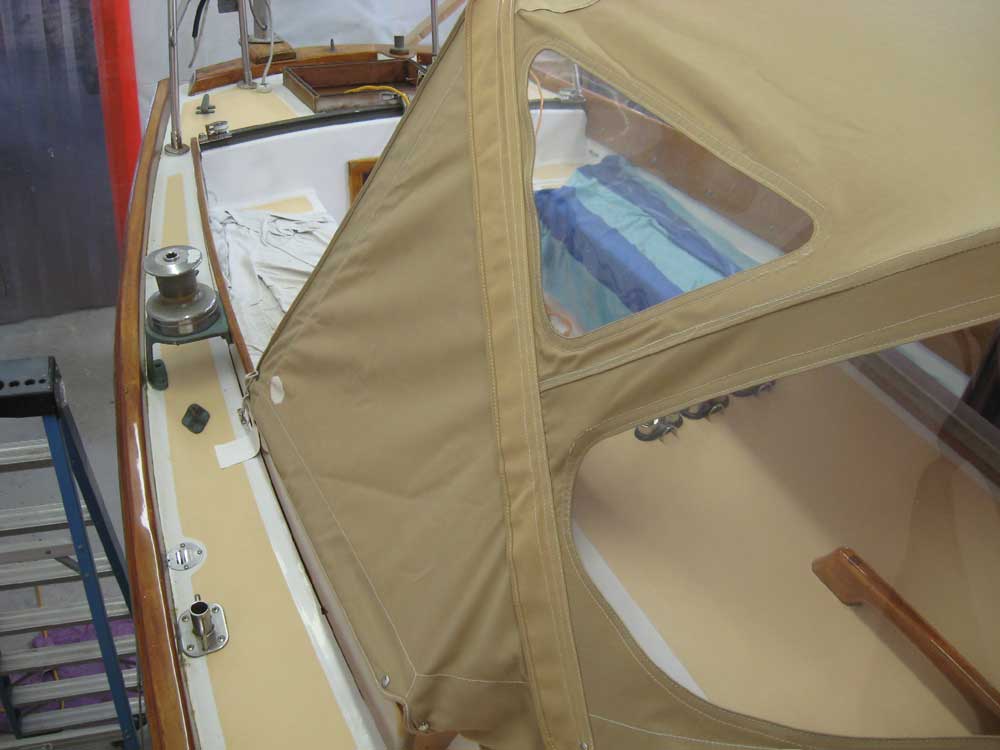
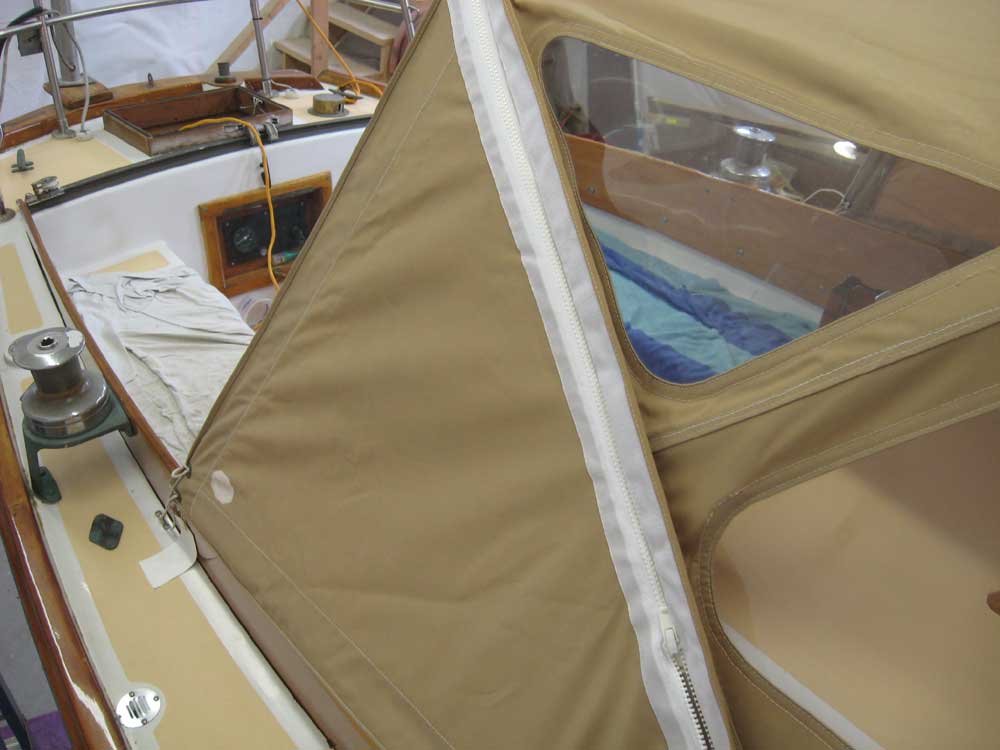
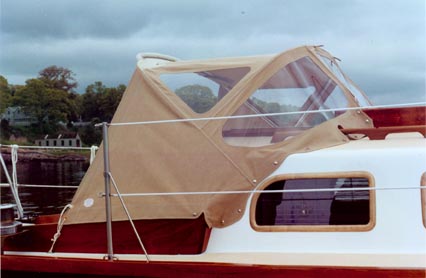
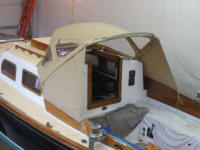
Dodger:
(11/30/01)
I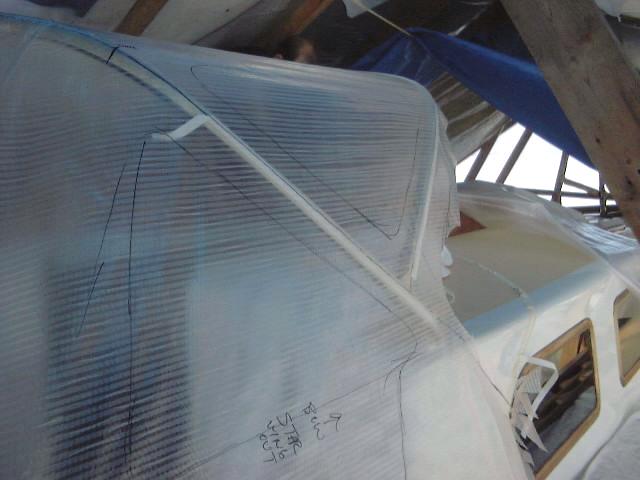 t
is a rare site indeed to see a cruising boat here in Maine or the Northeast
without a dodger over the companionway and front of the cockpit. Cold
water temperatures, fog and sea breezes can make life in the cockpit rather
unpleasant, and the shelter the dodger provides is critical for comfort. I
used to scoff at them during my racing days, but as a converted cruiser I think
they are the greatest. Properly constructed, I think dodgers enhance the
lines of a Triton. t
is a rare site indeed to see a cruising boat here in Maine or the Northeast
without a dodger over the companionway and front of the cockpit. Cold
water temperatures, fog and sea breezes can make life in the cockpit rather
unpleasant, and the shelter the dodger provides is critical for comfort. I
used to scoff at them during my racing days, but as a converted cruiser I think
they are the greatest. Properly constructed, I think dodgers enhance the
lines of a Triton.
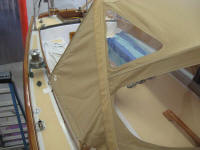
We're having a
very nice one built of Sunbrella, 40 mil clear plastic and 1" stainless
tubing. To ensure that the dodger would be completed by spring, I rushed a
few critical portions of the boat project to semi-completion by mid-January so
that measurements and templates for the new dodger could be made, guaranteeing
plenty of time for the sail loft to complete the work. After an initial
visit to take some general measurements for the stainless bows, Michael, the canvas
guru from Hallett Sails, arrived for the long process of creating a template for the dodger. First,
the pre-bent bows were cut to the proper length--they had been left a little
long to account for
some adjustments--and installed on the boat in the proper position.
Masking tape held the frames in position, and I was able to begin to visualize
the shape and size of the dodger. Next, a template was made--essentially a
plastic version of the dodger, using flexible reinforced plastic (kind of like a
thin, clear tarpaulin material). This process took several hours, but the
ultimate shape of the canvas became clear as the template was completed.
Forming and cutting the template around some of the obstacles, like the sea hood
and especially the cockpit coamings, took the longest time, with careful
measuring and many small cuts. When it was done, it formed a sort of
ghost-like apparition of the shape of things to come. Michael removed the
template and bows and returned to his shop, to eventually fabricate the real
dodger.
|
|
 |
|
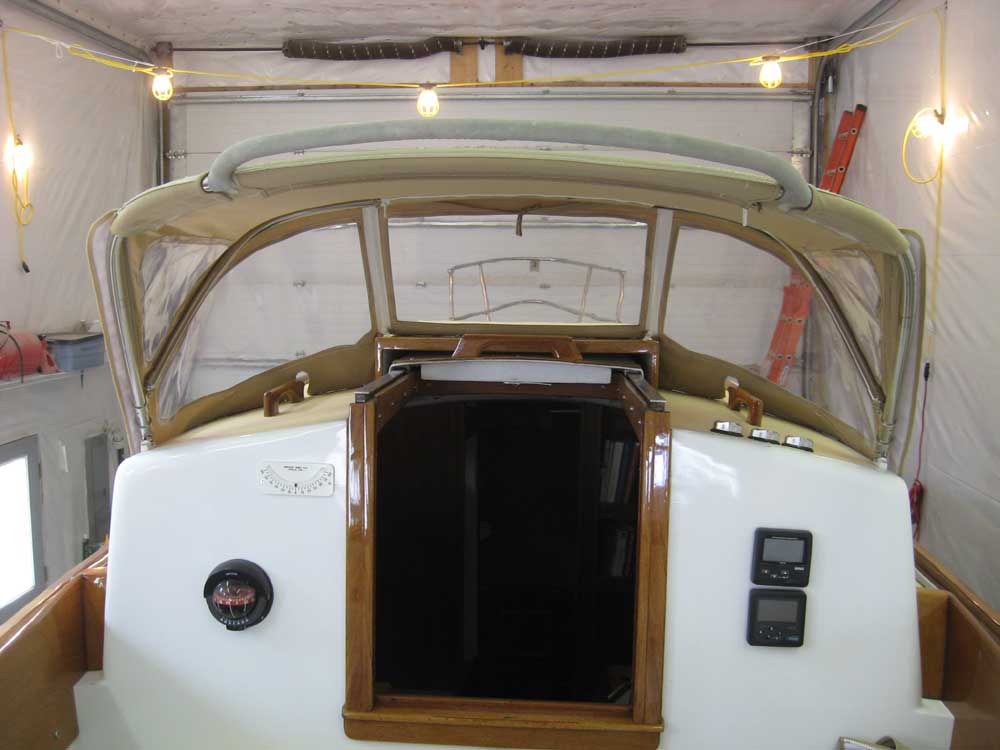
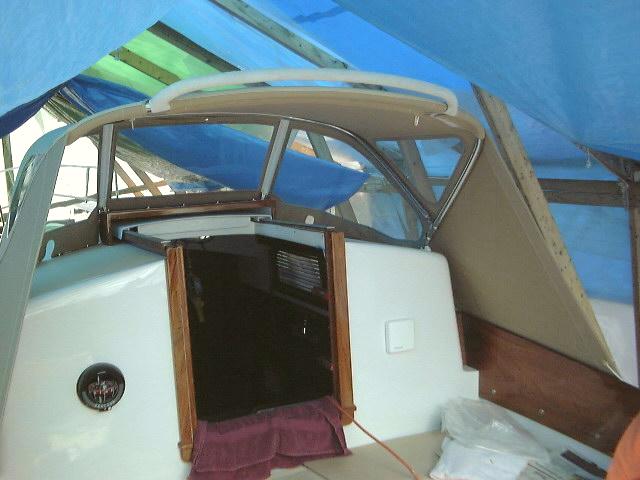
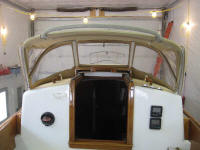
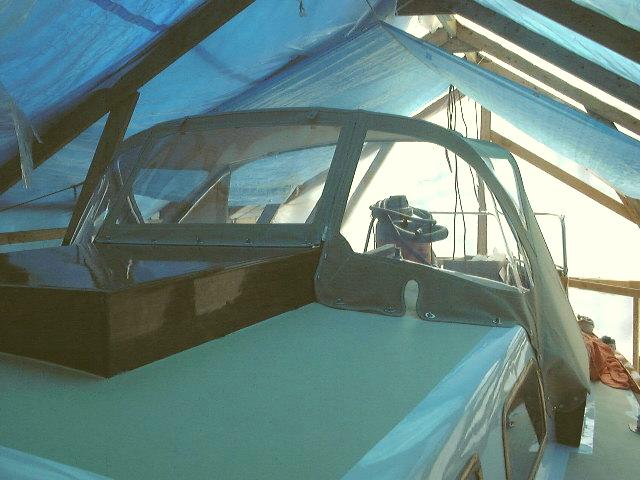 After
a couple months had gone by, the dodger was completed--before I was ready
for it. I had to complete the varnishing of the coamings, and install the
coamings on the boat before I could give Michael the go ahead to install the new
dodger. On a warm spring day in early April, he arrived and spent about
three hours installing it, and attaching the various snaps and fasteners.
When one watches the process involved in this custom work, it becomes readily
apparent why the cost is so high--and well worth it. The slots seen in the
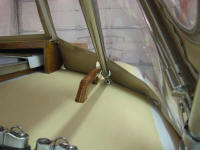
bottom of the forward panels are for the yet-to-be-installed handrails. After
a couple months had gone by, the dodger was completed--before I was ready
for it. I had to complete the varnishing of the coamings, and install the
coamings on the boat before I could give Michael the go ahead to install the new
dodger. On a warm spring day in early April, he arrived and spent about
three hours installing it, and attaching the various snaps and fasteners.
When one watches the process involved in this custom work, it becomes readily
apparent why the cost is so high--and well worth it. The slots seen in the
bottom of the forward panels are for the yet-to-be-installed handrails.
|
|
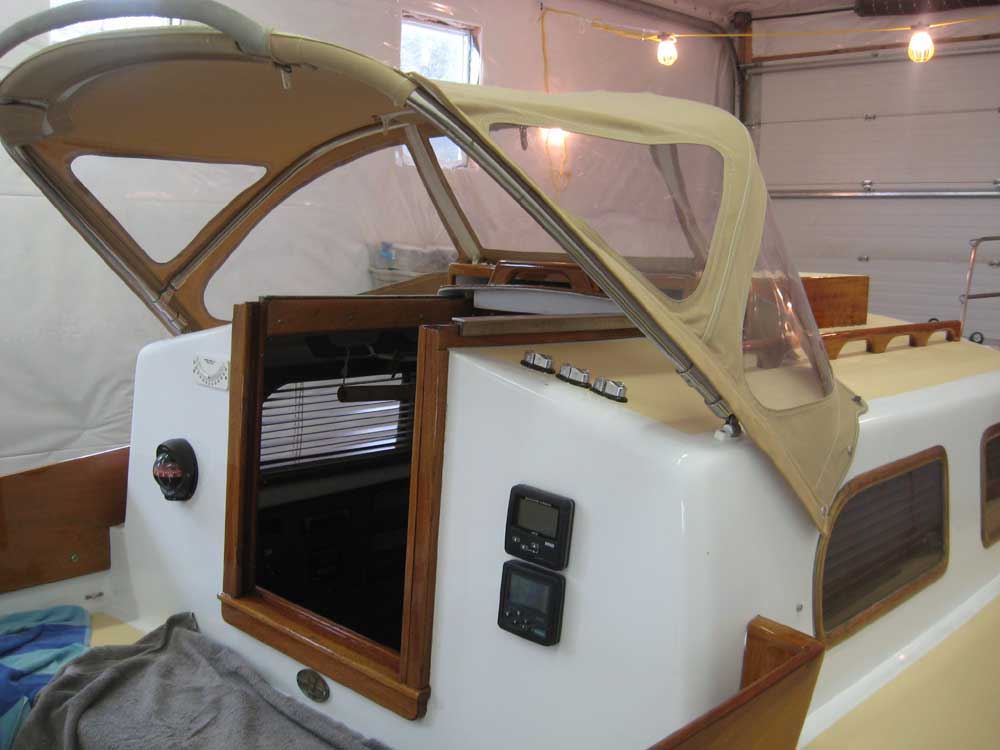
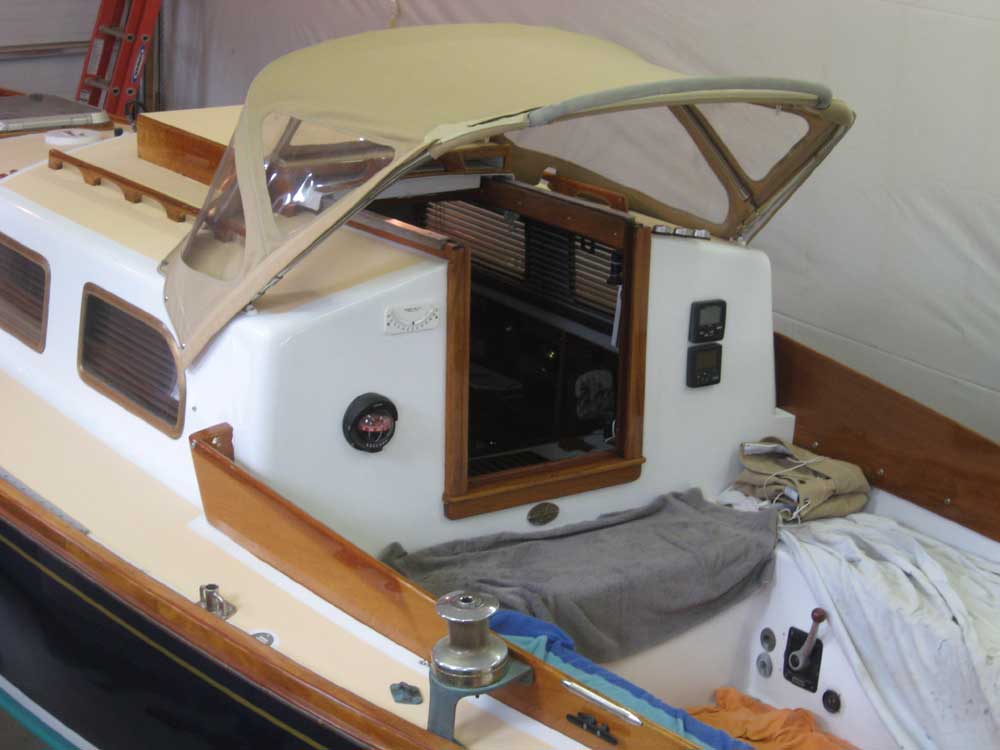
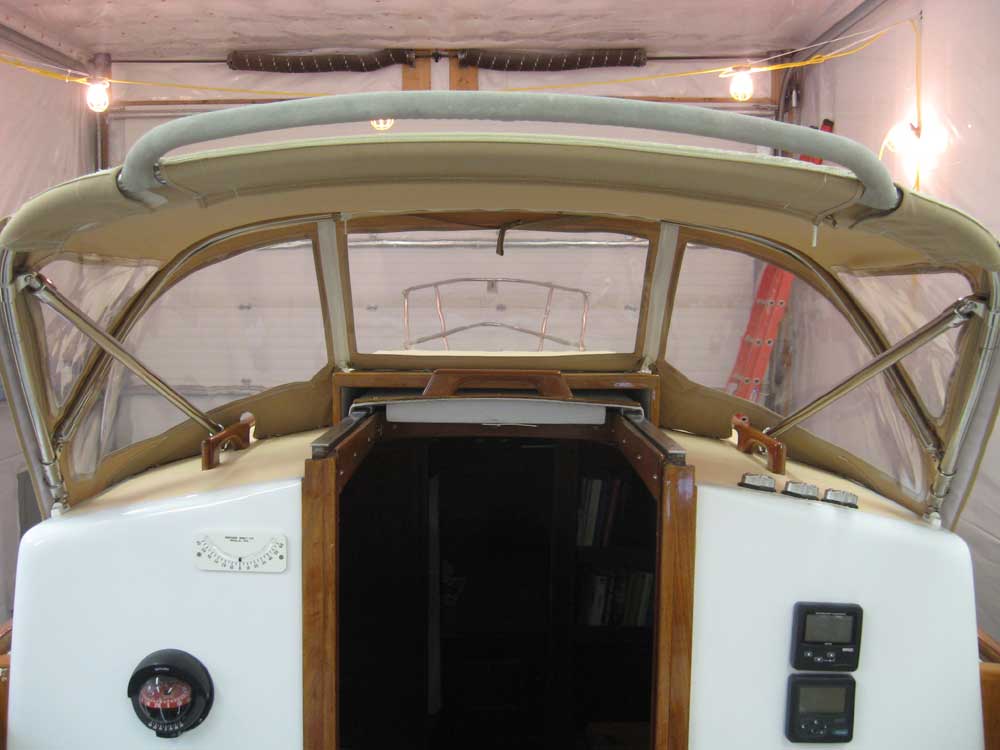
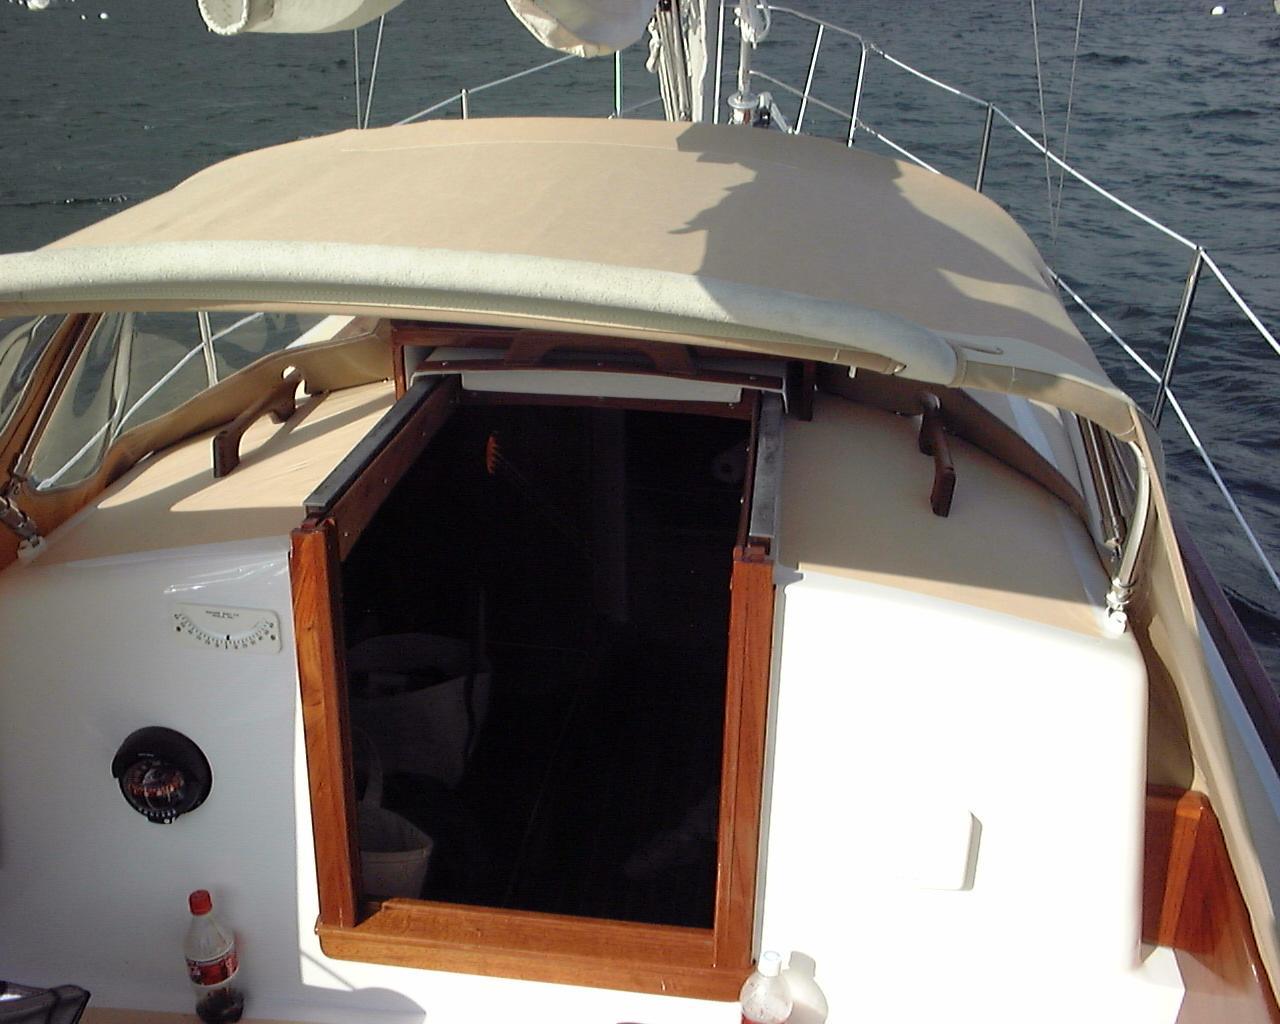
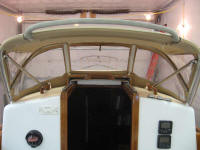
 The
completed dodger looks great, and is everything we had hoped for. It is
tight as a drum, and rock-steady. We had a stainless steel handle (covered
with suede) welded to the aftermost bow, which makes ingress and egress from the
cockpit all the easier; the dodger frame barely moves when you support yourself
with the bar. Inside, there's plenty of room, and the overhead space is
generous, allowing for easy movement to and from the companionway. From
what I can tell, not being able to move far away from the boat, the profile is
just right--not to high, not too low, and it enhances the general lines of the
boat. The overall height is such that, when standing in the cockpit, I can
just look over the top, and it's a very easy duck-down to look through the
windshield. The
completed dodger looks great, and is everything we had hoped for. It is
tight as a drum, and rock-steady. We had a stainless steel handle (covered
with suede) welded to the aftermost bow, which makes ingress and egress from the
cockpit all the easier; the dodger frame barely moves when you support yourself
with the bar. Inside, there's plenty of room, and the overhead space is
generous, allowing for easy movement to and from the companionway. From
what I can tell, not being able to move far away from the boat, the profile is
just right--not to high, not too low, and it enhances the general lines of the
boat. The overall height is such that, when standing in the cockpit, I can
just look over the top, and it's a very easy duck-down to look through the
windshield.
I'll leave the
dodger in place for a day or two, to let it sort of acclimate to its real shape,
but then I'll remove it to prevent any damage from occurring while I finish
construction projects on the boat.
Below are a
couple pictures of the completed dodger on the boat--with the boat surrounded by
water, too! Sure beats the old project shed.
|
|

|
|
|
|
 After
a season, we absolutely love the dodger. It is everything we hoped for,
and more. We pretty much consider it a permanent fixture and never lower
it--at least here in Maine. The front window opens and rolls up, so if we
want additional air flow into the cockpit on a hot day we can get it. This
is usually enough, and the shade provided is worth keeping the dodger up
for. Theoretically, we could lower the dodger, but it's a little bit of a
pain--you have to undo the lines holding the wings at the aft corner, which is a
little tedious. Maybe I can come up with more of a quick-release and
adjustment here. Give me time. The leather-covered handle on the aft
edge of the dodger is wonderful for hanging onto when standing in the
cockpit--sailing or motoring--and for holding onto when moving between the
cockpit and the sidedecks. Again, well worth the money. And, when it
rains, we leave the companionway wide open for ventilation--a Godsend on rainy
cruising days. After
a season, we absolutely love the dodger. It is everything we hoped for,
and more. We pretty much consider it a permanent fixture and never lower
it--at least here in Maine. The front window opens and rolls up, so if we
want additional air flow into the cockpit on a hot day we can get it. This
is usually enough, and the shade provided is worth keeping the dodger up
for. Theoretically, we could lower the dodger, but it's a little bit of a
pain--you have to undo the lines holding the wings at the aft corner, which is a
little tedious. Maybe I can come up with more of a quick-release and
adjustment here. Give me time. The leather-covered handle on the aft
edge of the dodger is wonderful for hanging onto when standing in the
cockpit--sailing or motoring--and for holding onto when moving between the
cockpit and the sidedecks. Again, well worth the money. And, when it
rains, we leave the companionway wide open for ventilation--a Godsend on rainy
cruising days.
|
|
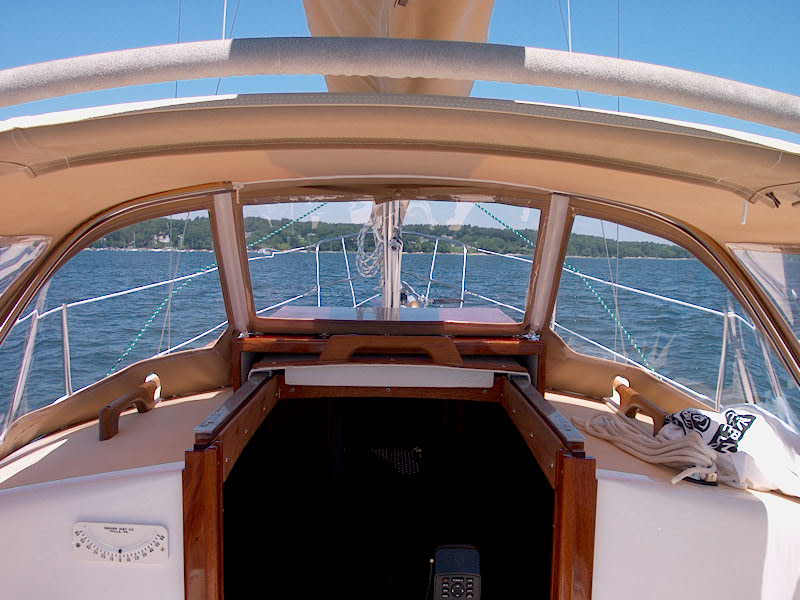 The
dodger is high enough that we can easily move between the cabin and cockpit, yet
not so high as to look foolish. I find that I usually look through the
windows when standing in the cockpit rather than over the top, as the height is
just a little awkward for this. I can see over the top, but with the broad
expanse of canvas on the visual plane it leaves quite a blind spot--real or perceived.
The view straight through is excellent. When motoring in calm weather, I
often stand on the cockpit seat and hold onto the handrail on the dodger,
steering with the tiller extension. The
dodger is high enough that we can easily move between the cabin and cockpit, yet
not so high as to look foolish. I find that I usually look through the
windows when standing in the cockpit rather than over the top, as the height is
just a little awkward for this. I can see over the top, but with the broad
expanse of canvas on the visual plane it leaves quite a blind spot--real or perceived.
The view straight through is excellent. When motoring in calm weather, I
often stand on the cockpit seat and hold onto the handrail on the dodger,
steering with the tiller extension.
|
|
UPDATE: March 2009
In a long-overdue move,
during the winter I had the dodger modified to include removable side
wings. As much as I enjoy a dodger, there are times when I wish it
wasn't there. Folding a dodger that includes high-quality window
glass just doesn't work in a practical sense, so the alternative is to
make the dodger as versatile as possible, and with as many removable
pieces as practicable to minimize its impact on those days when such is
desired.
I'd occasionally thought
about removable wings, but it took seeing their benefit in action on
another boat to spark me into finally doing something about it. The
original dodger was still in good shape, so it made sense to have this
modification made, particularly given the reasonable cost of the change.
I sent the dodger back to its original builder, Hallett Sails, to have
them add zippers and Velcro-secured Sunbrella zipper flaps to the wings to
allow them to zip off easily. Because we don't have windows in the
wings, it'll make storage of them easy when we don't want them.
|
 |
|
With the wings
removed, it opened up the forward end of the cockpit substantially,
provided better access to the sidedecks, and would provide a better
environment for sailing and relaxing in the appropriate weather
conditions. I looked forward to this opportunity, for as much as I
believe the dodger is an essential piece of equipment for us and the way
we use the boat, there have often been times when I felt it encroached too
much on the forward end of the cockpit. This seemed to solve this
problem in the most versatile way.
Because the original
dodger relied upon the wings for its aft support, making them removable
meant that I had to add some rigid support braces to take their place.
Once I had the dodger set up, I determined roughly where I wanted these
braces, and ordered some materials to make them up. This
installation was pending as of this writing, as I awaited delivery of the
parts I needed; the photos below show the wings removed for illustration
without the benefit of the aft-facing bracing.
|

 |
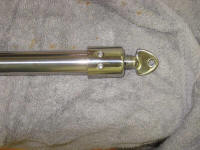
The modified dodger required some solid forward-leading
braces in order to support itself when the wings were
removed. I ordered the requisite materials to make a
pair of adjustable braces.
This turned out to be a straightforward
task. I'd ordered two pieces of 1" SS tubing cut to
24" long, which dimension I'd measured roughly in advance,
but I thought I'd end up cutting an inch or several off the
tubes they were in the shop, to allow for various factors
that I couldn't or didn't want to take the time to
anticipate. As it turned out, the full 24" length was
perfect without modification, so I avoided the need to trim
the tubing. This saved some time and fussing.
But this is getting ahead of things a bit.
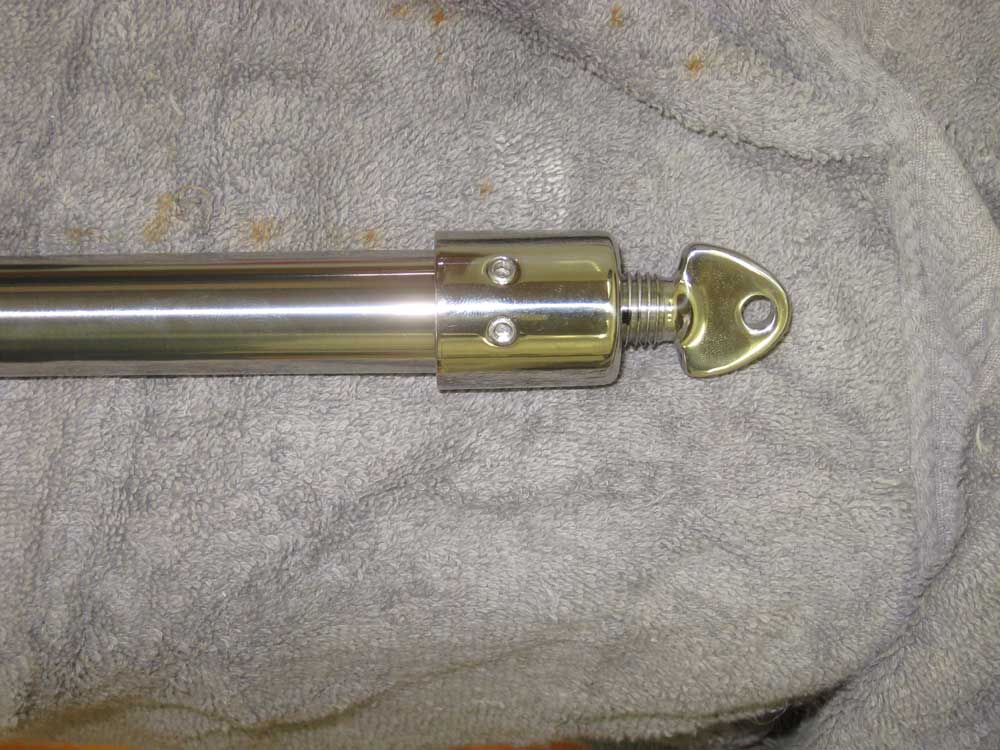
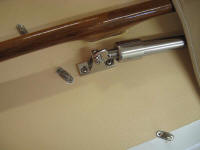
The first
thing I had to do was install a jaw slide on each side of
the dodger frame. Because the new fitting would be
near the top bend, I first had to remove the two fittings
already installed at the bottom, so I could slip the new one
on. I temporarily secured the new fittings in a random
location just to hold them while I reassembled the rest of
the frame. |
 |
Next, I assembled the
adjustable braces, using an adjustable eye end at each end.
I adjusted the thread so that they were roughly halfway
through their travel, to allow the new strut as much
adjustment in both directions as possible, and after
installing one end I held the strut in place to determine
whether I needed to cut the tubing shorter and where the
forward end should be placed. This is when I
determined that the full length of the tubing would place
the forward base in a good location, so with that
determination made I installed the adjustable eye on the
other end of each tube as well. |
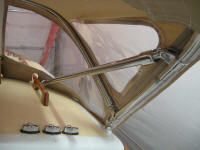 |
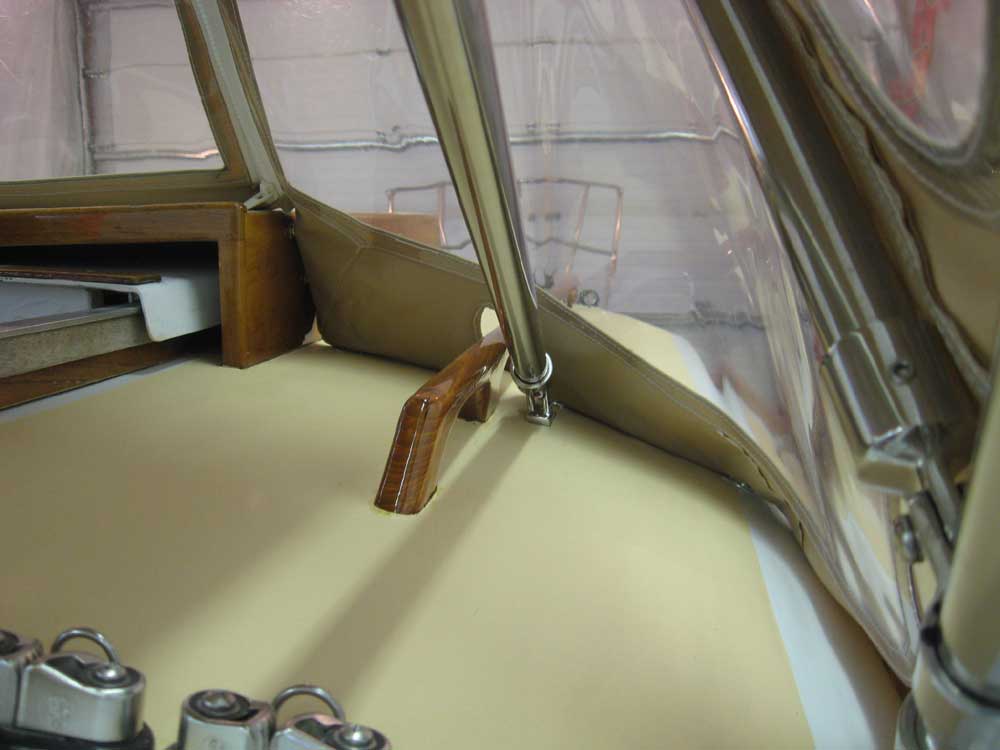
I attached one end to the
angled deck mount that would secure the forward end to the
deck, and then attached the other end to the jaw slide,
adjusting the slide's position as needed on the dodger frame
to accommodate the strut. The slide ended up just
below the bend in the tubing, which is where I wanted it
anyway. I secured the setscrews to hold the slides in
position, and then positioned the deck mounts and marked the
edges with a pencil so I could relocate them for fastening;
the mount ended up nearly as far forward as it could be and
still be inside the dodger's attachment point to the deck,
and there wasn't clearance to drill the holes with the
dodger canvas in place. |
 |
With the positions
marked, I detached the dodger and drilled the screw holes,
then temporarily mounted the deck mounts so I could test out
the struts' function. I was pleased with
how they worked and looked, and they didn't impact vision or
intrude on the space inside the dodger. On the
starboard side, the mount's placement was far enough from
the handrail to allow one of my aft-leading control lines
(the cunningham, I think) to still clear the new
mount--though I admit that I didn't think of this potential
conflict until after I had installed the mount.
I
removed the dodger and frame, now that the modifications
were complete, and removed the deck mounts so I could
re-install them properly in overbored holes, etc. |
 |
|
|
|